
wallpaper school
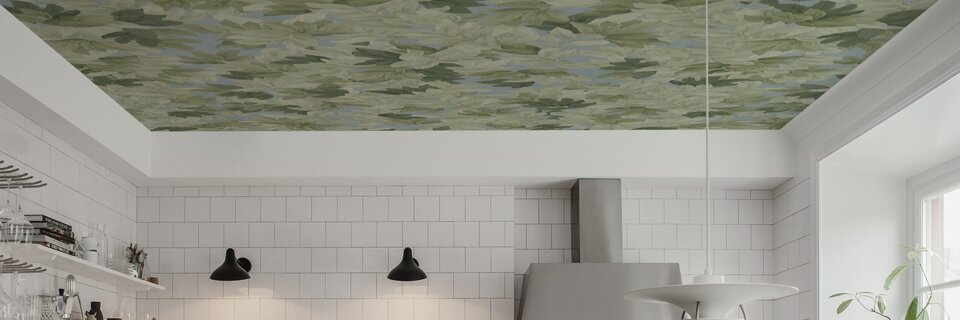
Wallpapering a ceiling
That’s how you do it
- Prep: Ensure that the ceiling is clean, dry and smooth. If your ceiling has been treated with lime or mineral paint, this will need to be removed before installing the wallpaper. Fill any holes or dents with spackle and then sand the surface smooth.
- Measure and cut: If you have a laser level, use it to draw a straight line to guide you. This helps ensure that your wallpaper goes up straight. Use scissors or a snap-blade to cut the rolls at the scissor marks. Each roll is numbered, so line them up in numerical order before you start wallpapering.
- Apply paste to the ceiling: Only use non-woven wallpaper paste! Roller the paste in a thin layer along the ceiling; one to two roll widths along the ceiling is enough.
- Put up the first length: Start putting up the paper from left to right on the ceiling. Put up the first length along its long edge, aligning it with the line you drew. Use a wallpaper smoother to smooth the paper and ease away any air bubbles. Trim away surplus paper at the edges using a wallpaper knife and wipe off any excess paste with a soft, damp sponge.
- Put up the next lengths: Apply your next length alongside the first length, ensuring that the pattern is aligned. Repeat the steps above (smooth the paper, ease away air bubbles, trim the edges and wipe off excess paste). Continue putting up the remaining lengths in the same way with paste, pattern alignment, wallpaper smoother, knife and the damp sponge.
Tip! Get help, four hands are better than two.
Look up and admire!