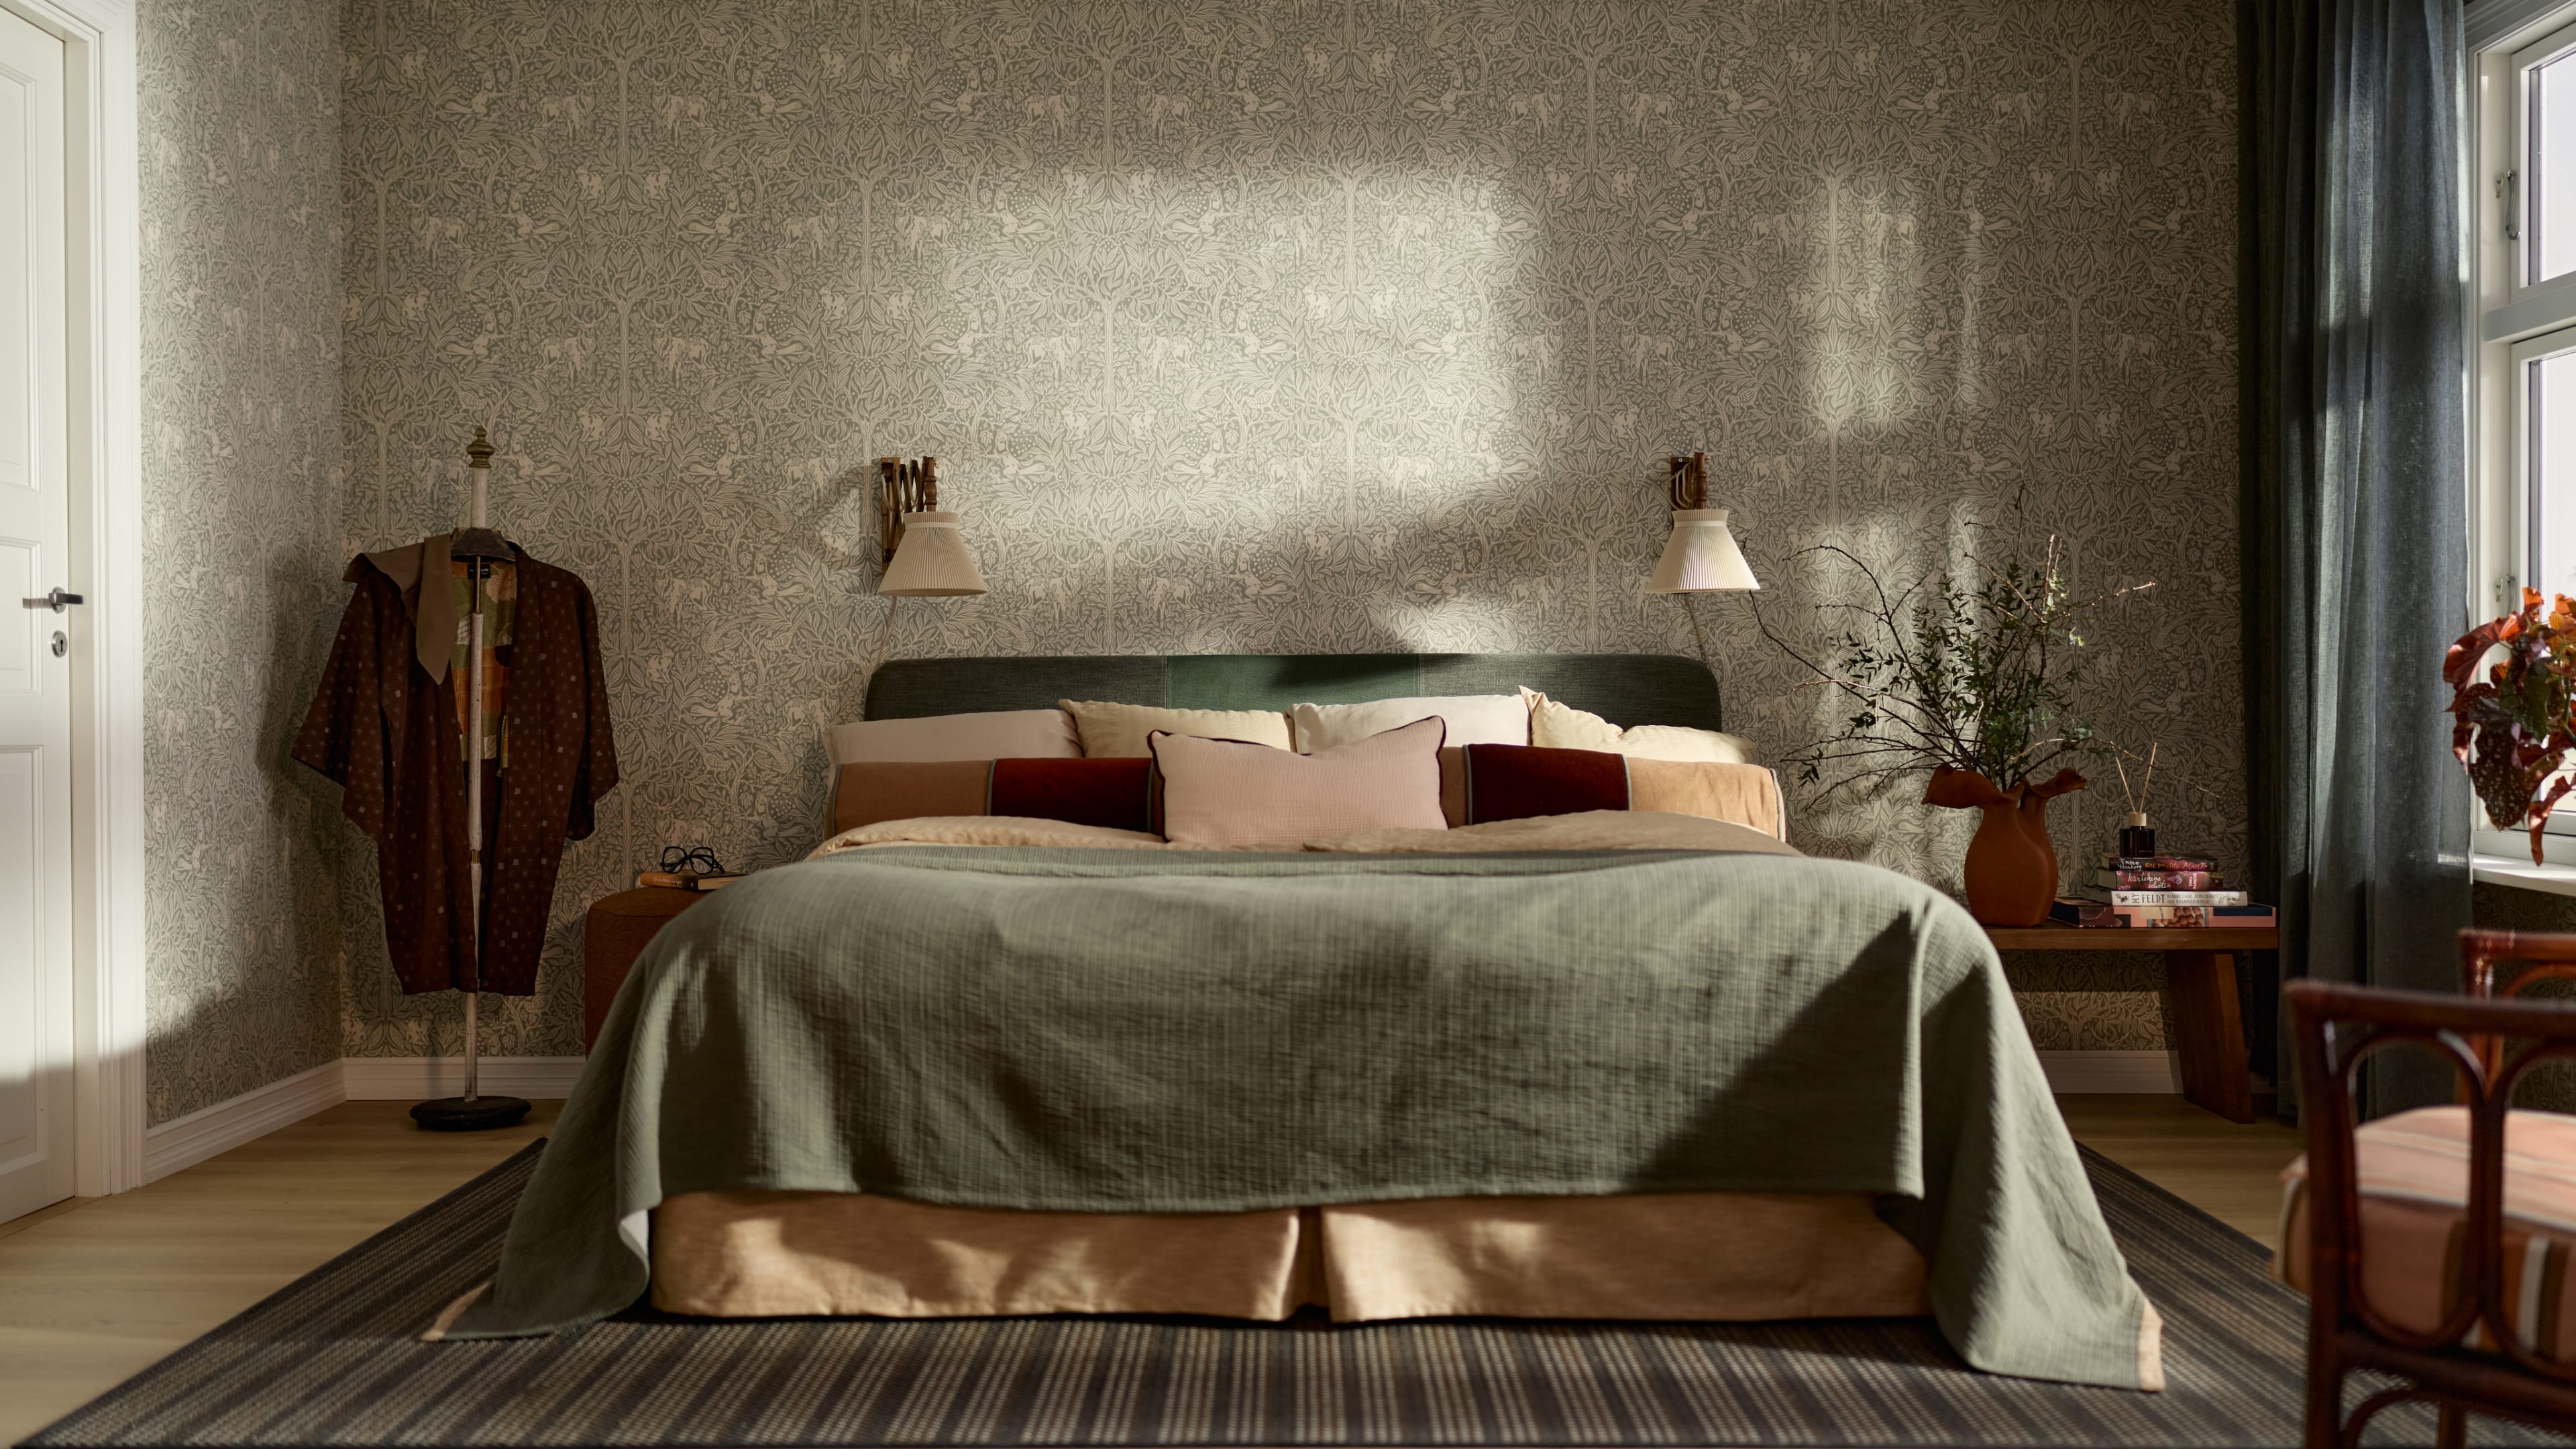
Wallpaper doesn’t belong only on the walls. With wallpaper on the ceiling, you create a cosy and personal feel. Here, we guide you through the entire process – step by step.

How to do it
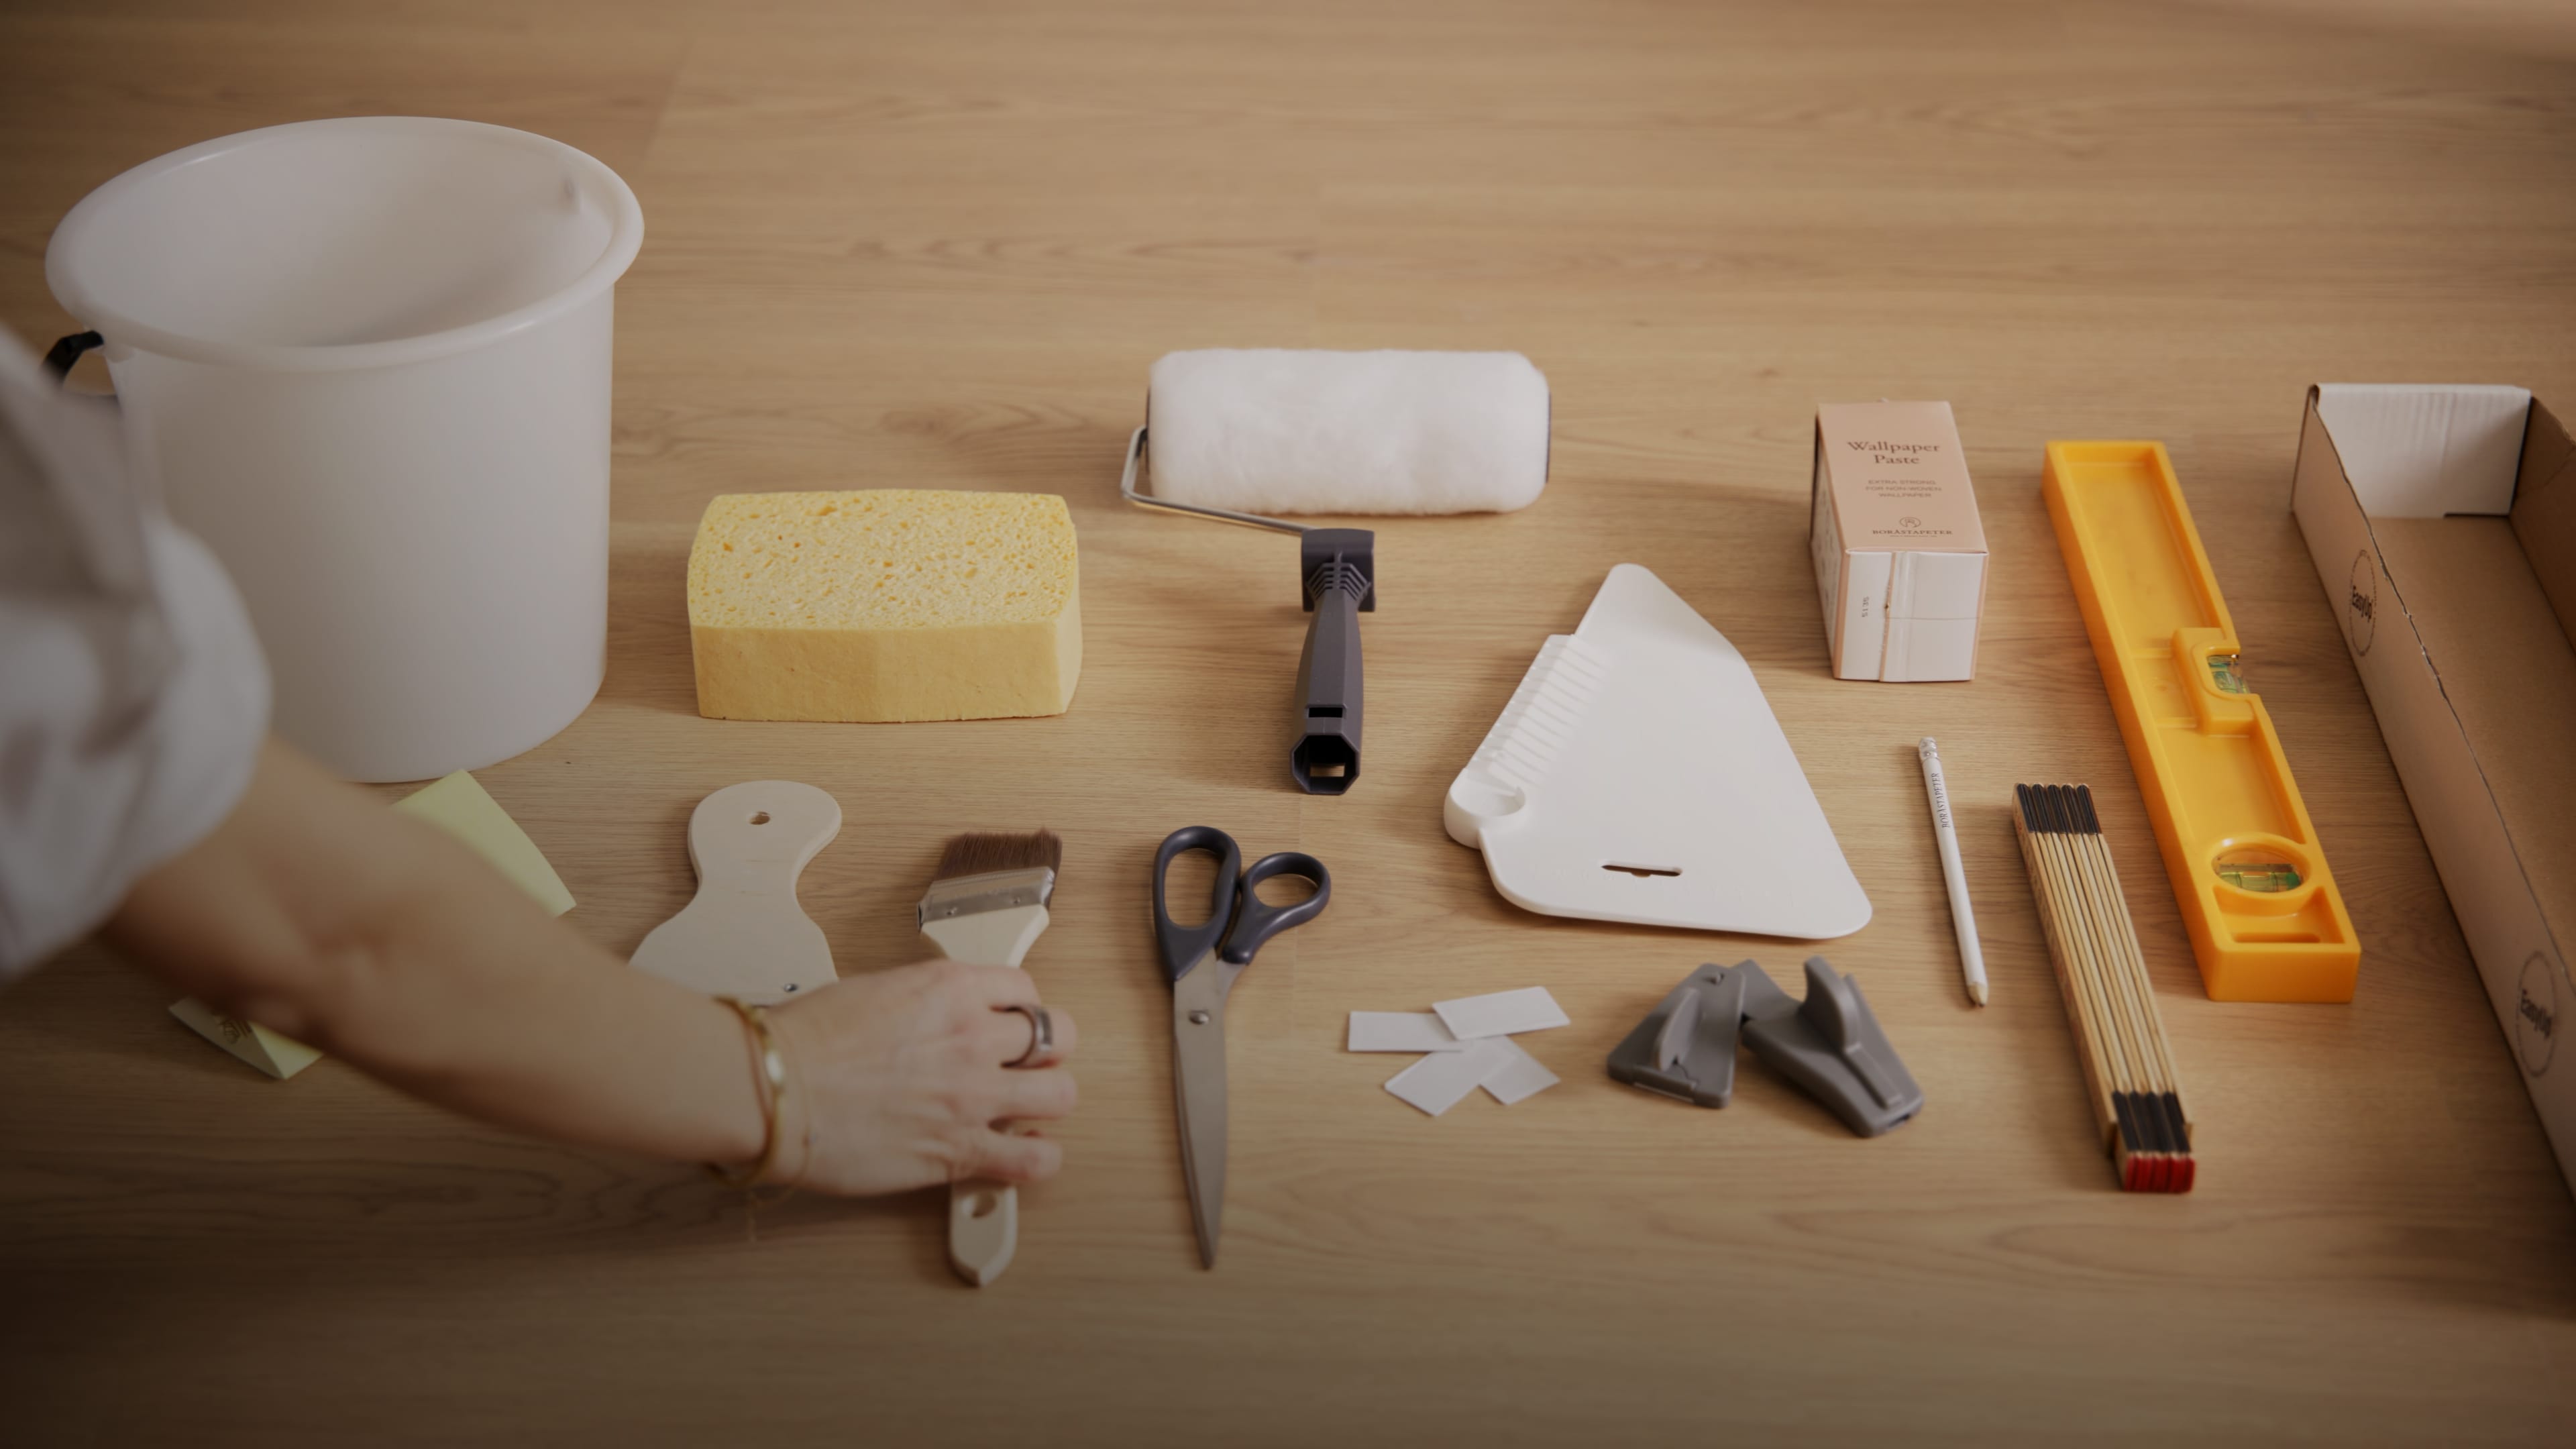
1. Preparation
Make sure the ceiling is clean, dry, and even. If the ceiling is painted with limewash or distemper, this must be removed before wallpapering. Fill any holes or uneven areas with filler and sand the surface smooth.
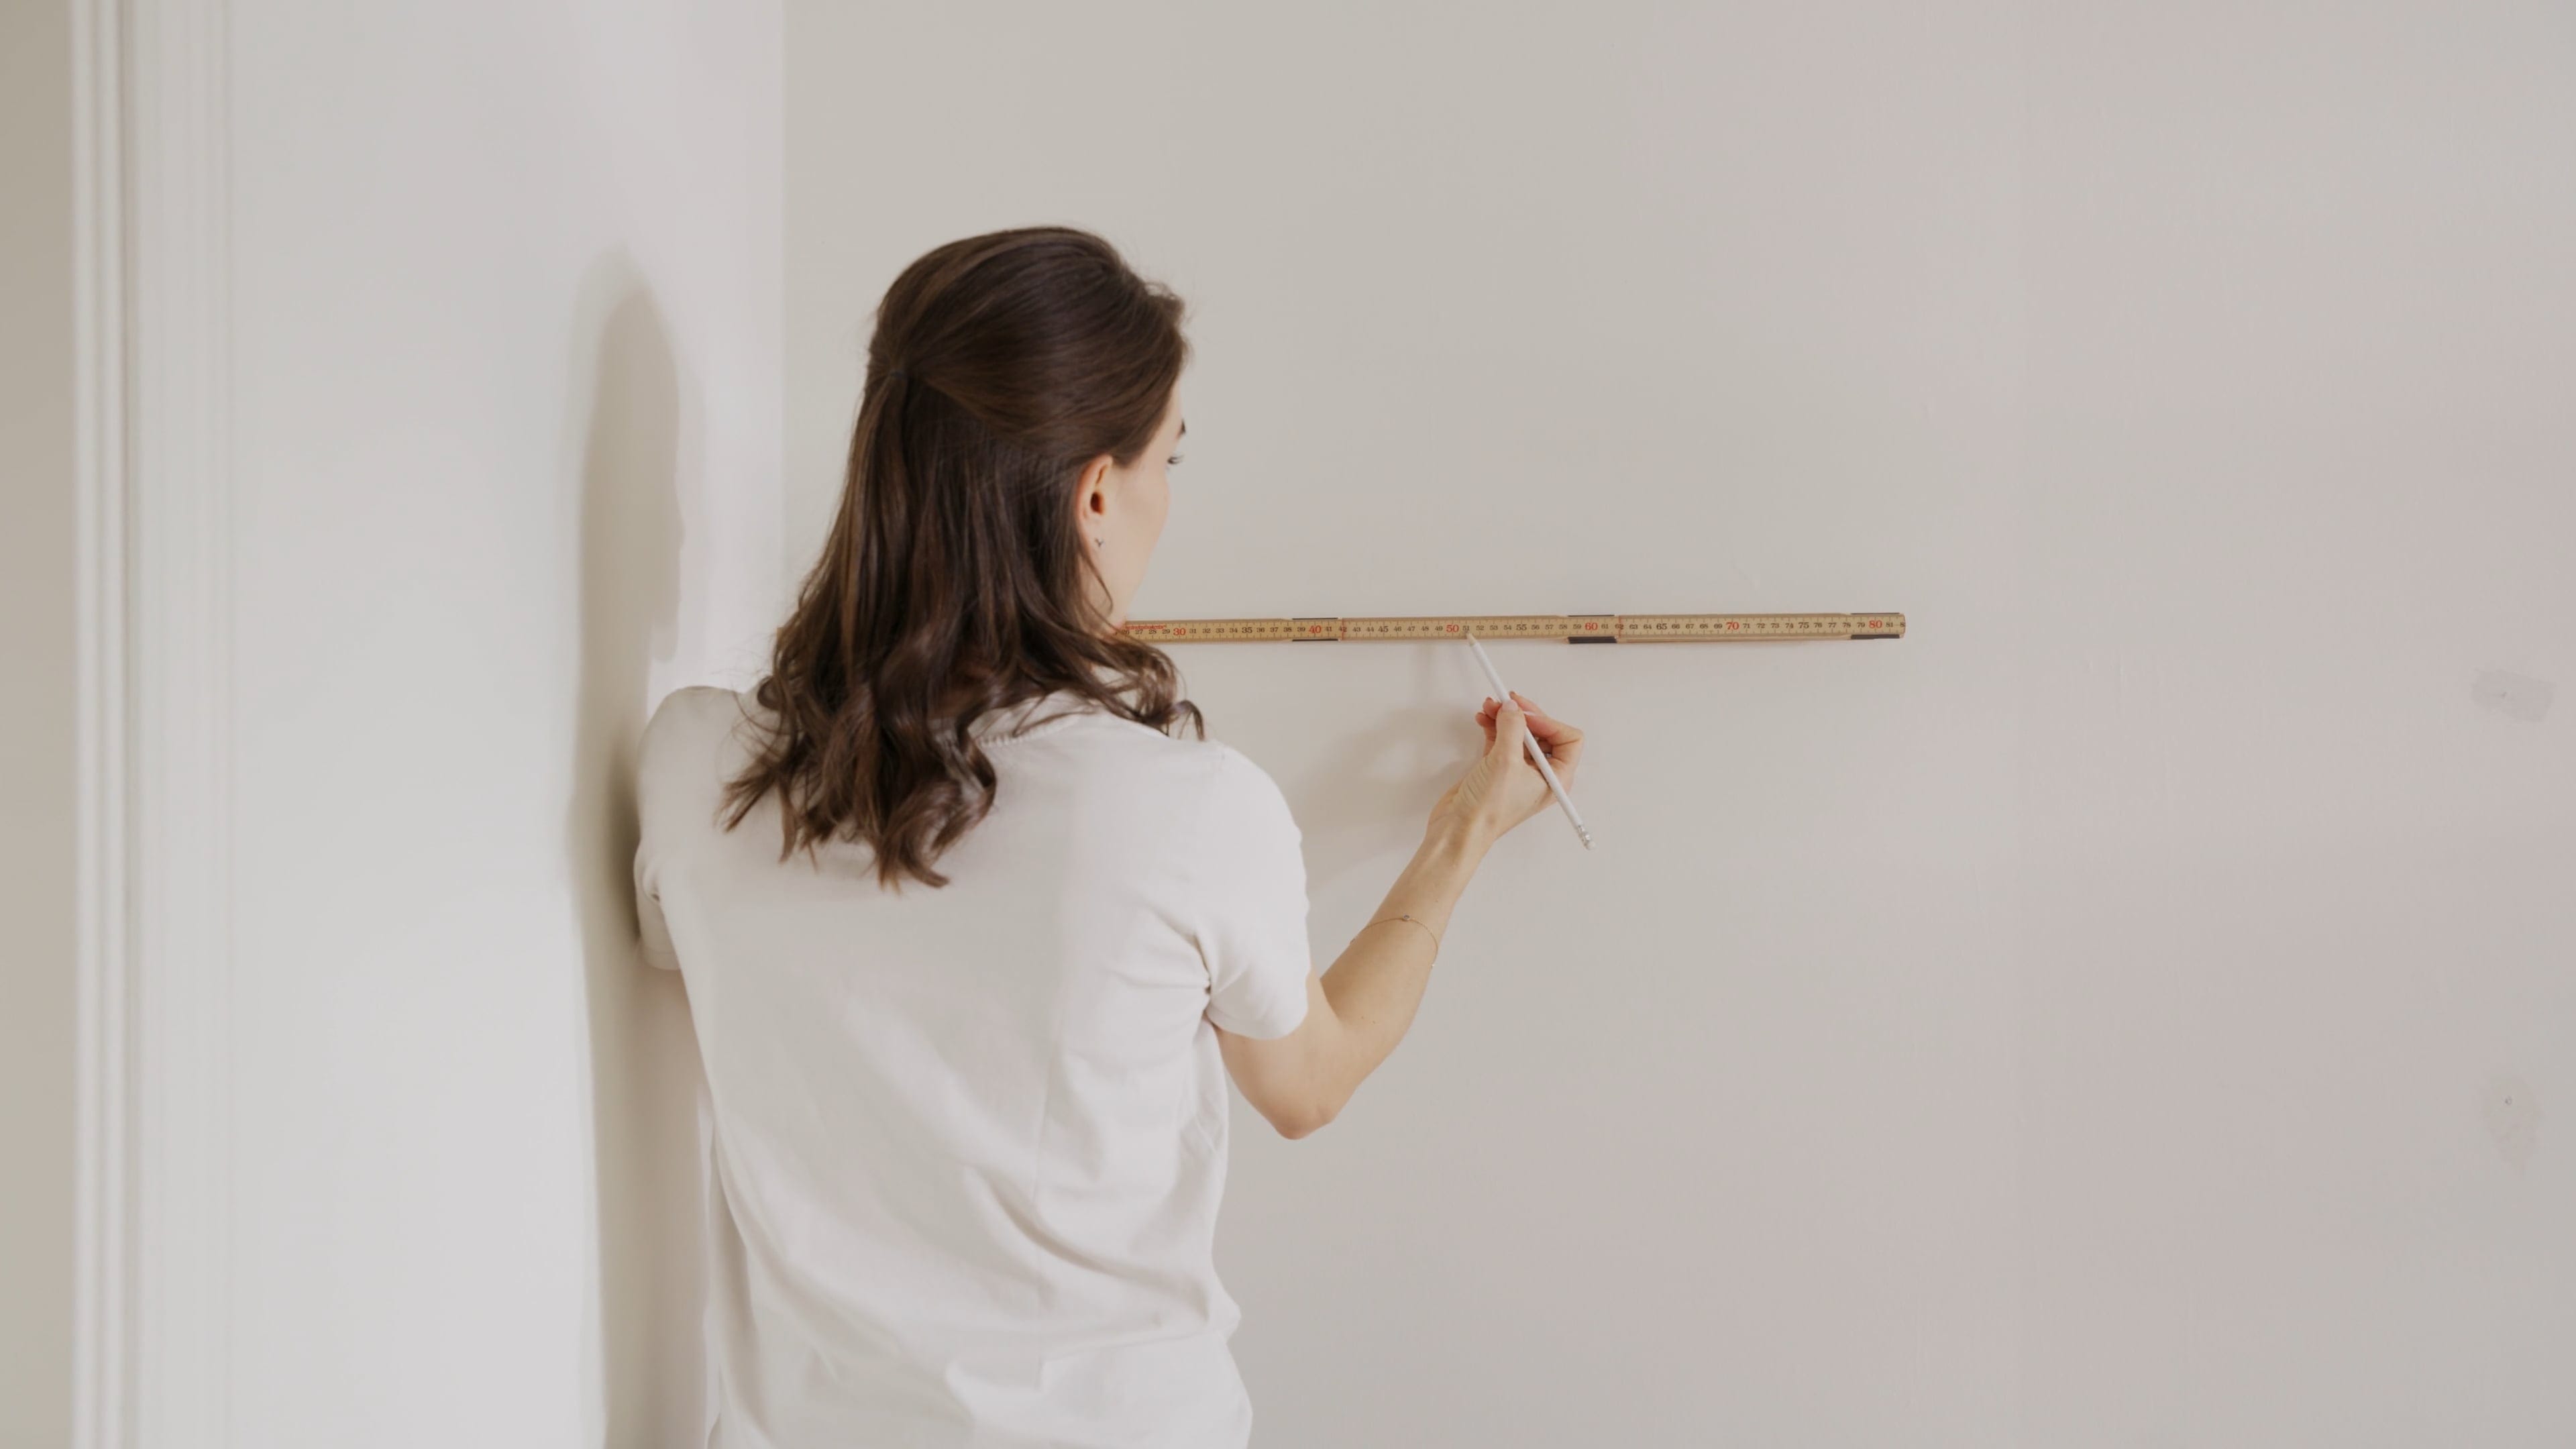
2. Measuring and cutting
If you have access to a laser level, use it to mark a straight line to work from. This helps ensure that the wallpaper is applied straight and evenly. Cut or trim the lengths at the scissor markings. Each length is numbered, so lay or stand them in numerical order before you start wallpapering.
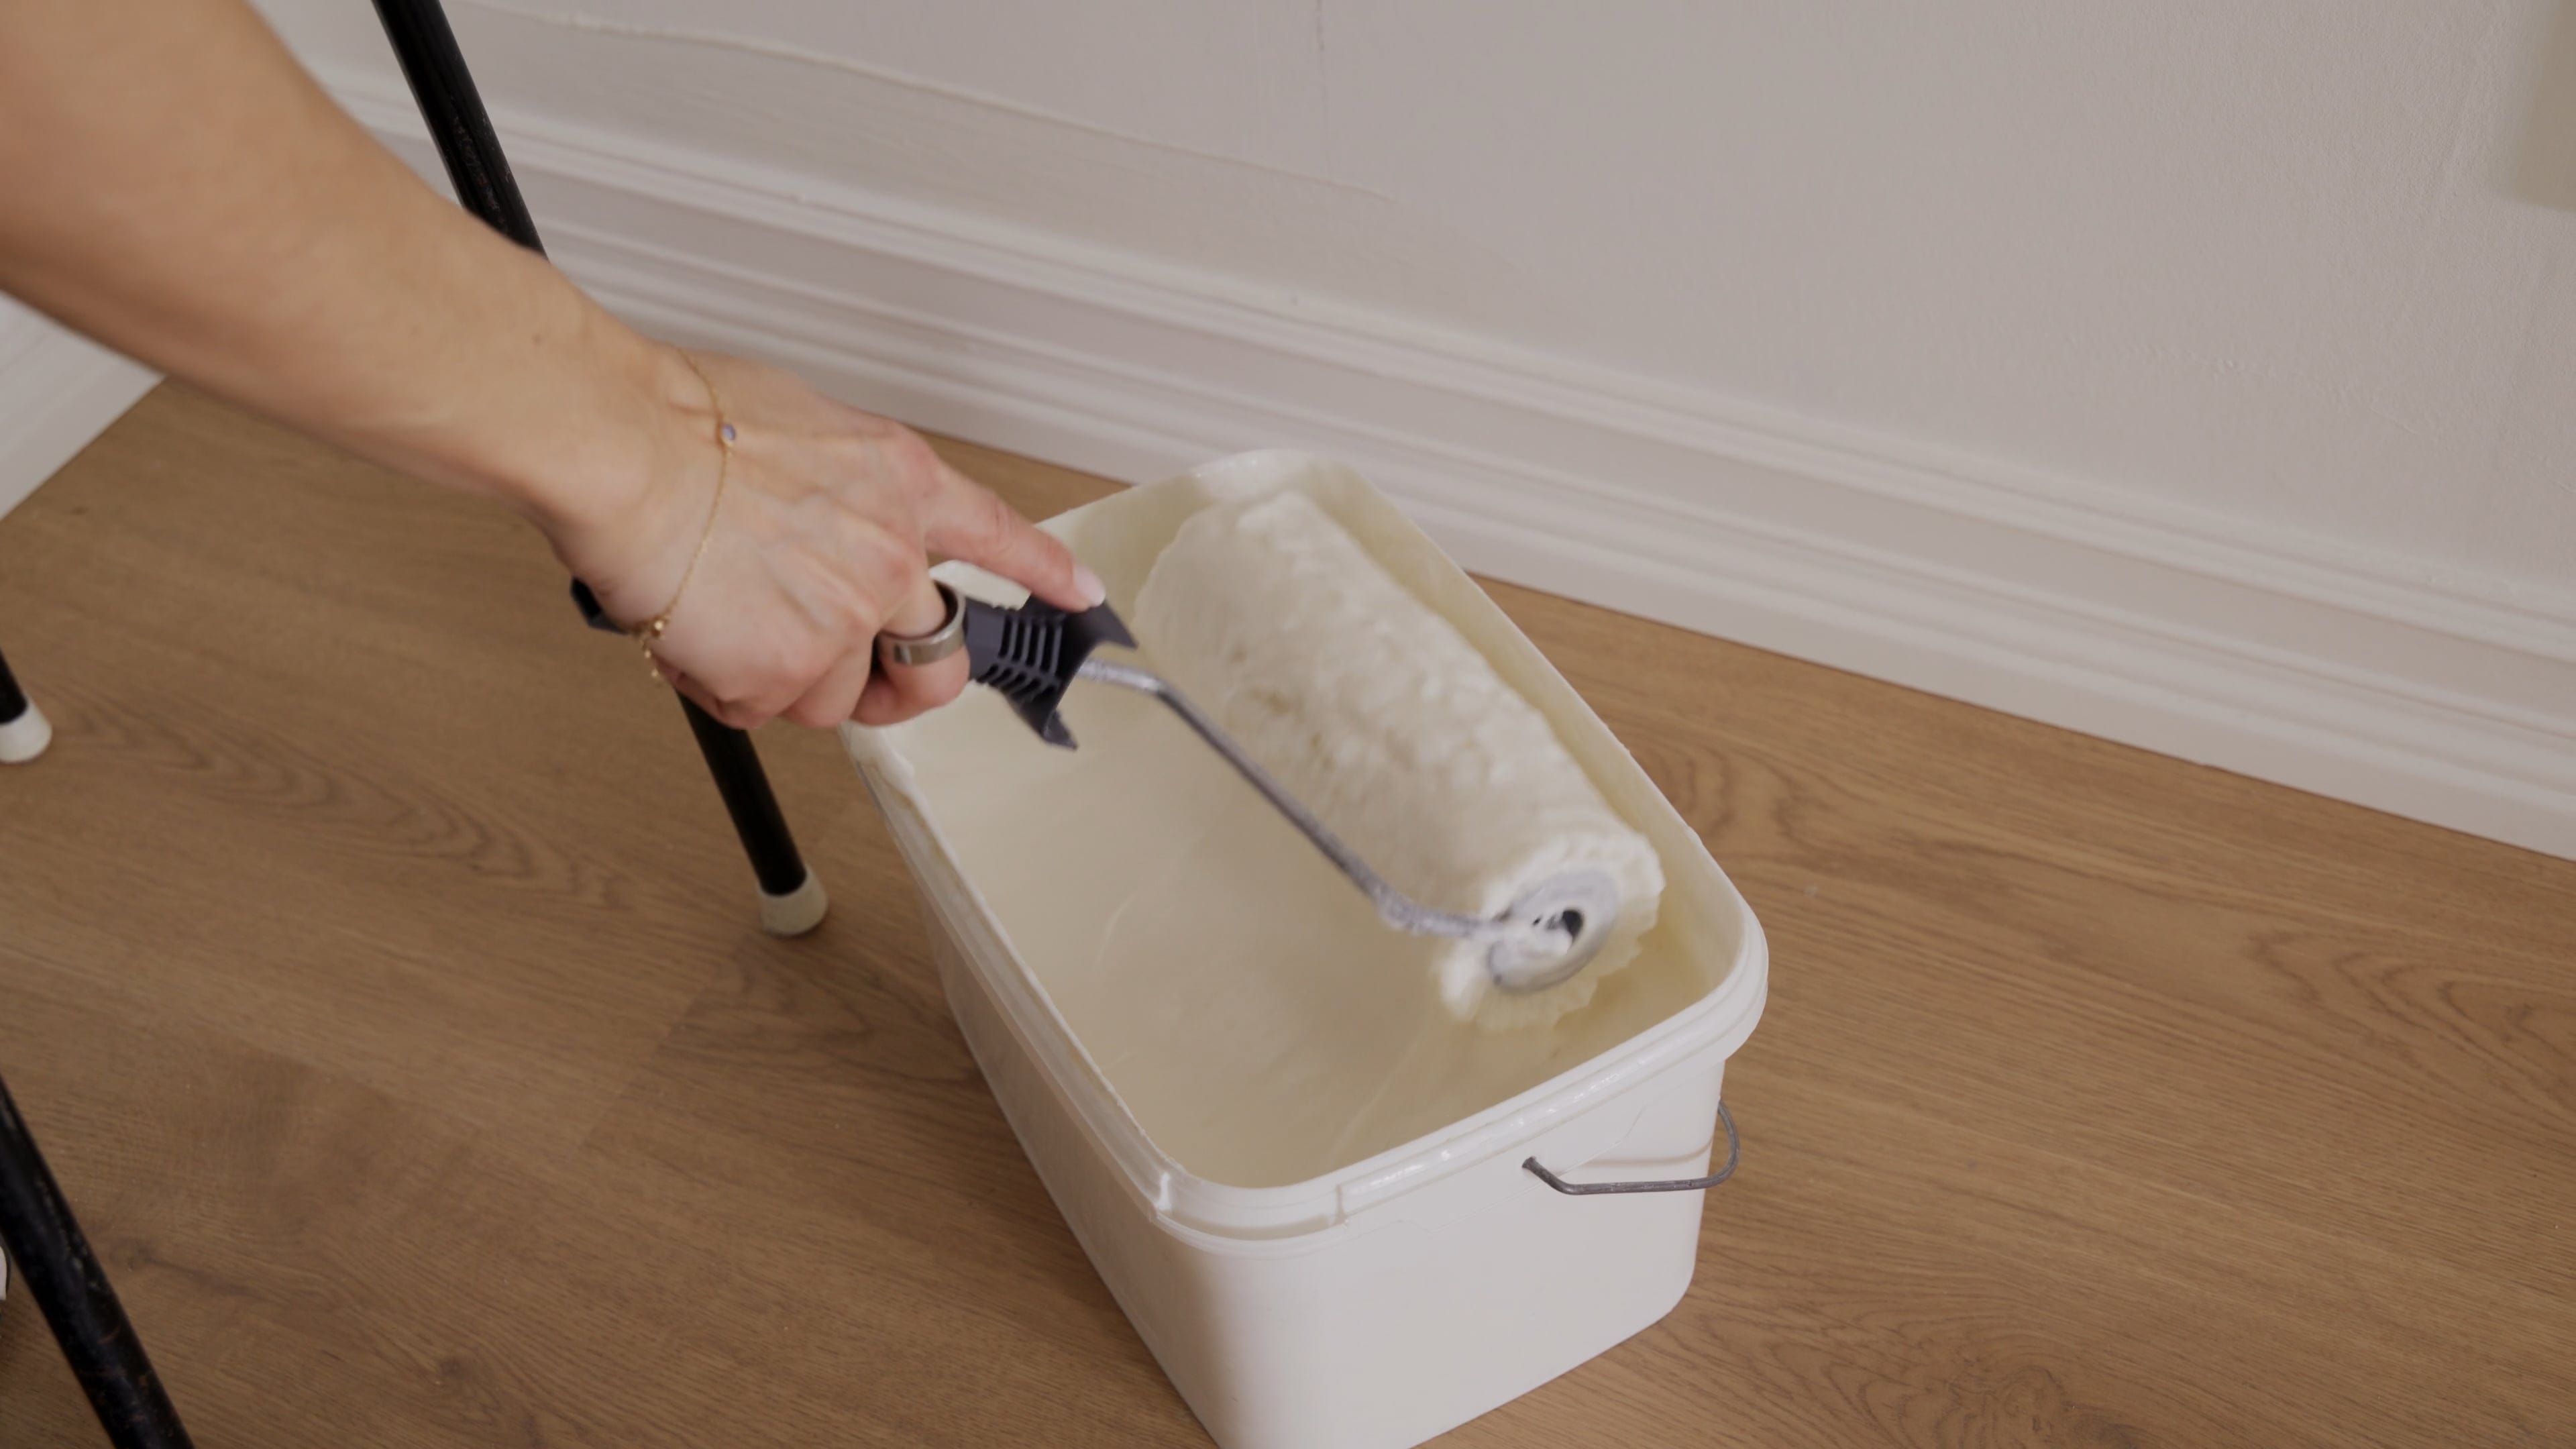
3. Apply paste to the ceiling
Use only a non-woven adhesive. Roll the adhesive onto the ceiling in a thin, even layer; one to two strip widths at a time is ideal.
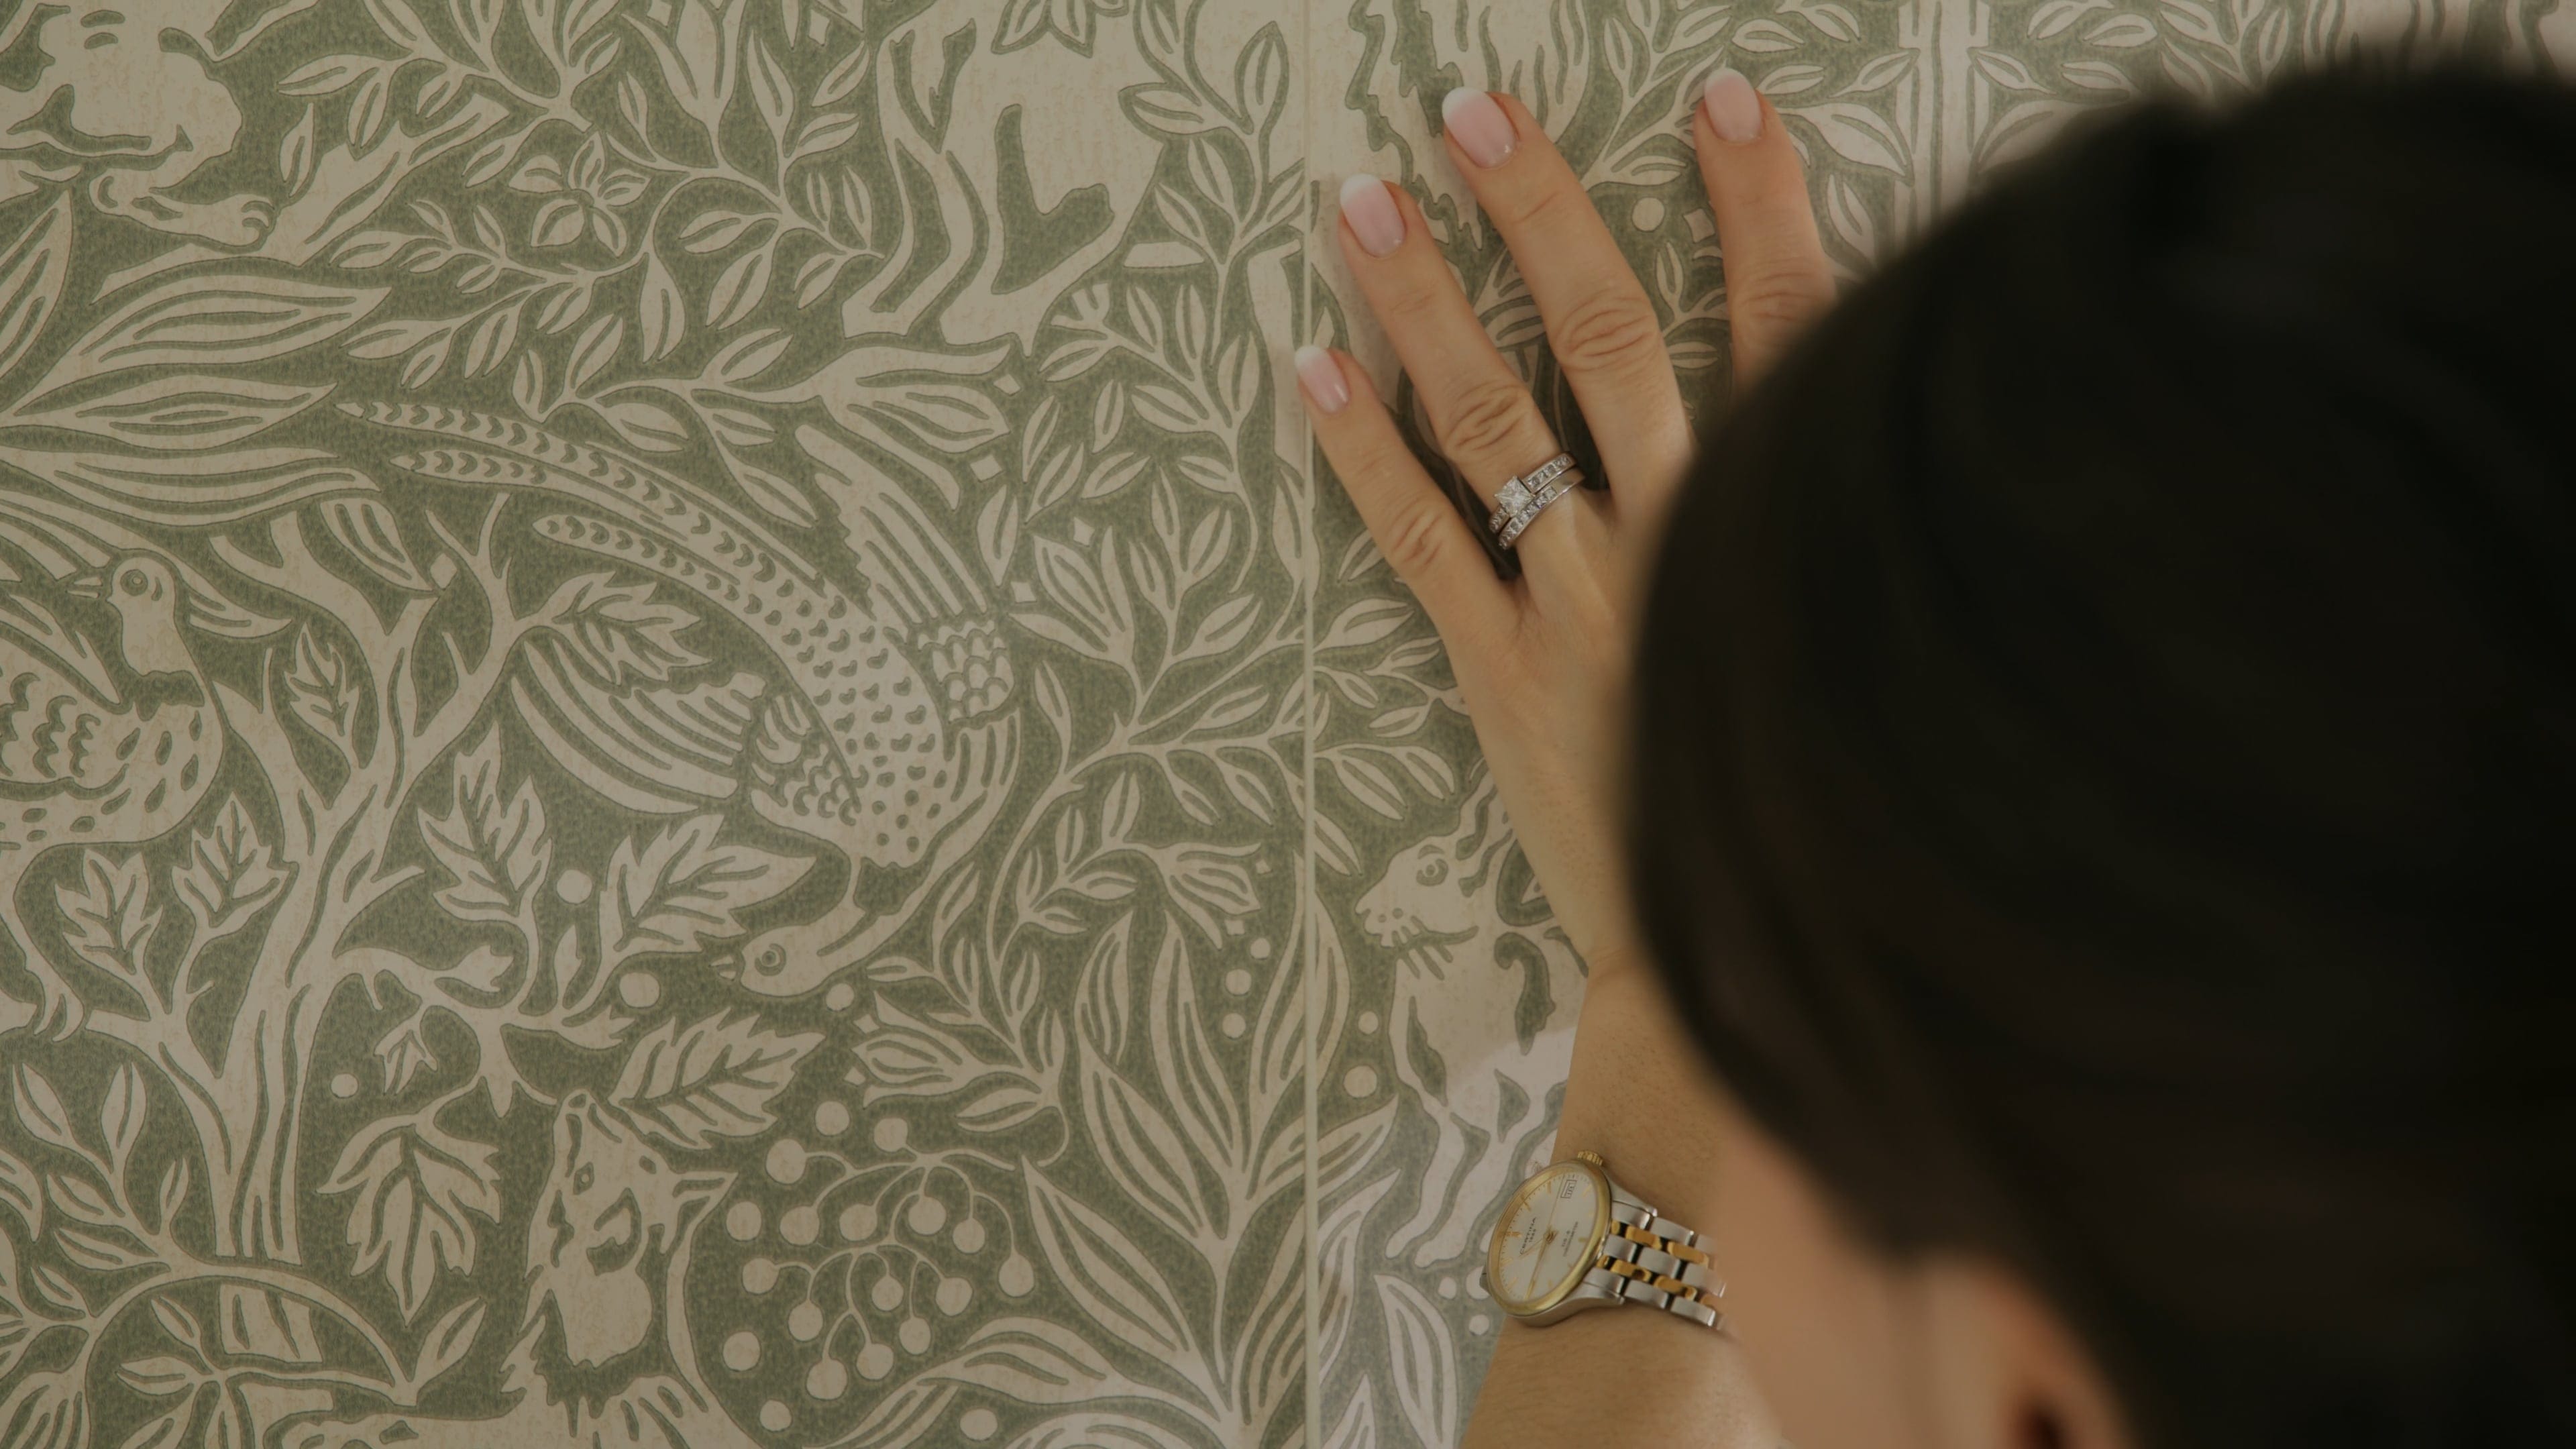
4. Hanging the first length
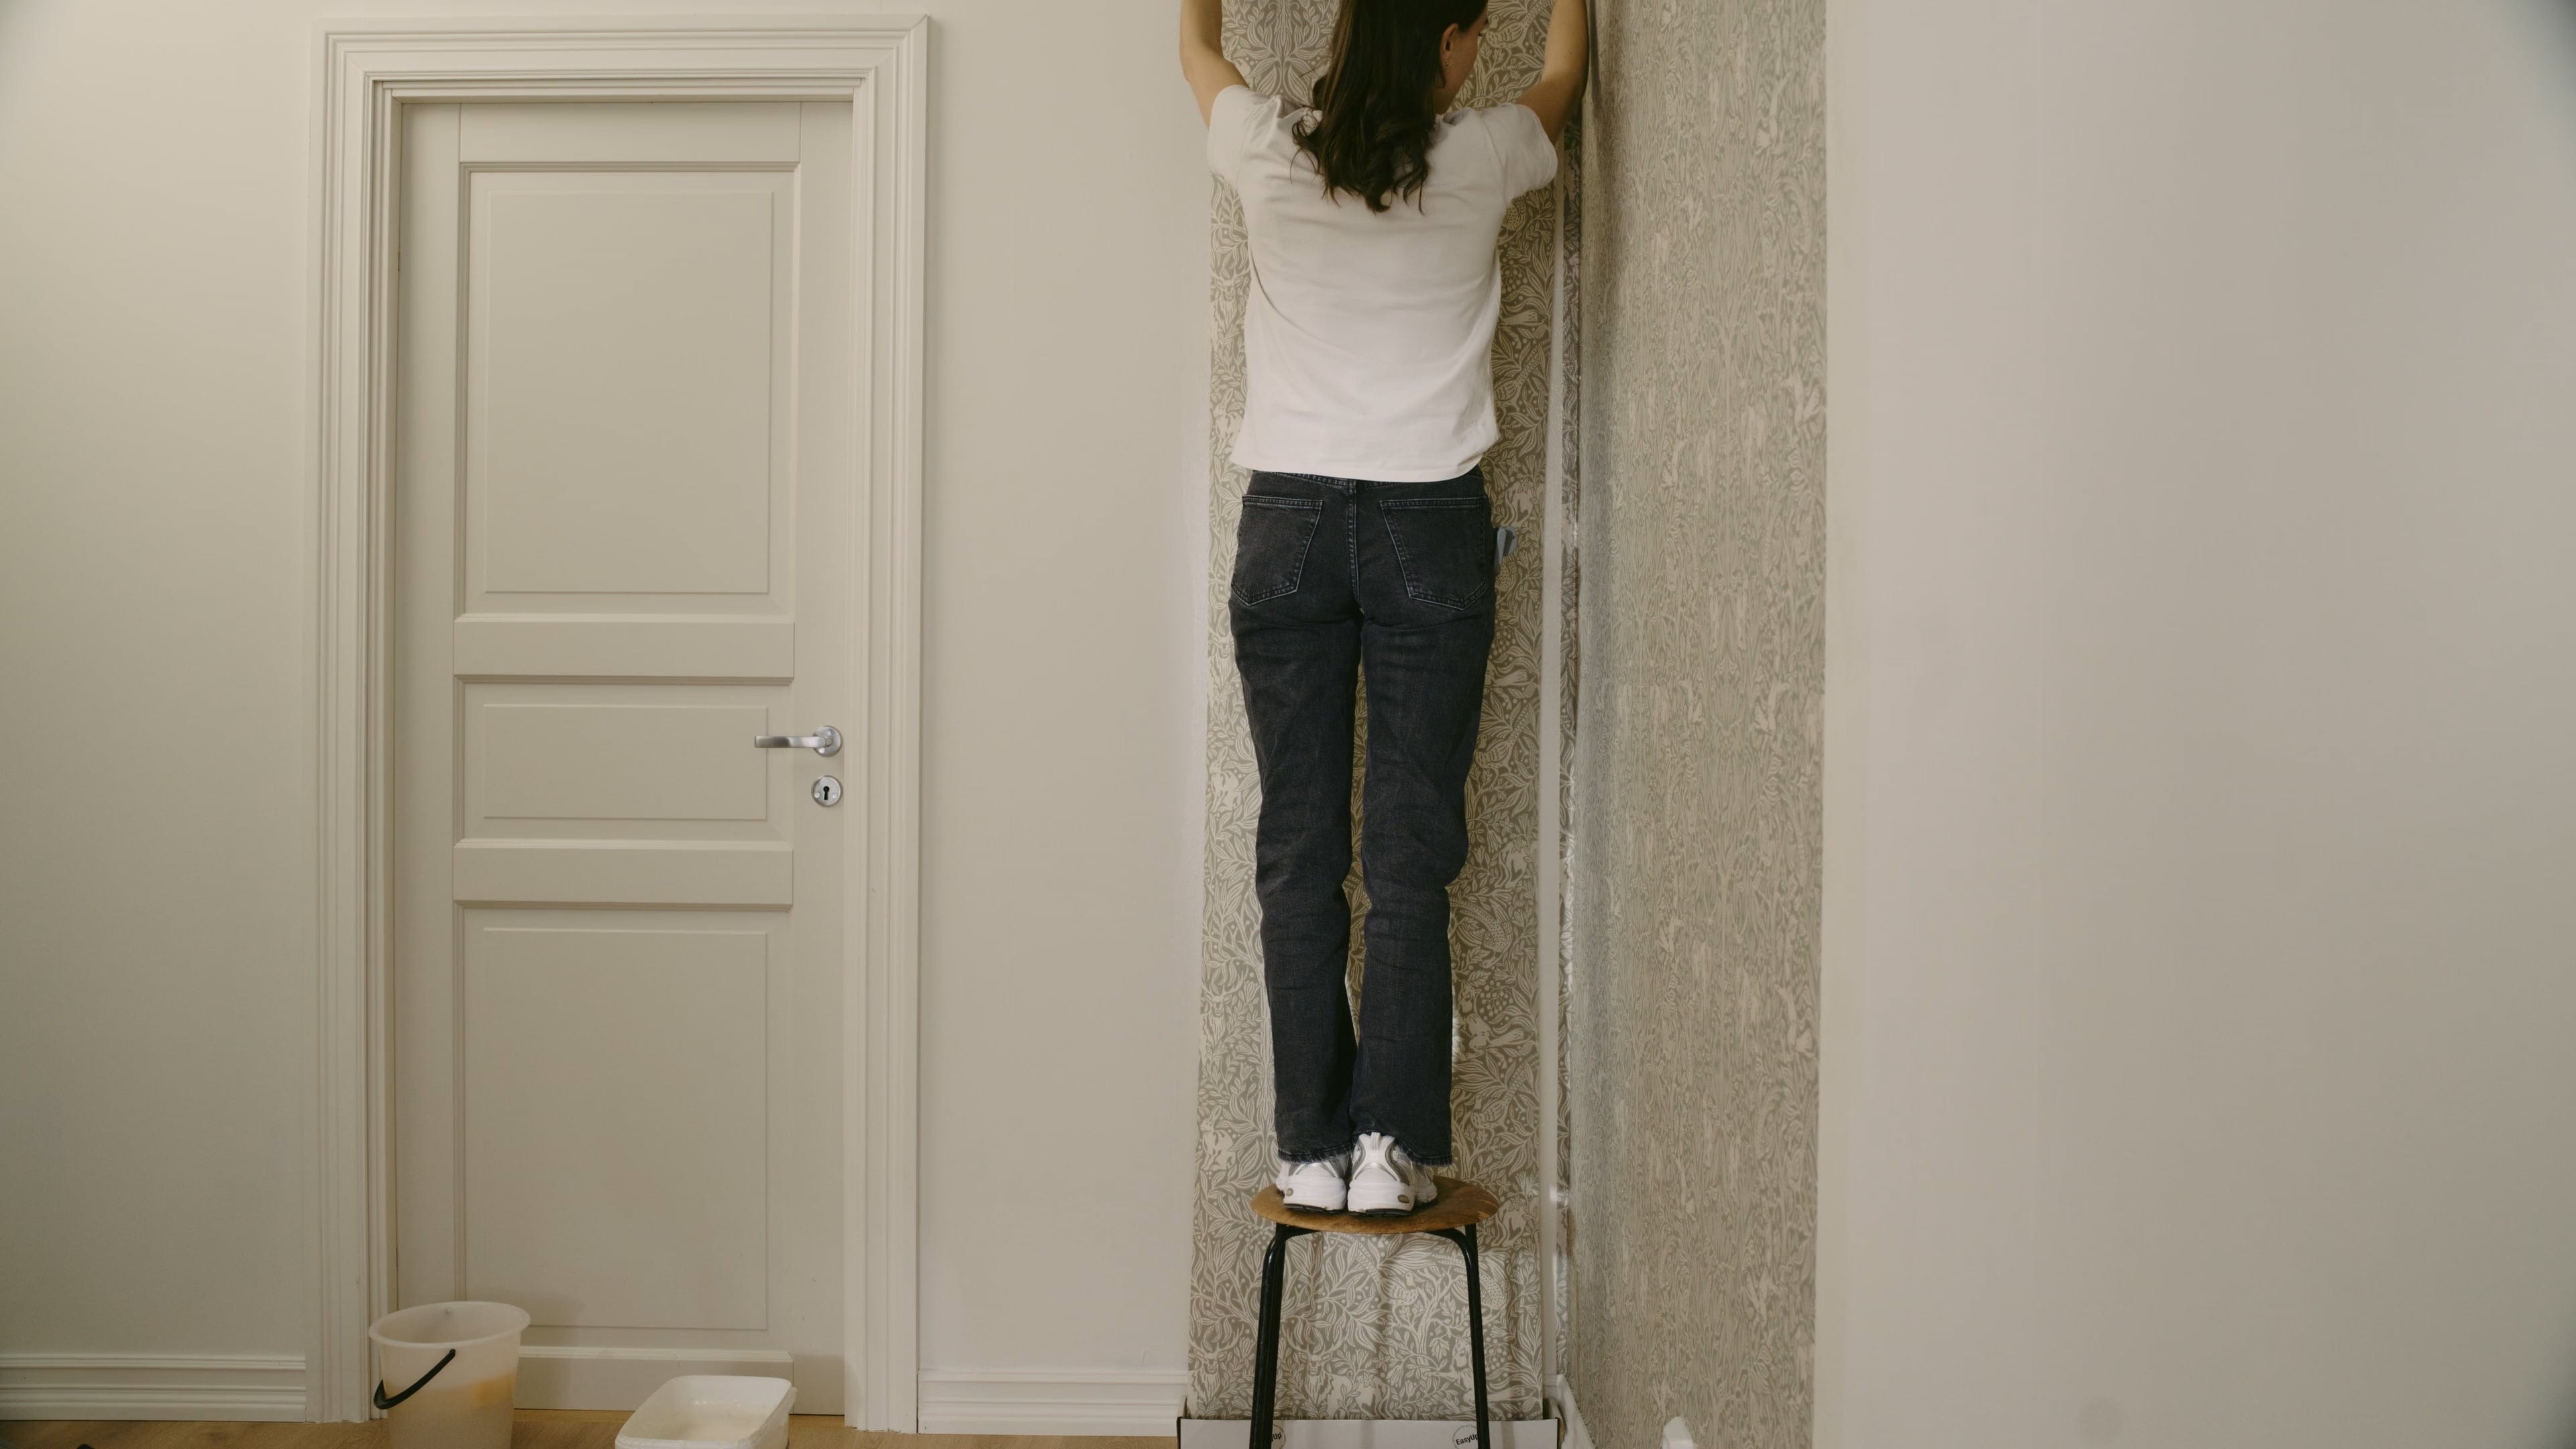
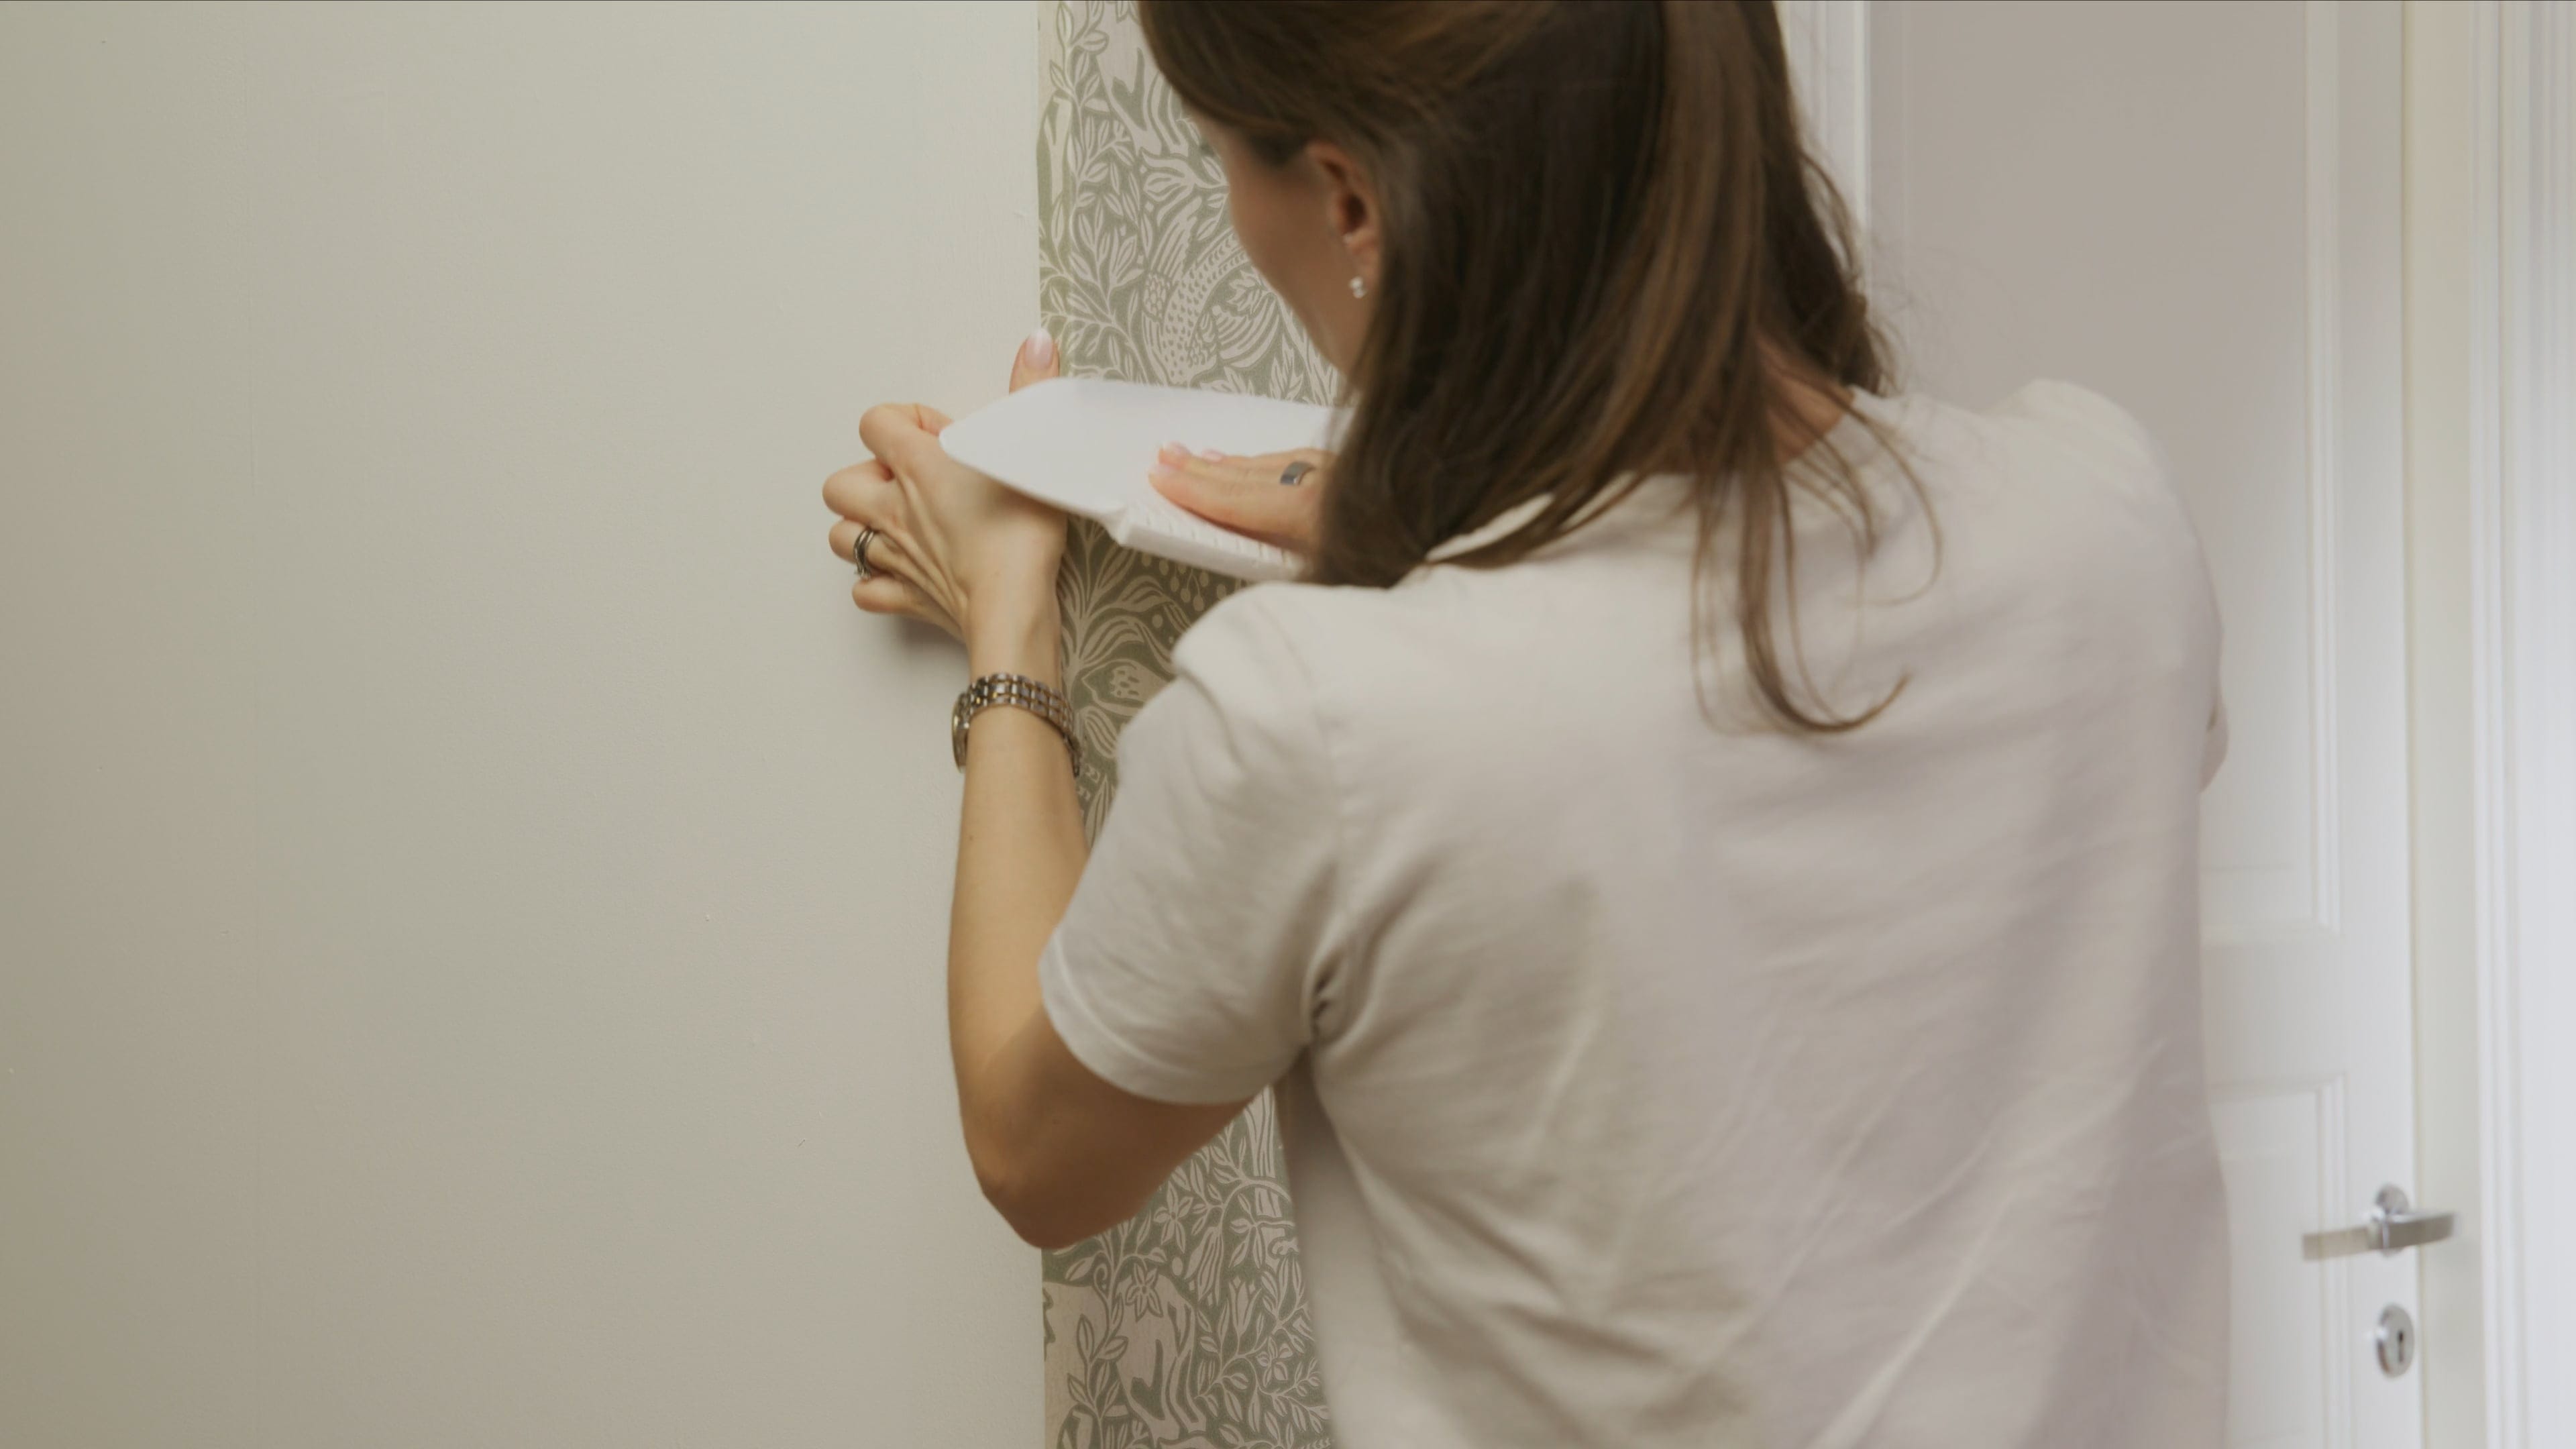
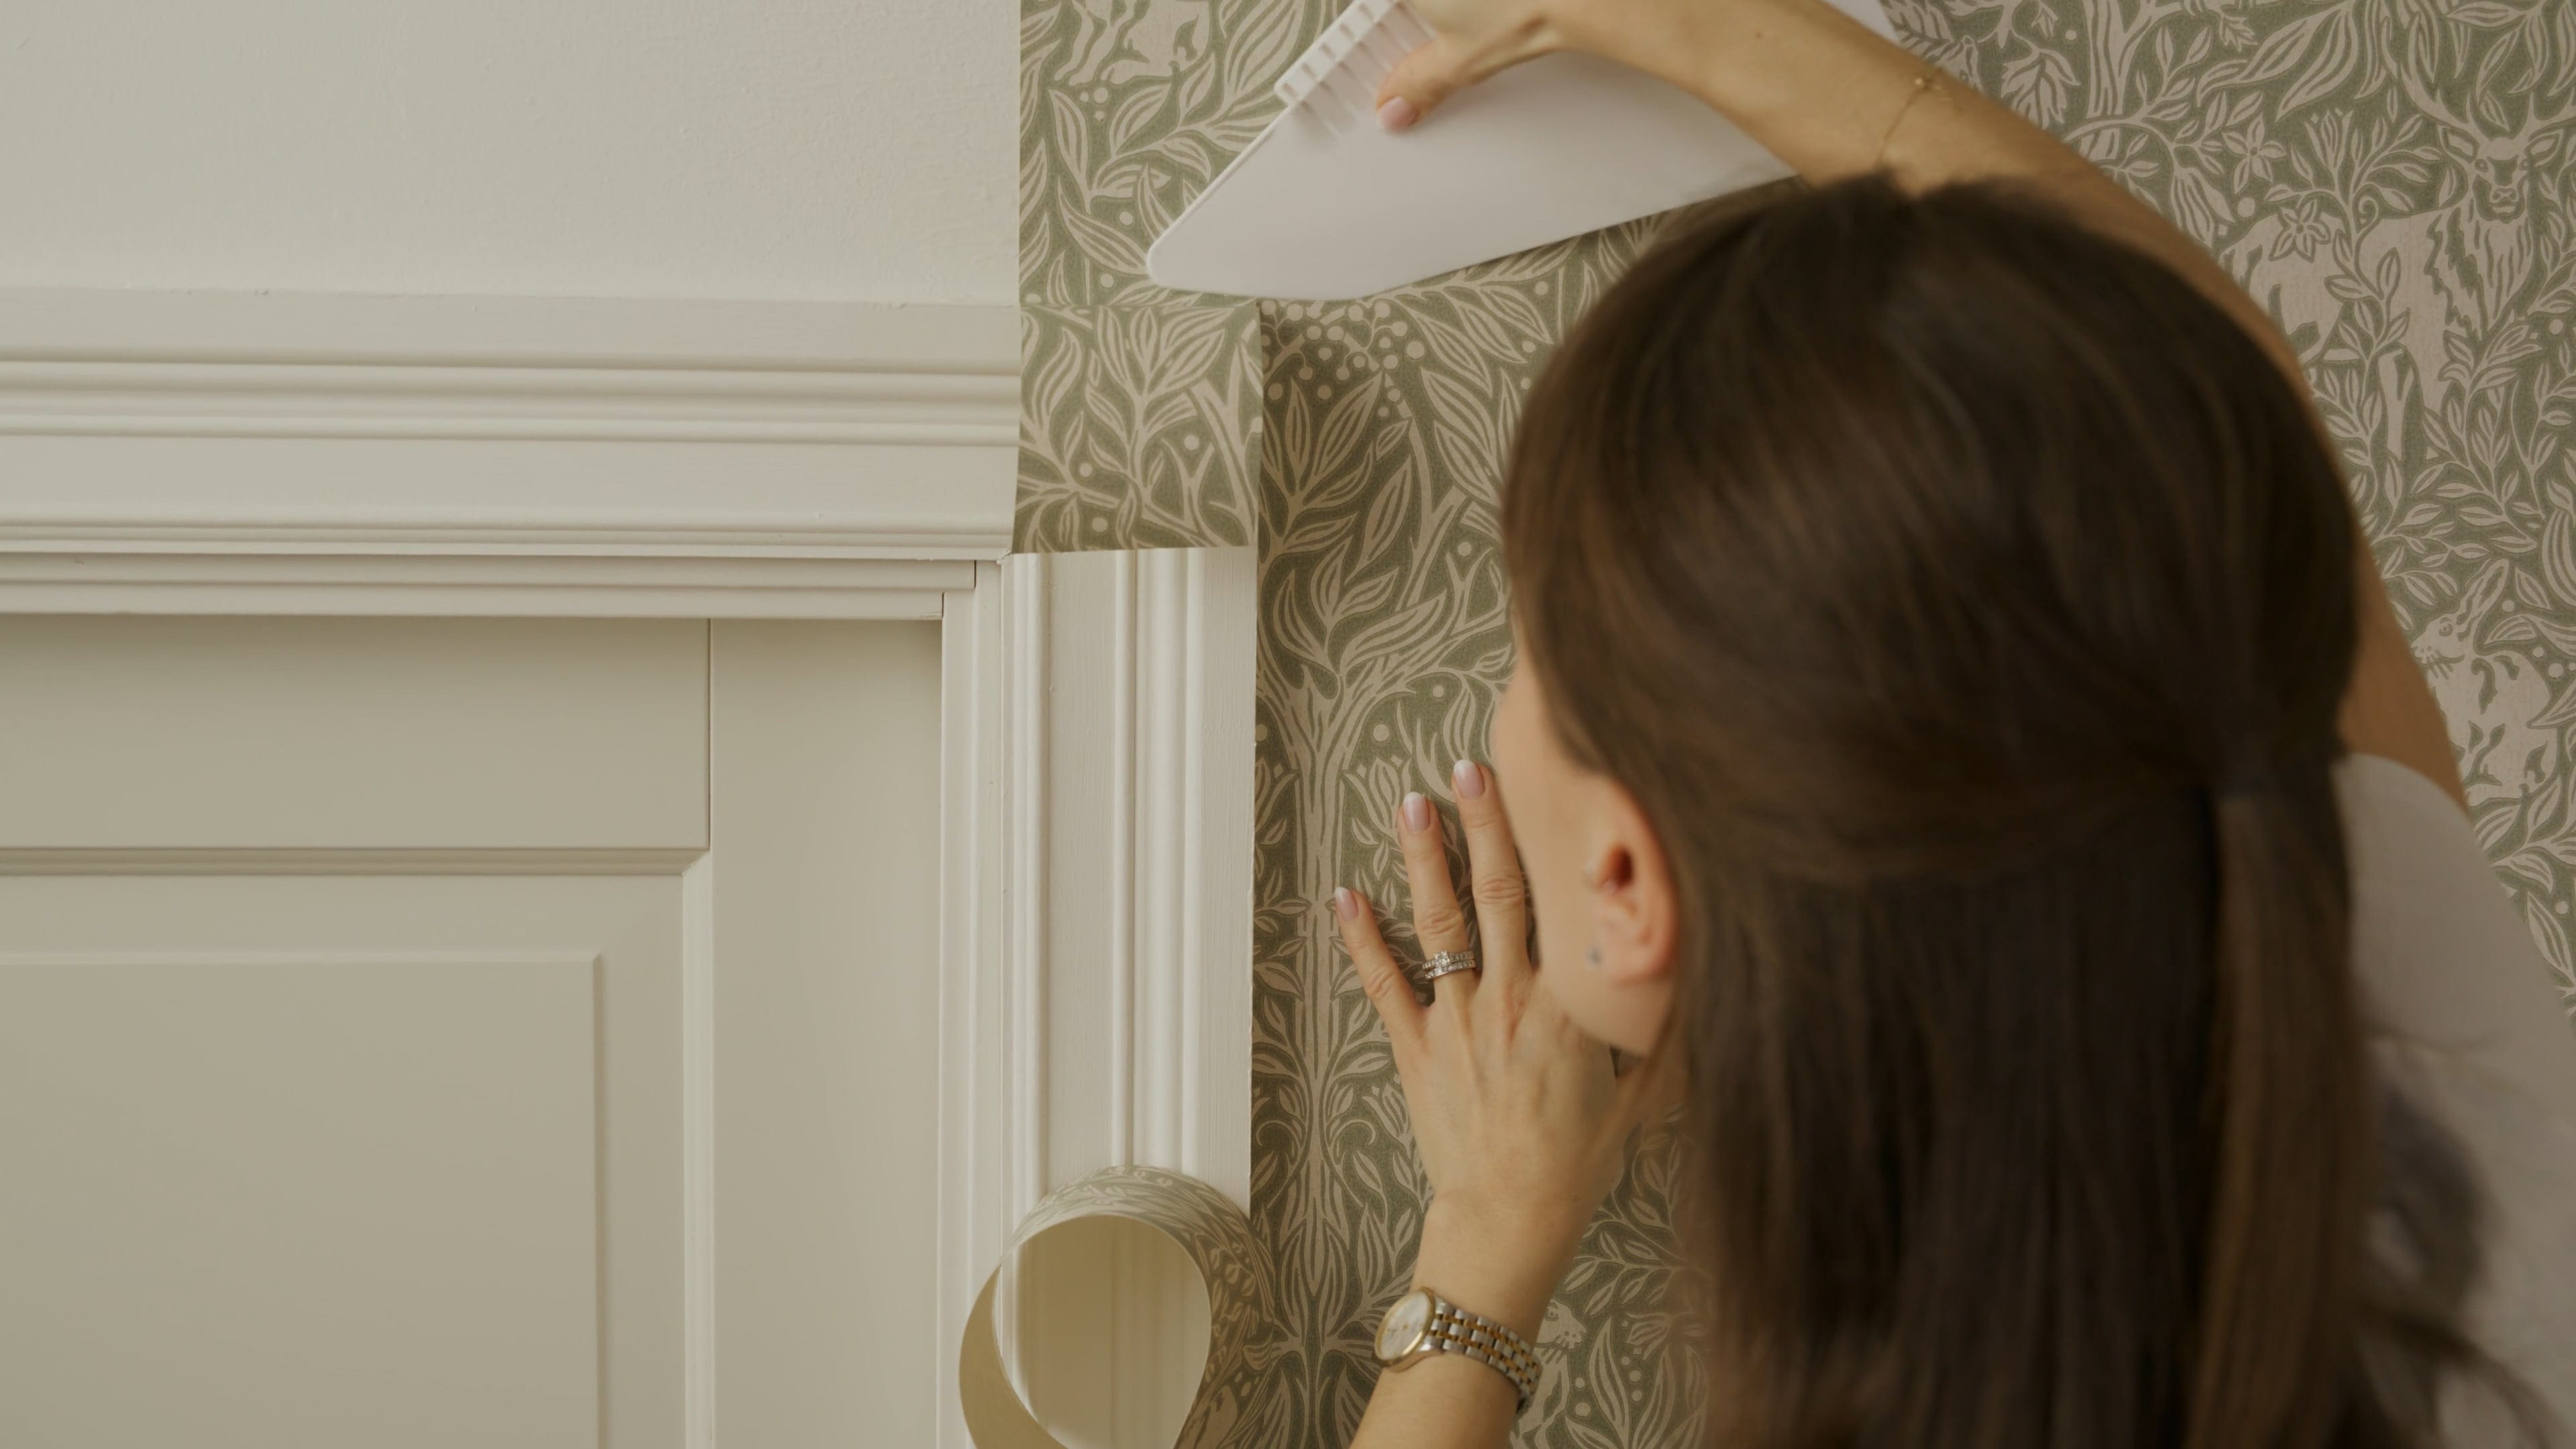
Start wallpapering from left to right across the ceiling. Place the first length along the edge and along the drawn line. Use a wallpapering tool to smooth it out and press away any air bubbles. Trim off excess wallpaper along the edges with a wallpaper knife and wipe away surplus adhesive with a soft, damp sponge.
5. Continue with the next length:
Place the next length next to the first and match the pattern. Repeat the above steps by smoothing out, pressing away air bubbles, trimming neatly, and wiping away surplus adhesive. Continue hanging the remaining lengths in the same way using adhesive, pattern matching, a wallpapering tool, knife, and damp sponge.
Our guides