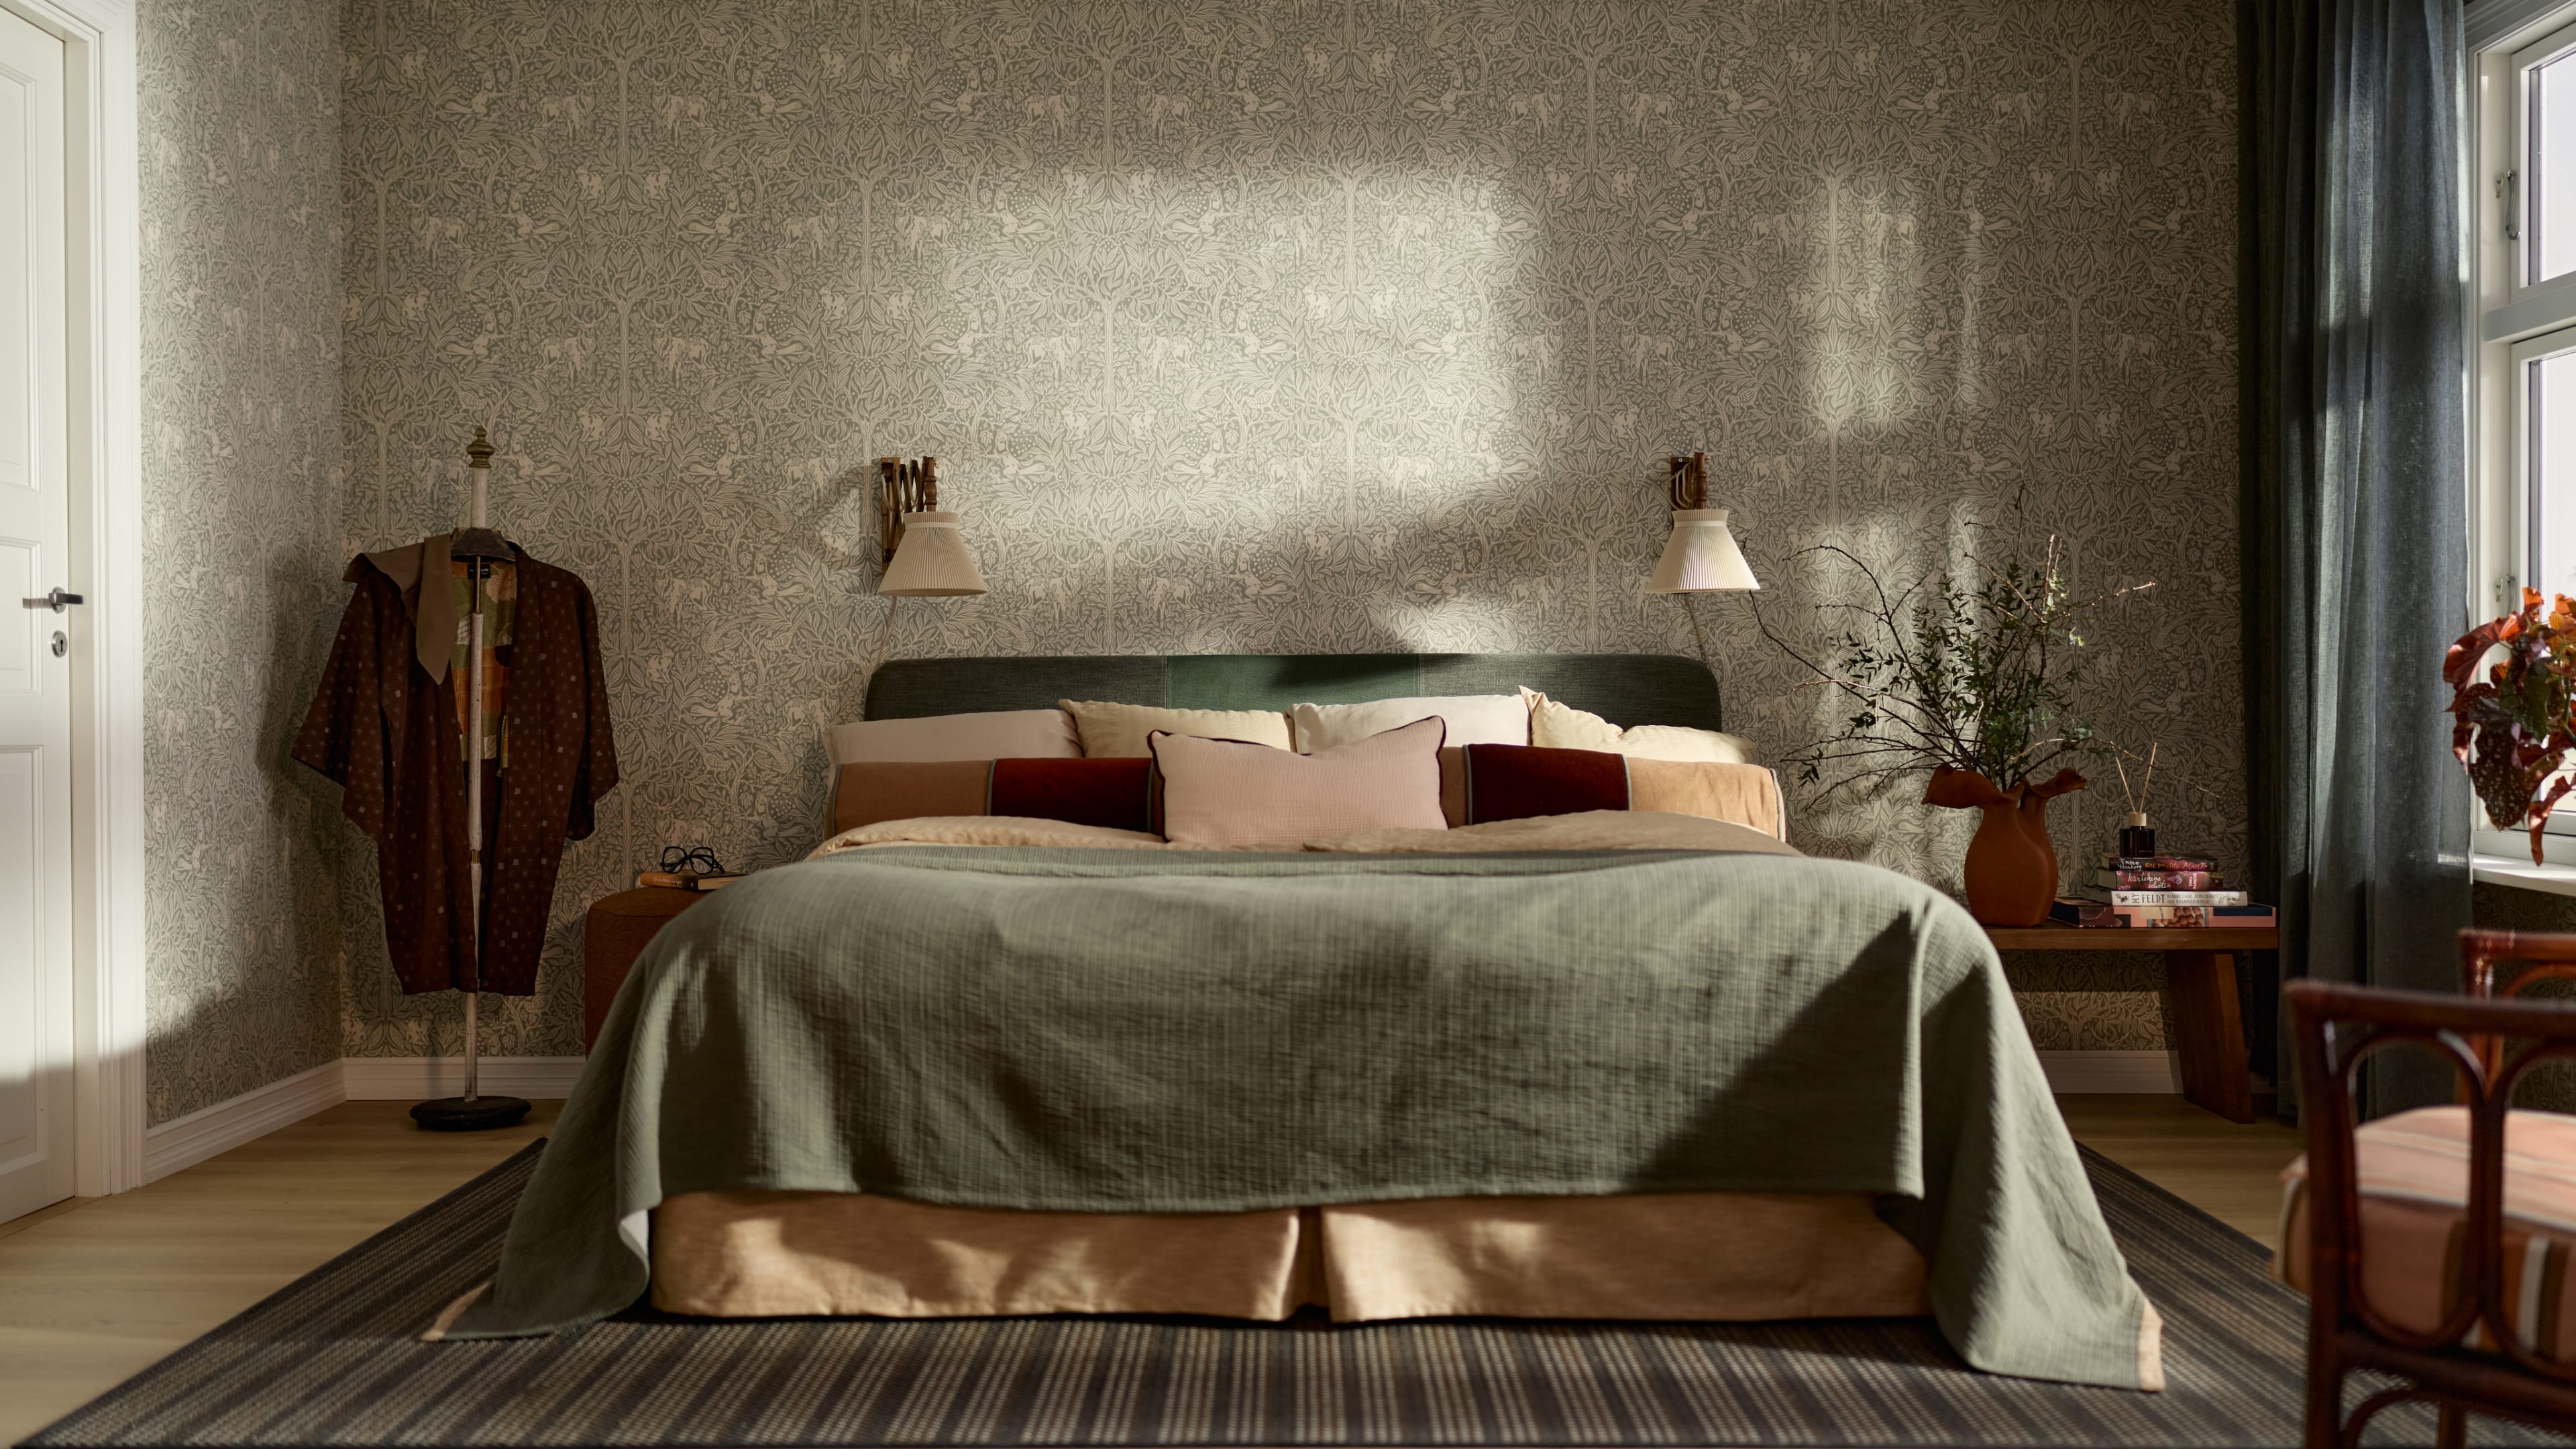
With the right tools and careful preparation, your work will be easier and the end result even better.

 
Load video: Wallpapering school – learn how to hang wallpaper, step by step.

Here’s how

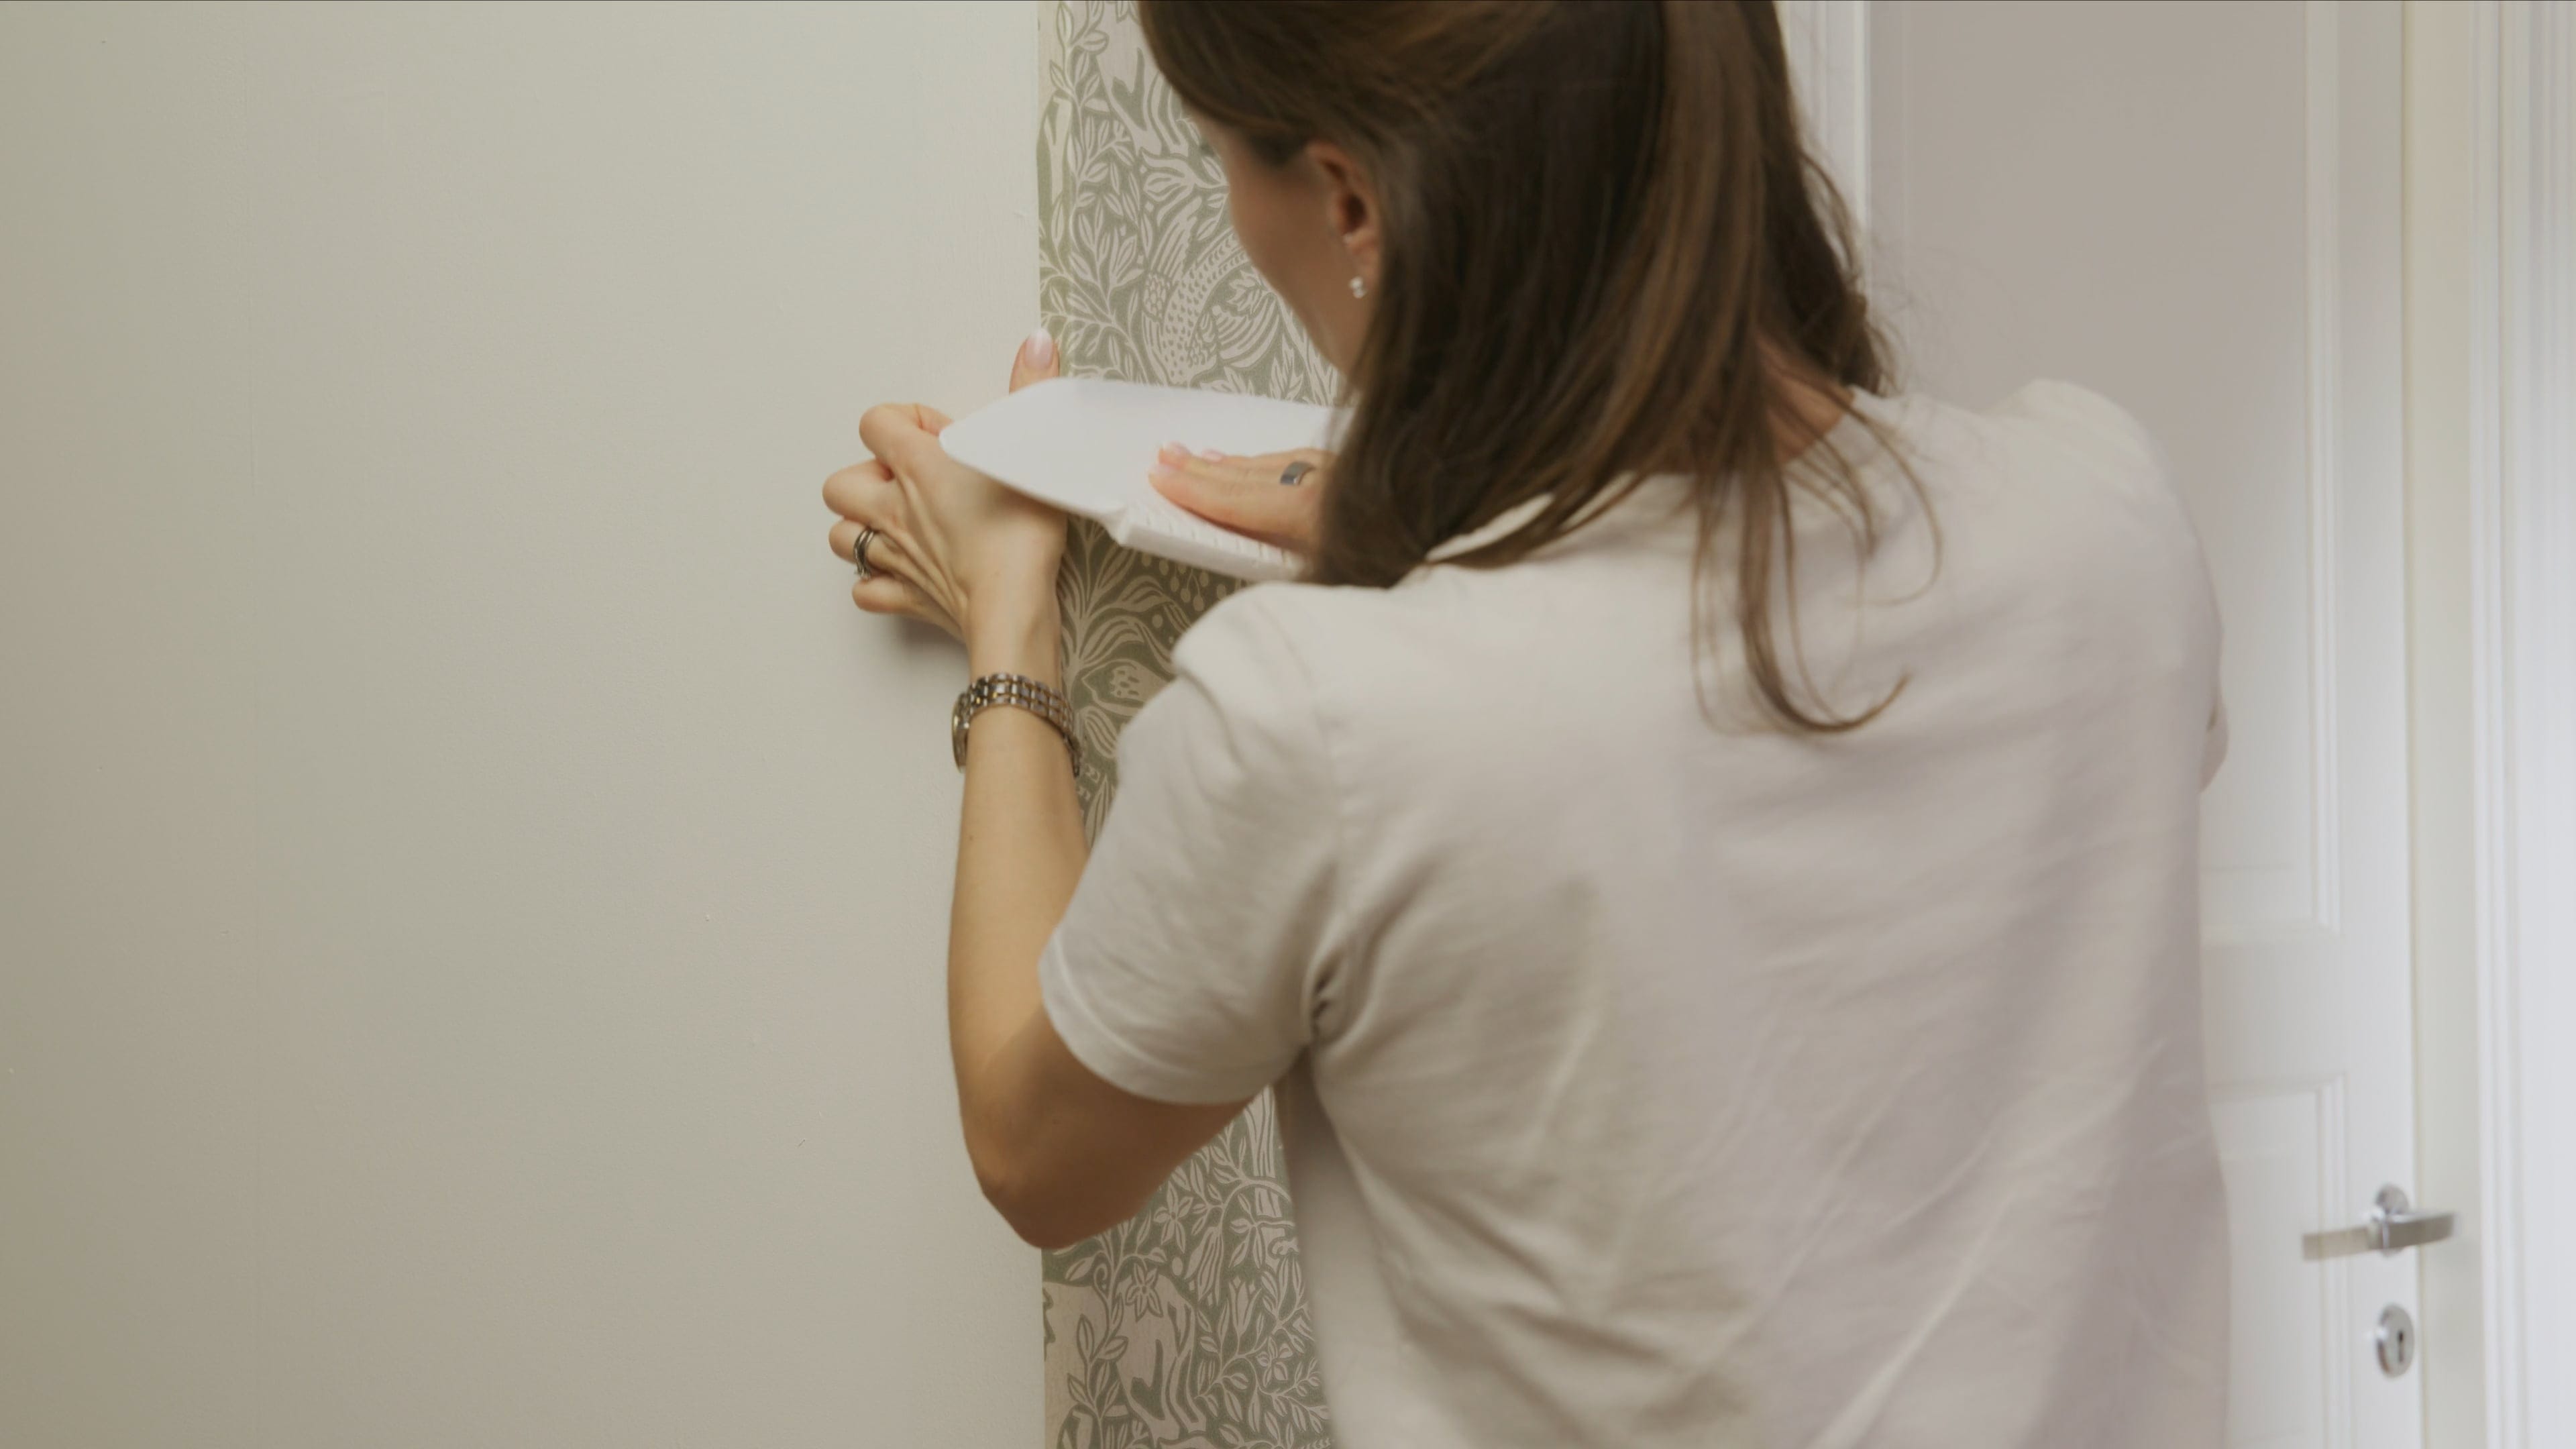
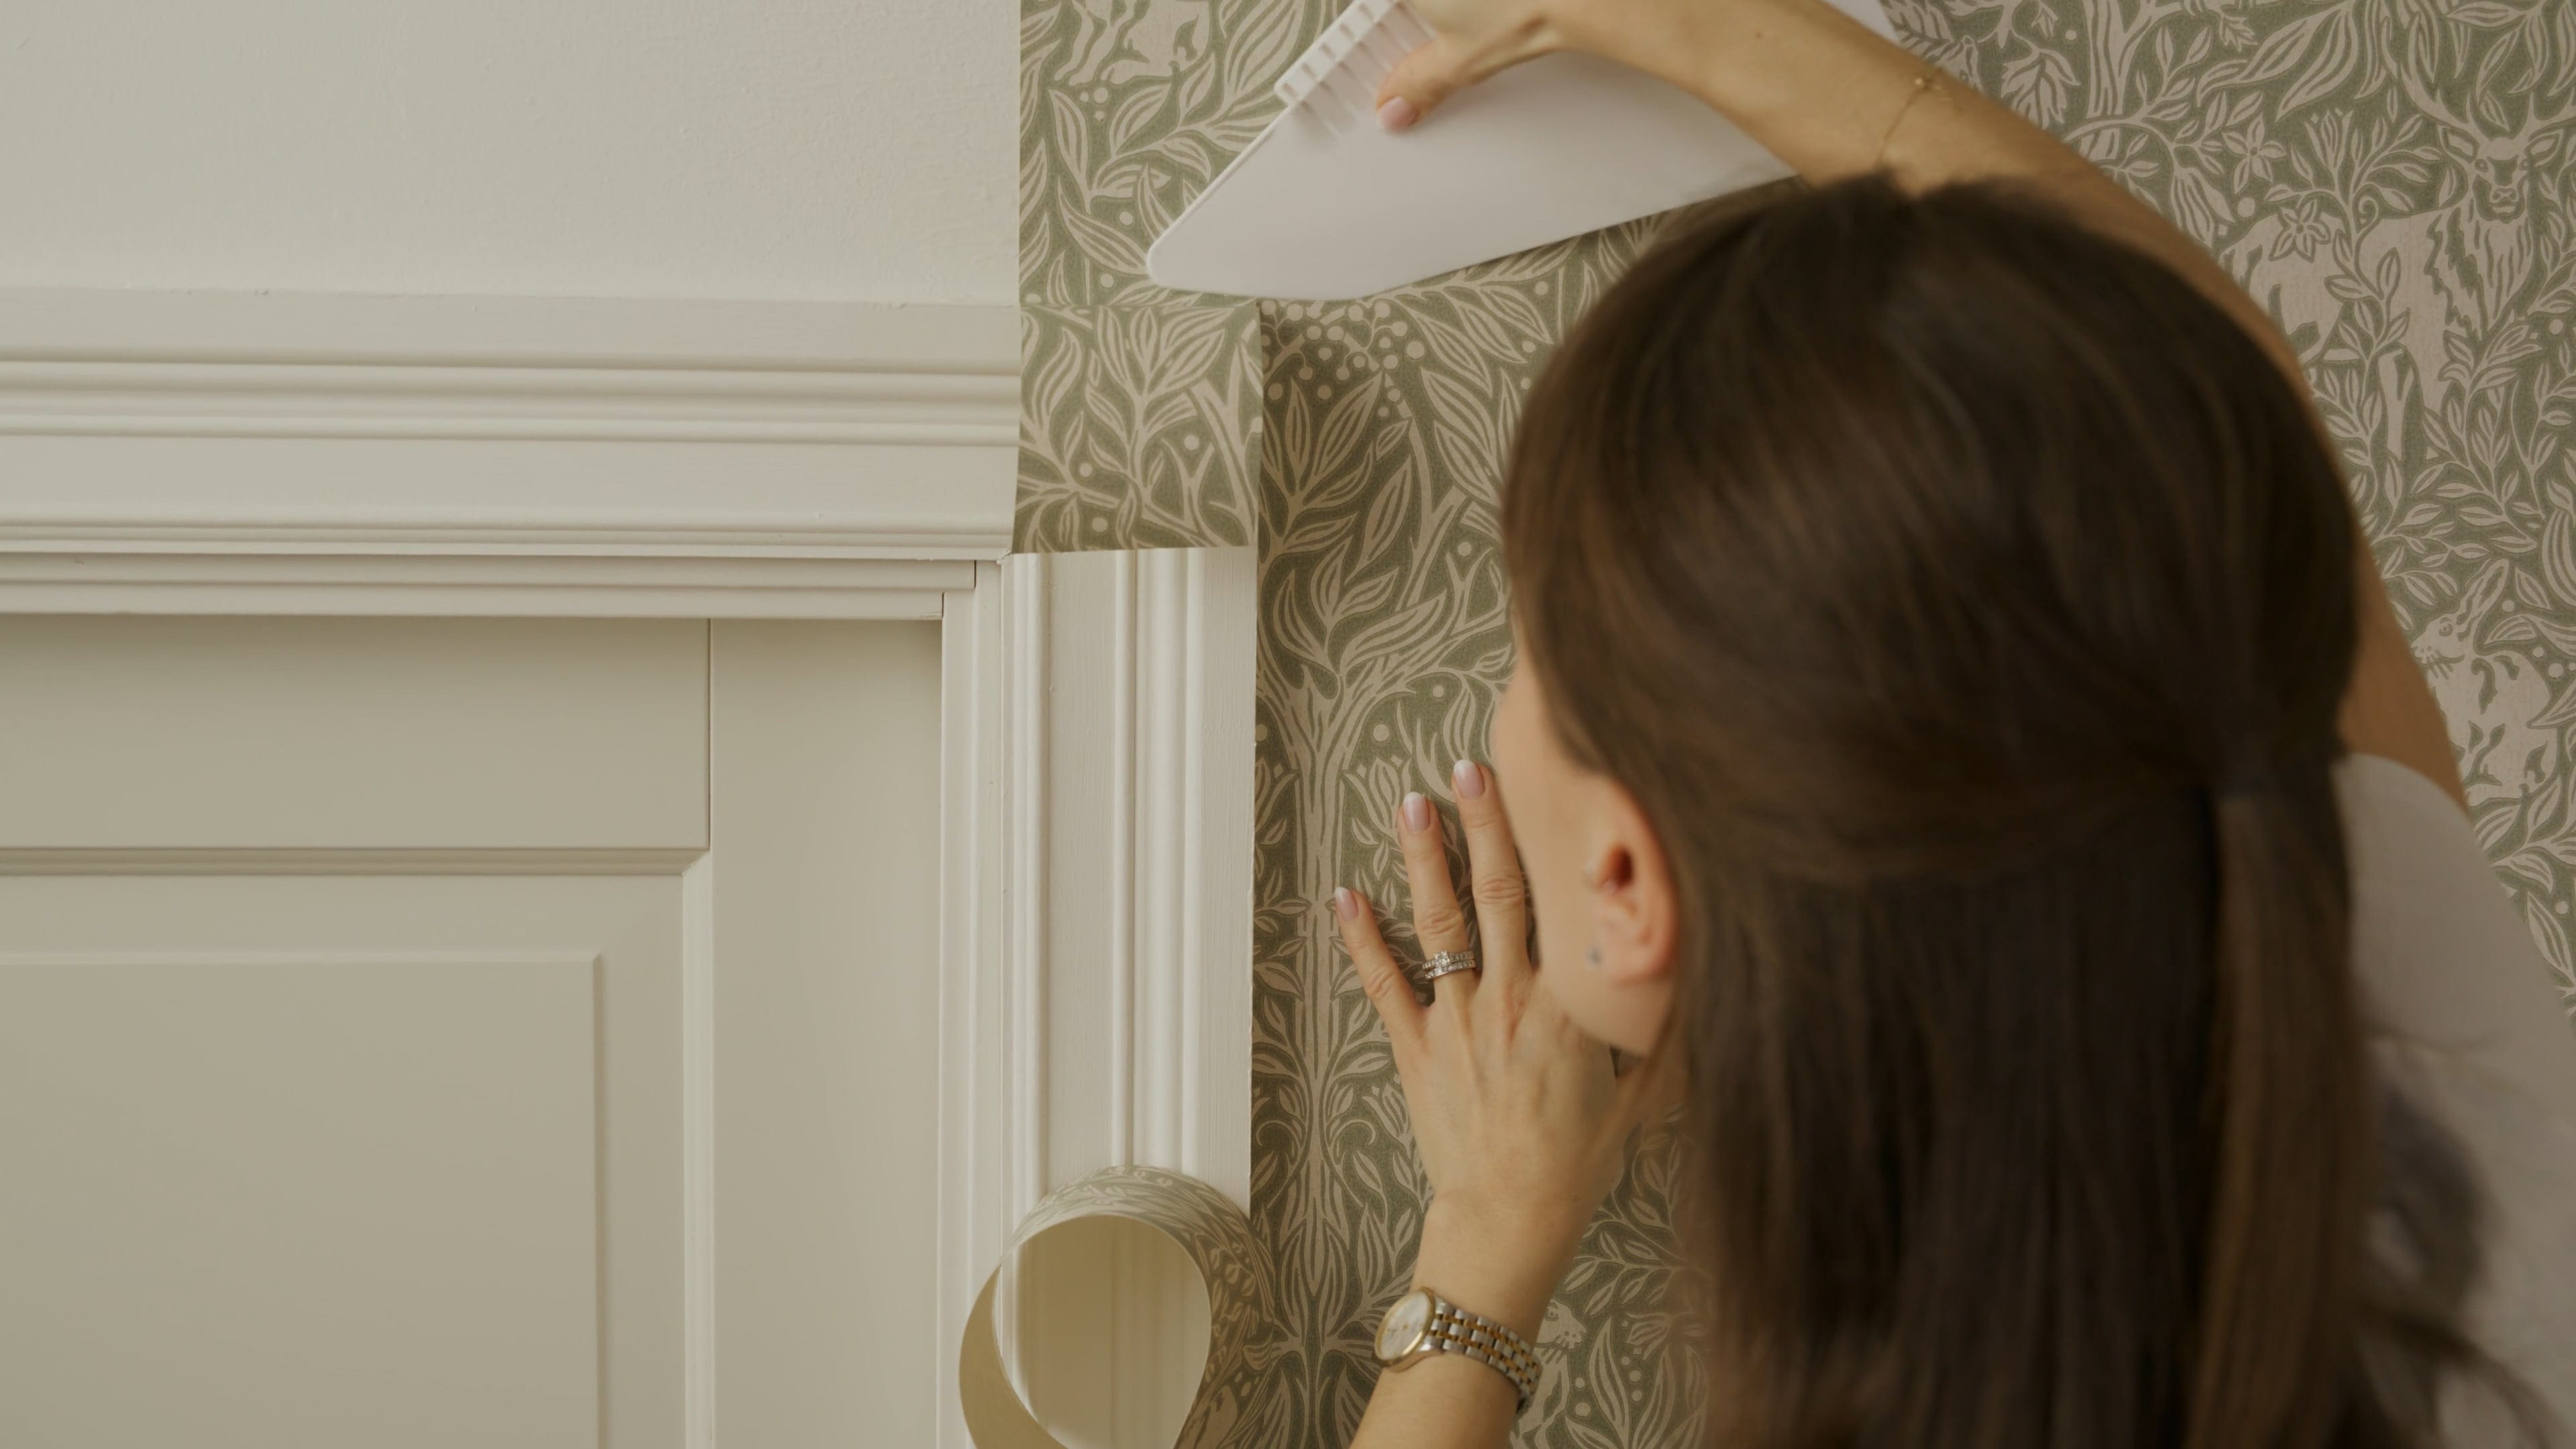
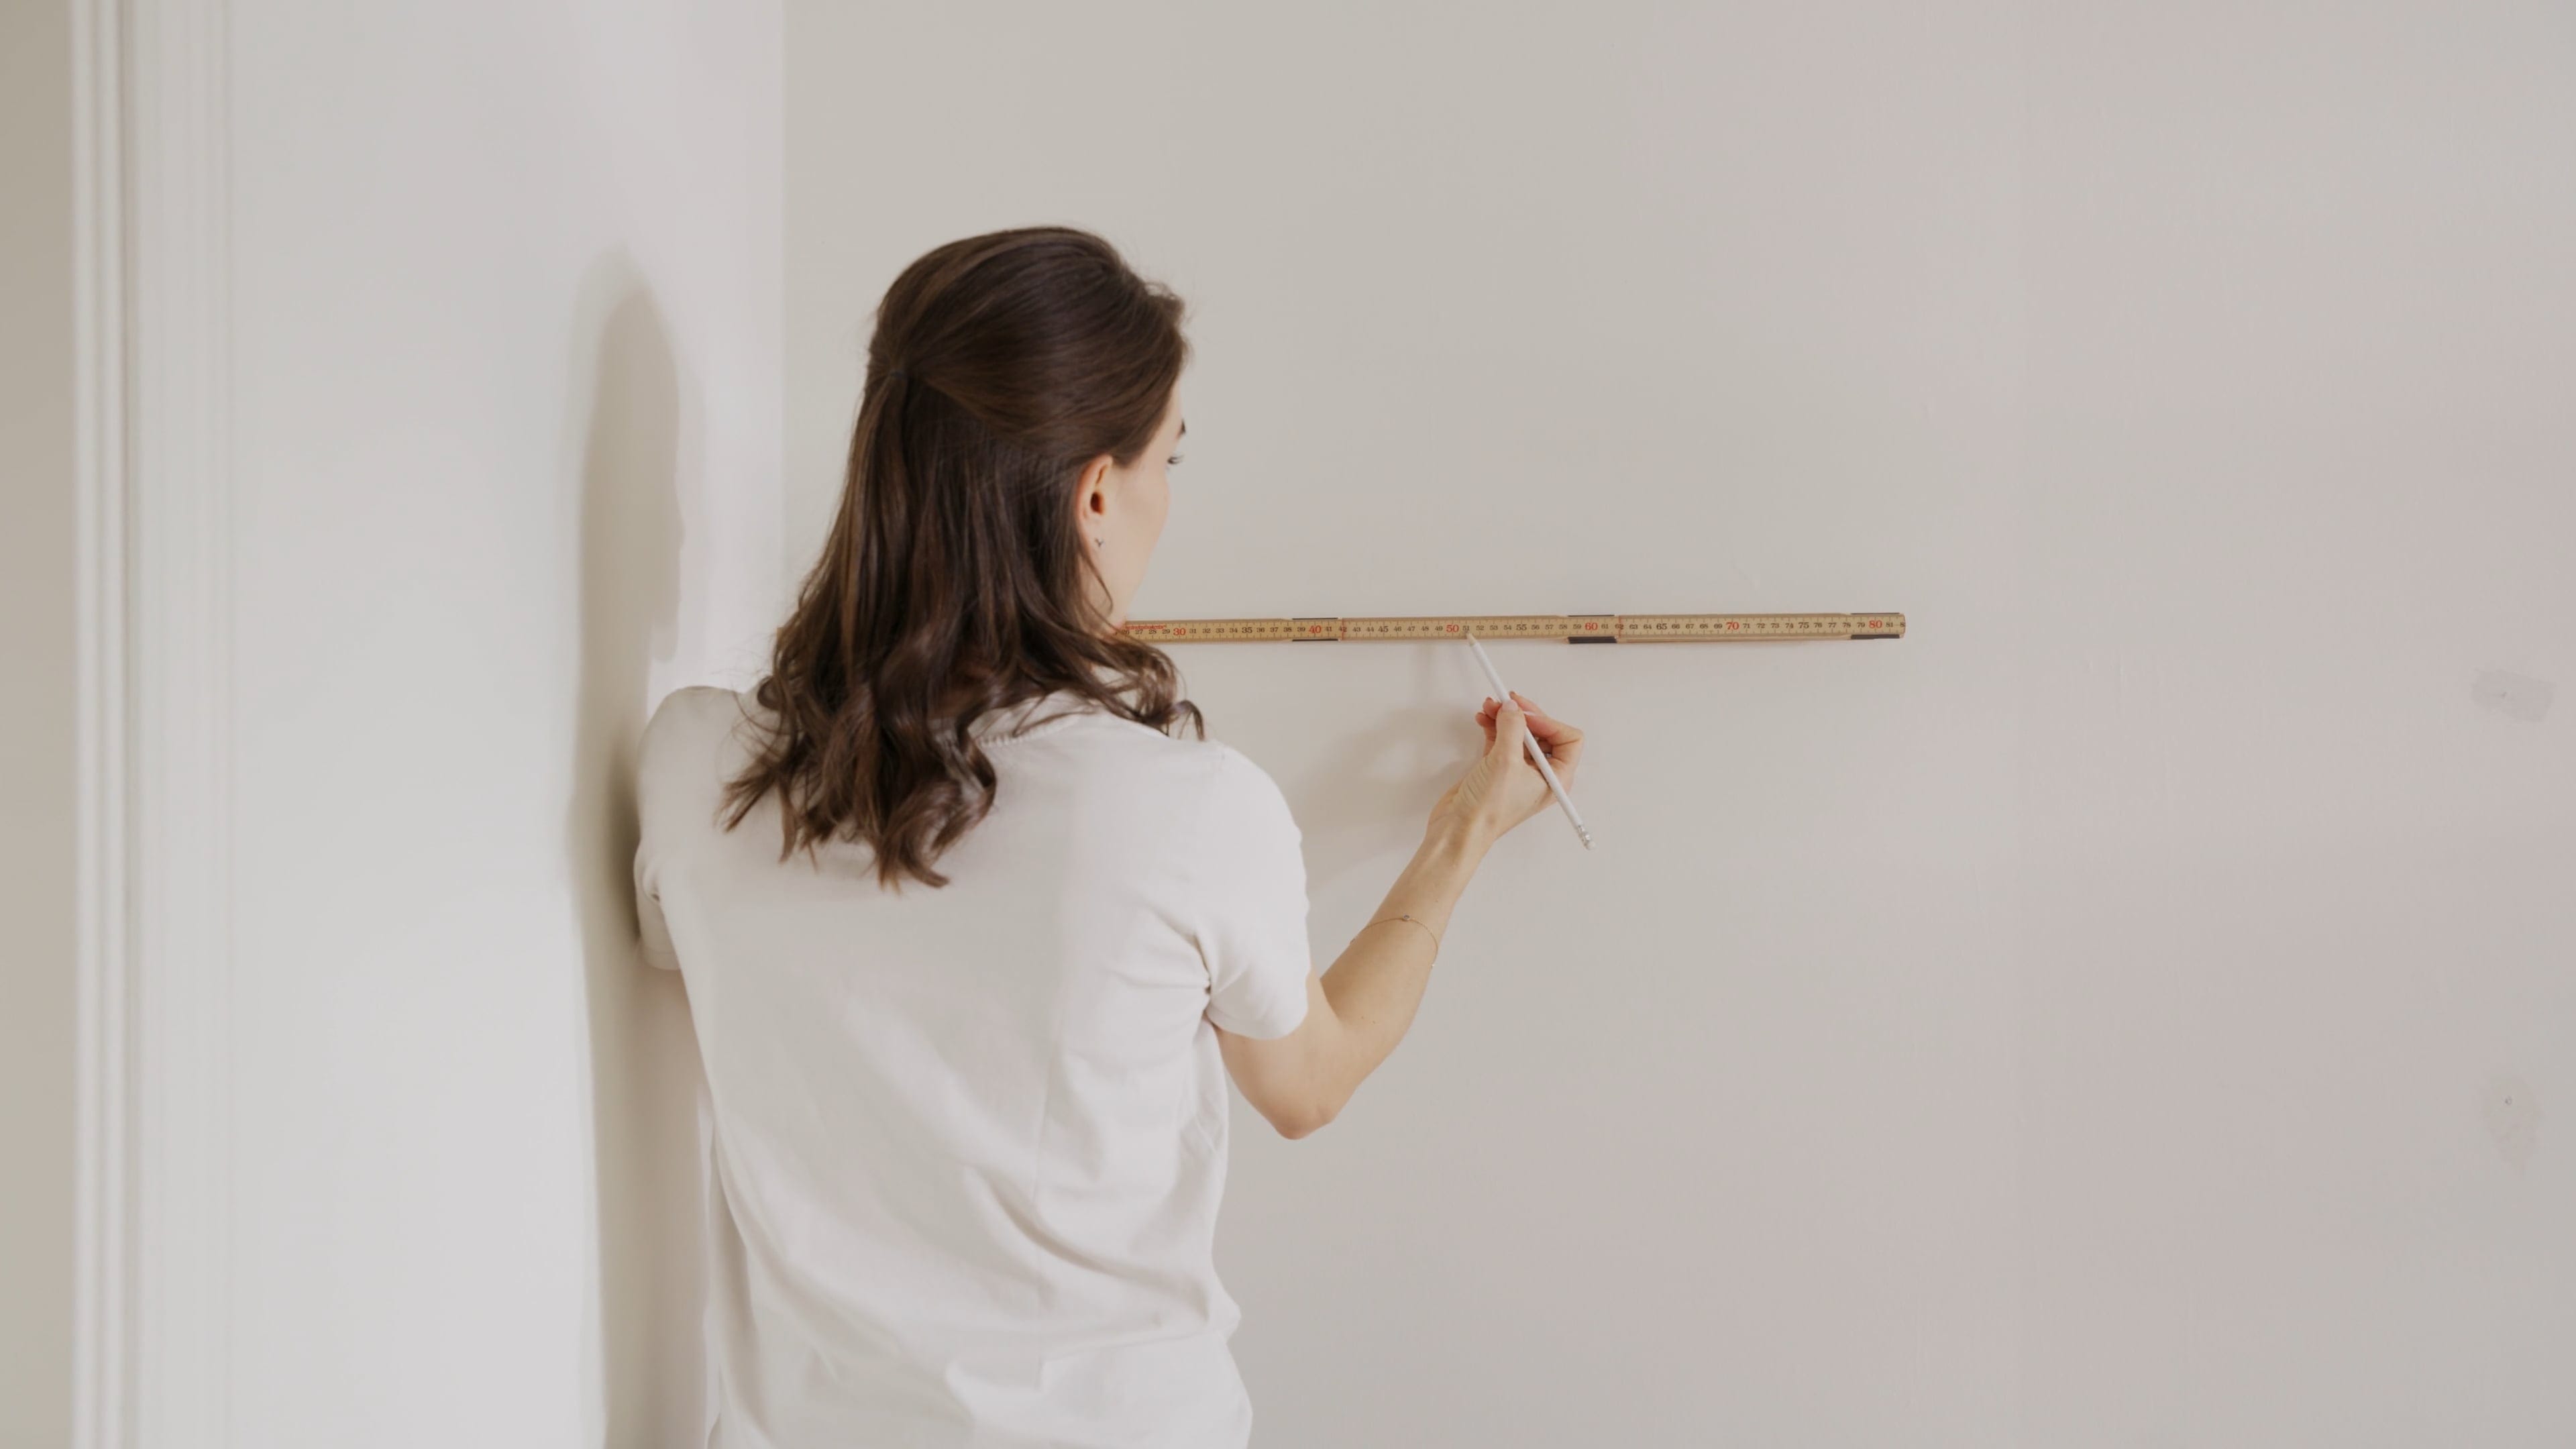
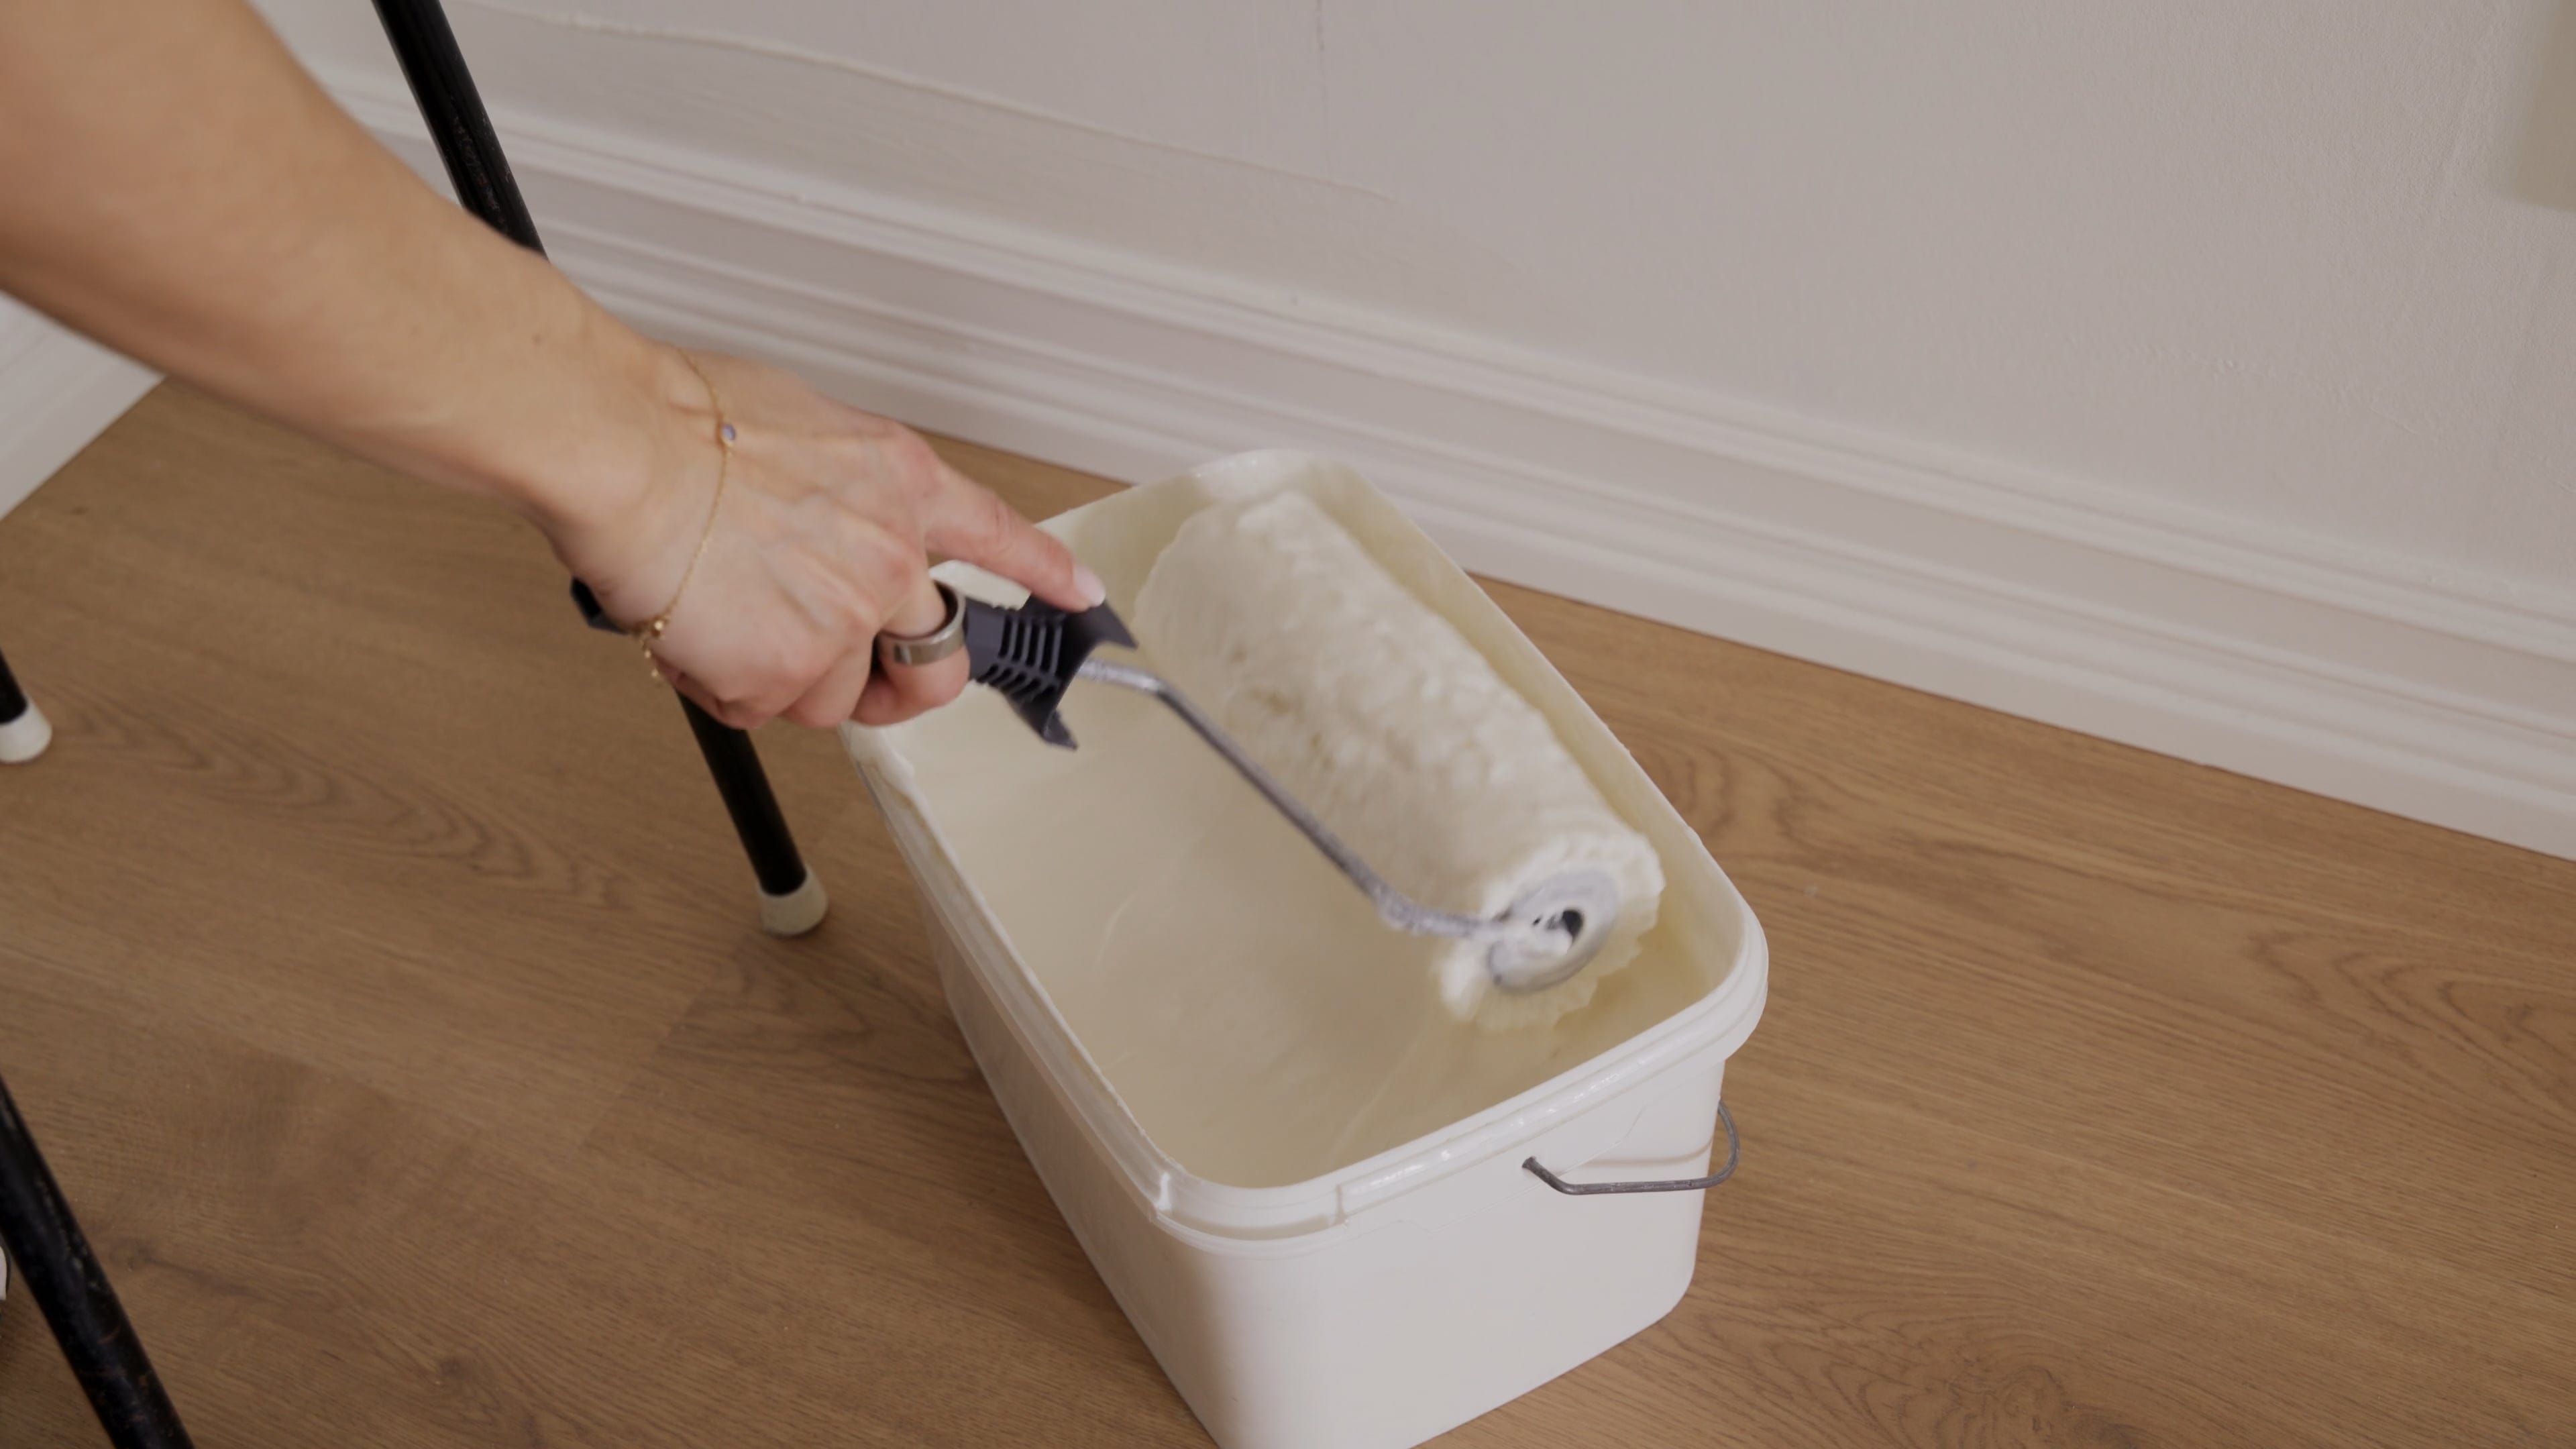
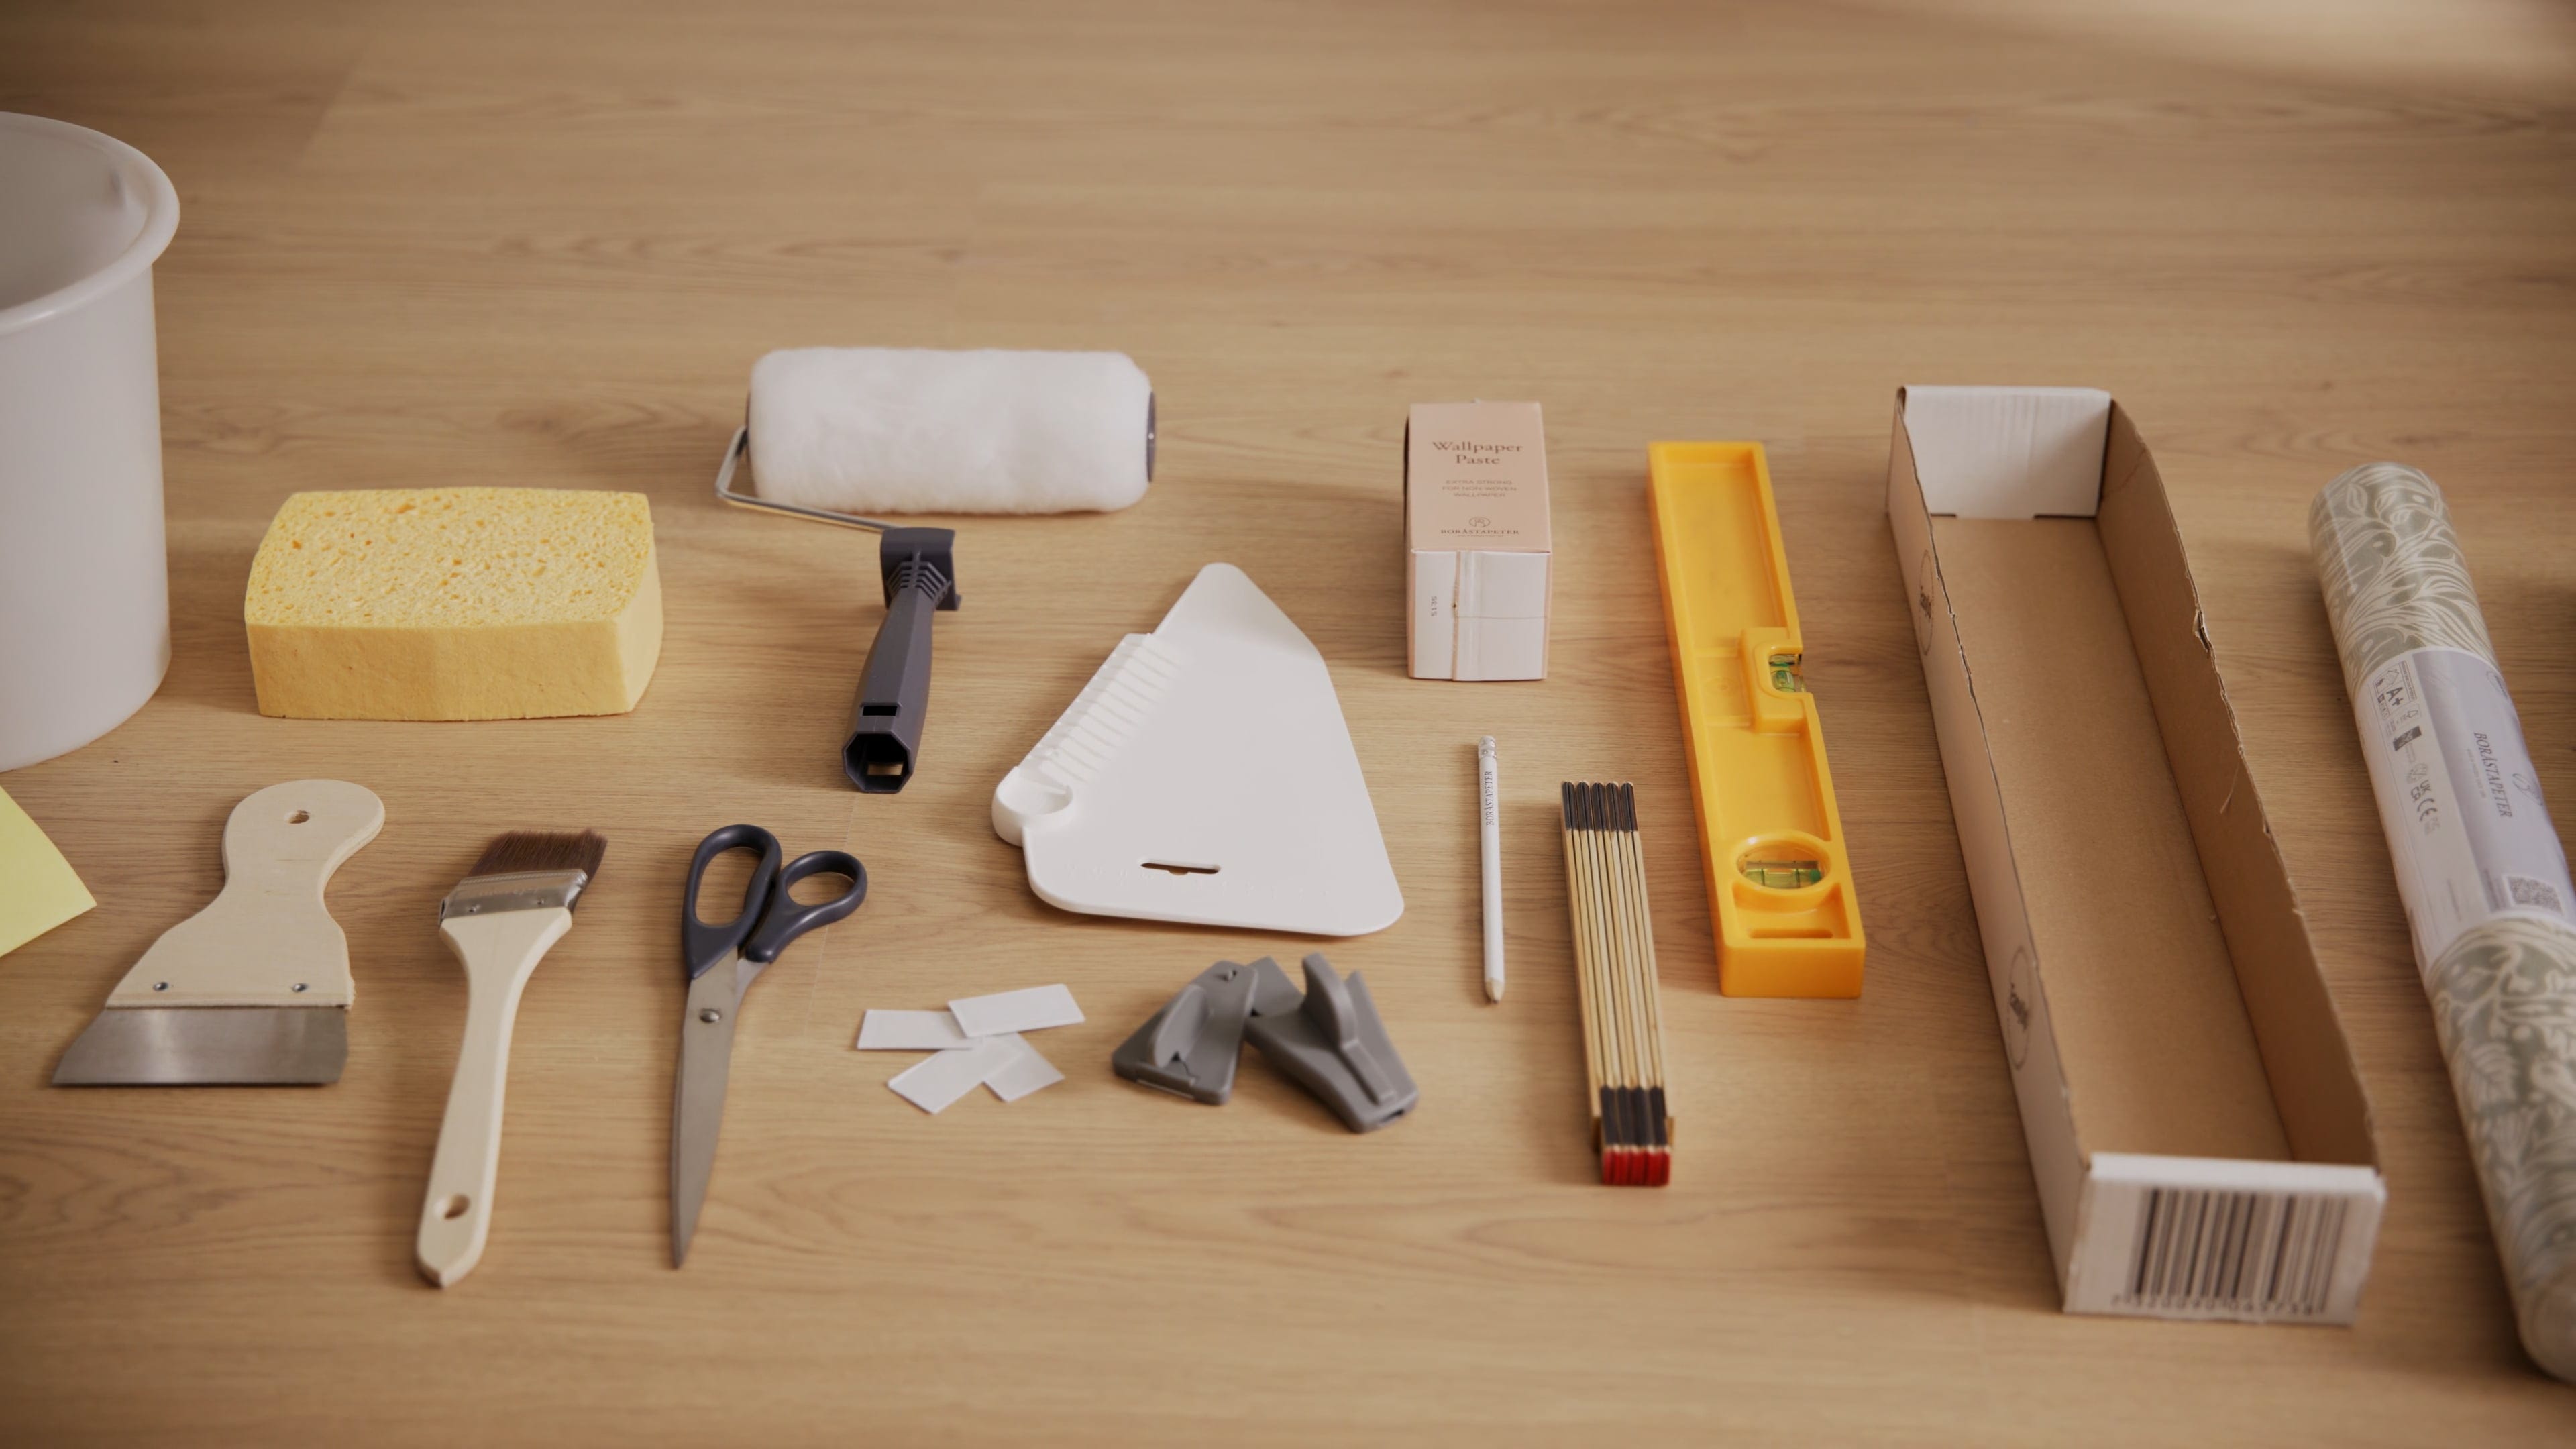
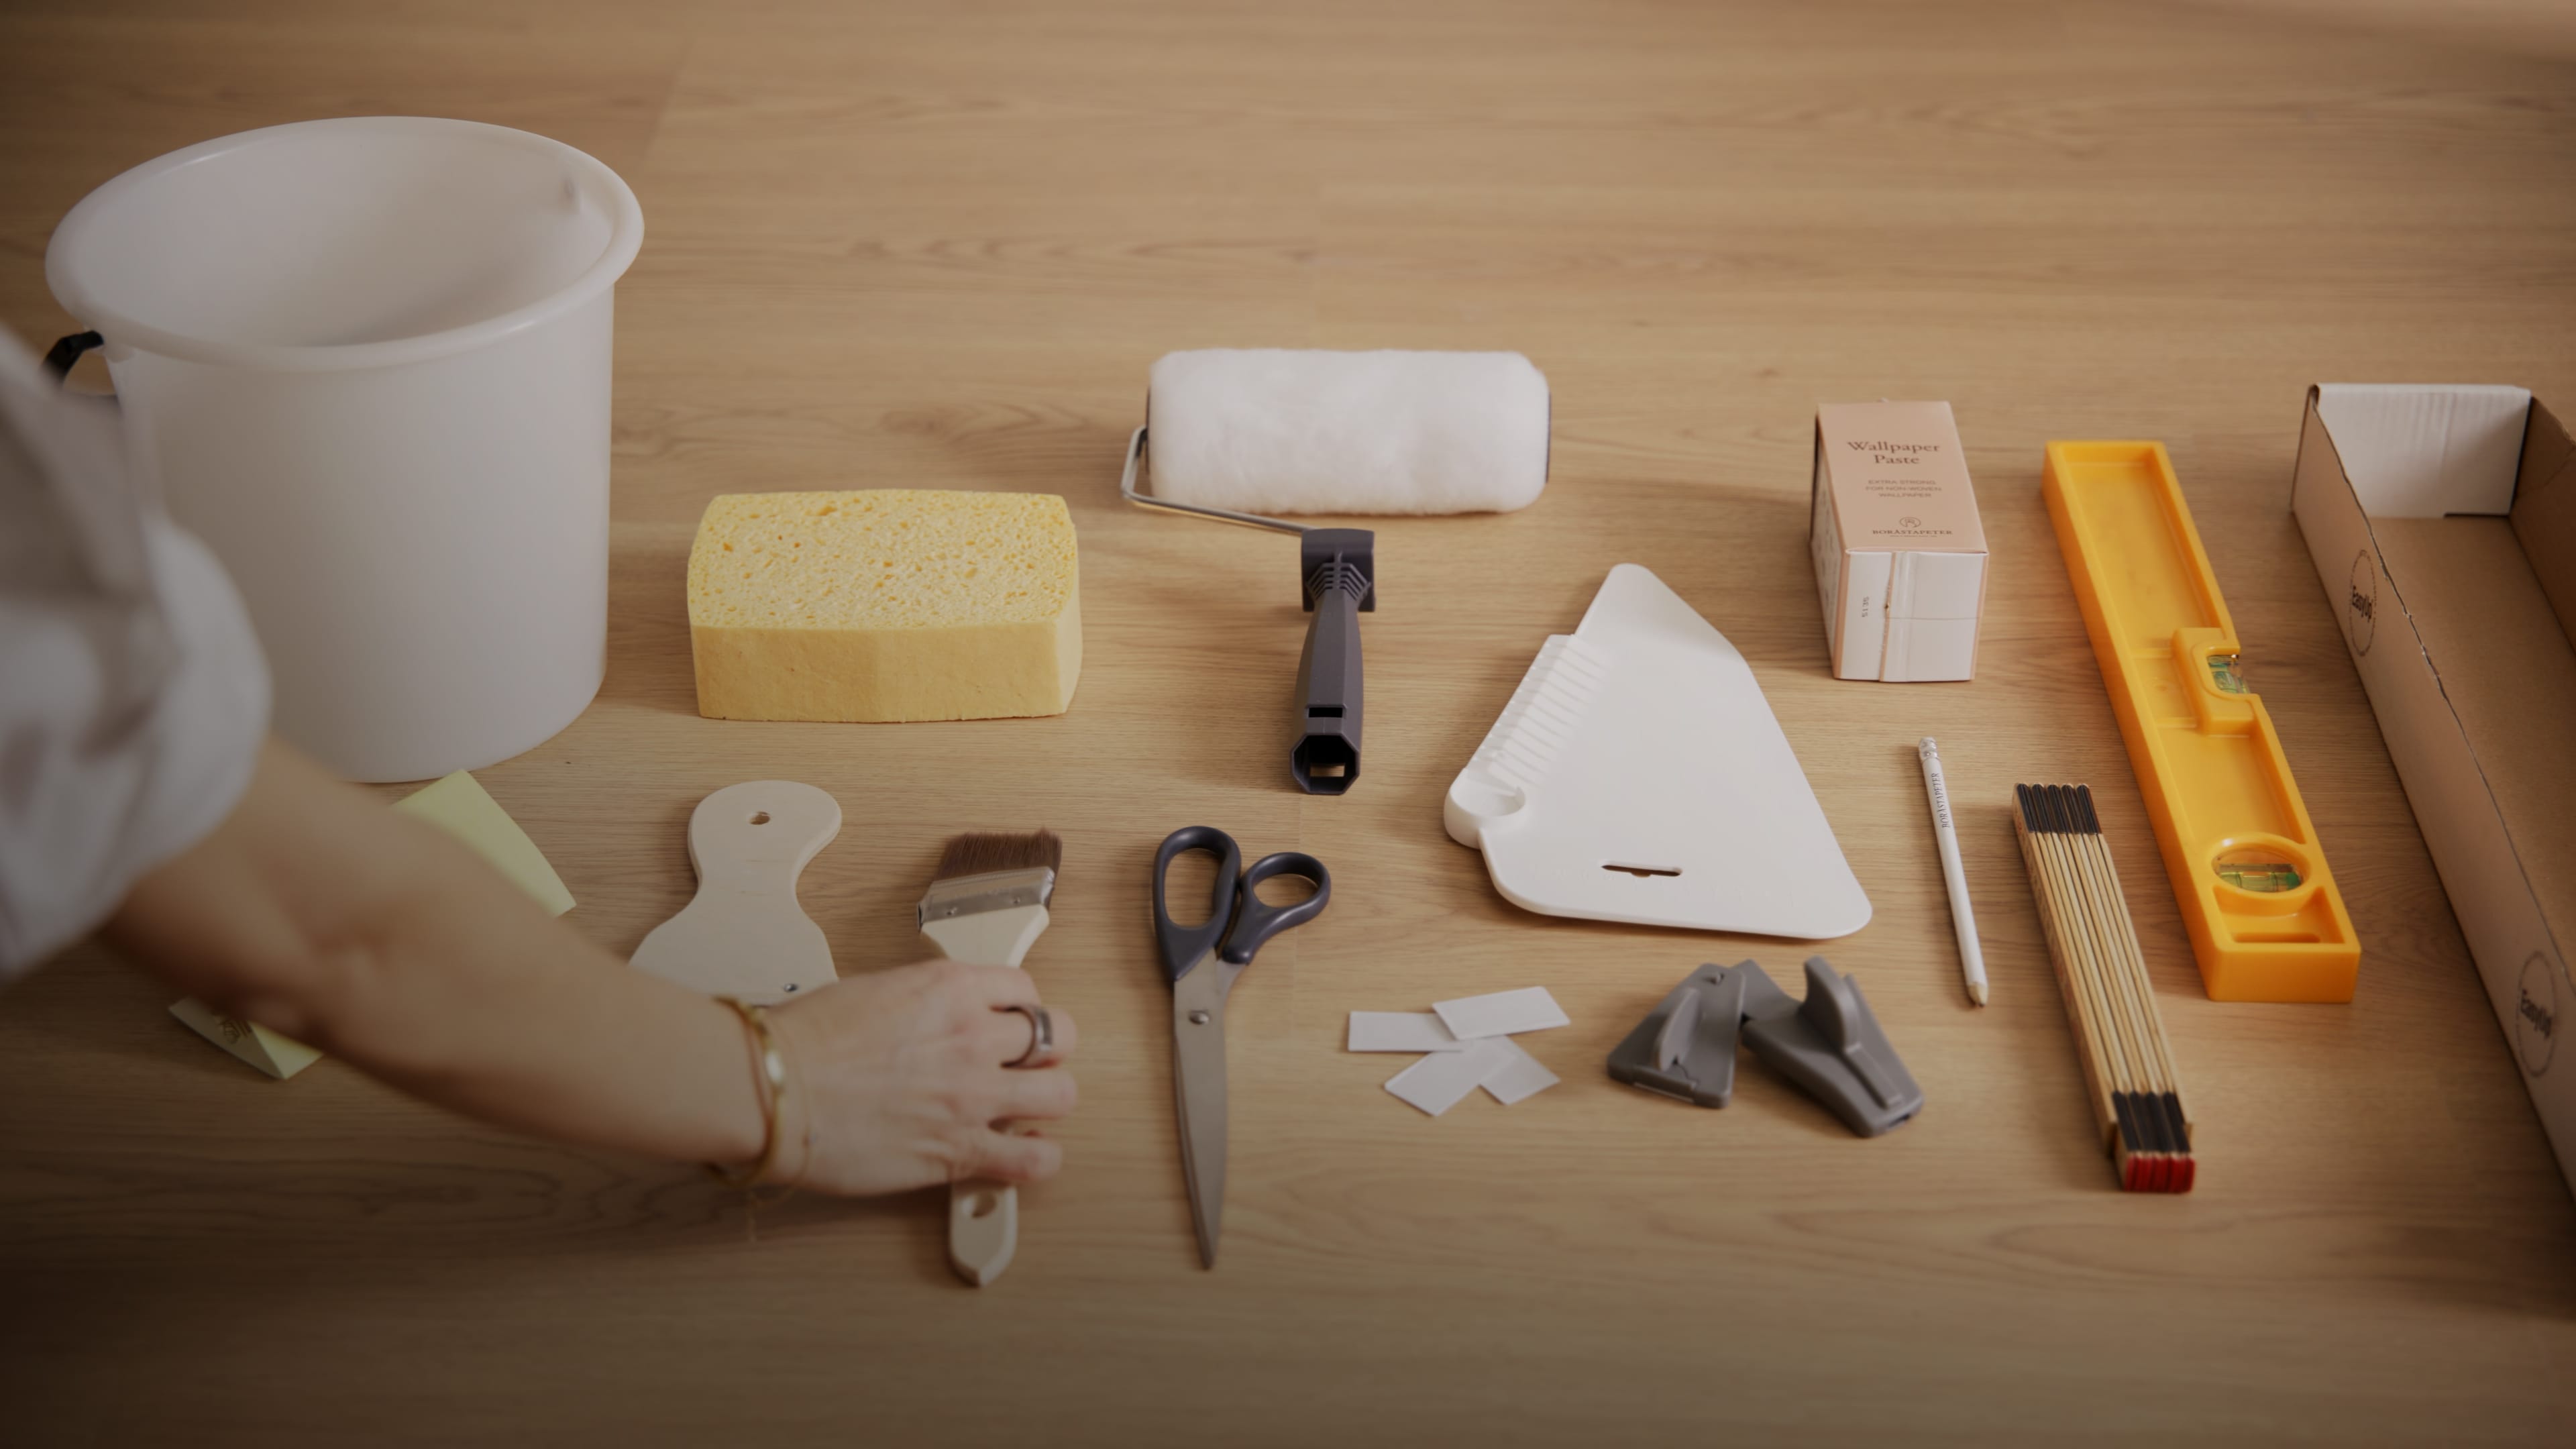
What you need is a roller, bucket, adhesive, measuring tape, pencil, sandpaper, brush, filling knife, wallpapering tool, scissors, sponge, utility knife, spirit level and, of course, the wallpaper.

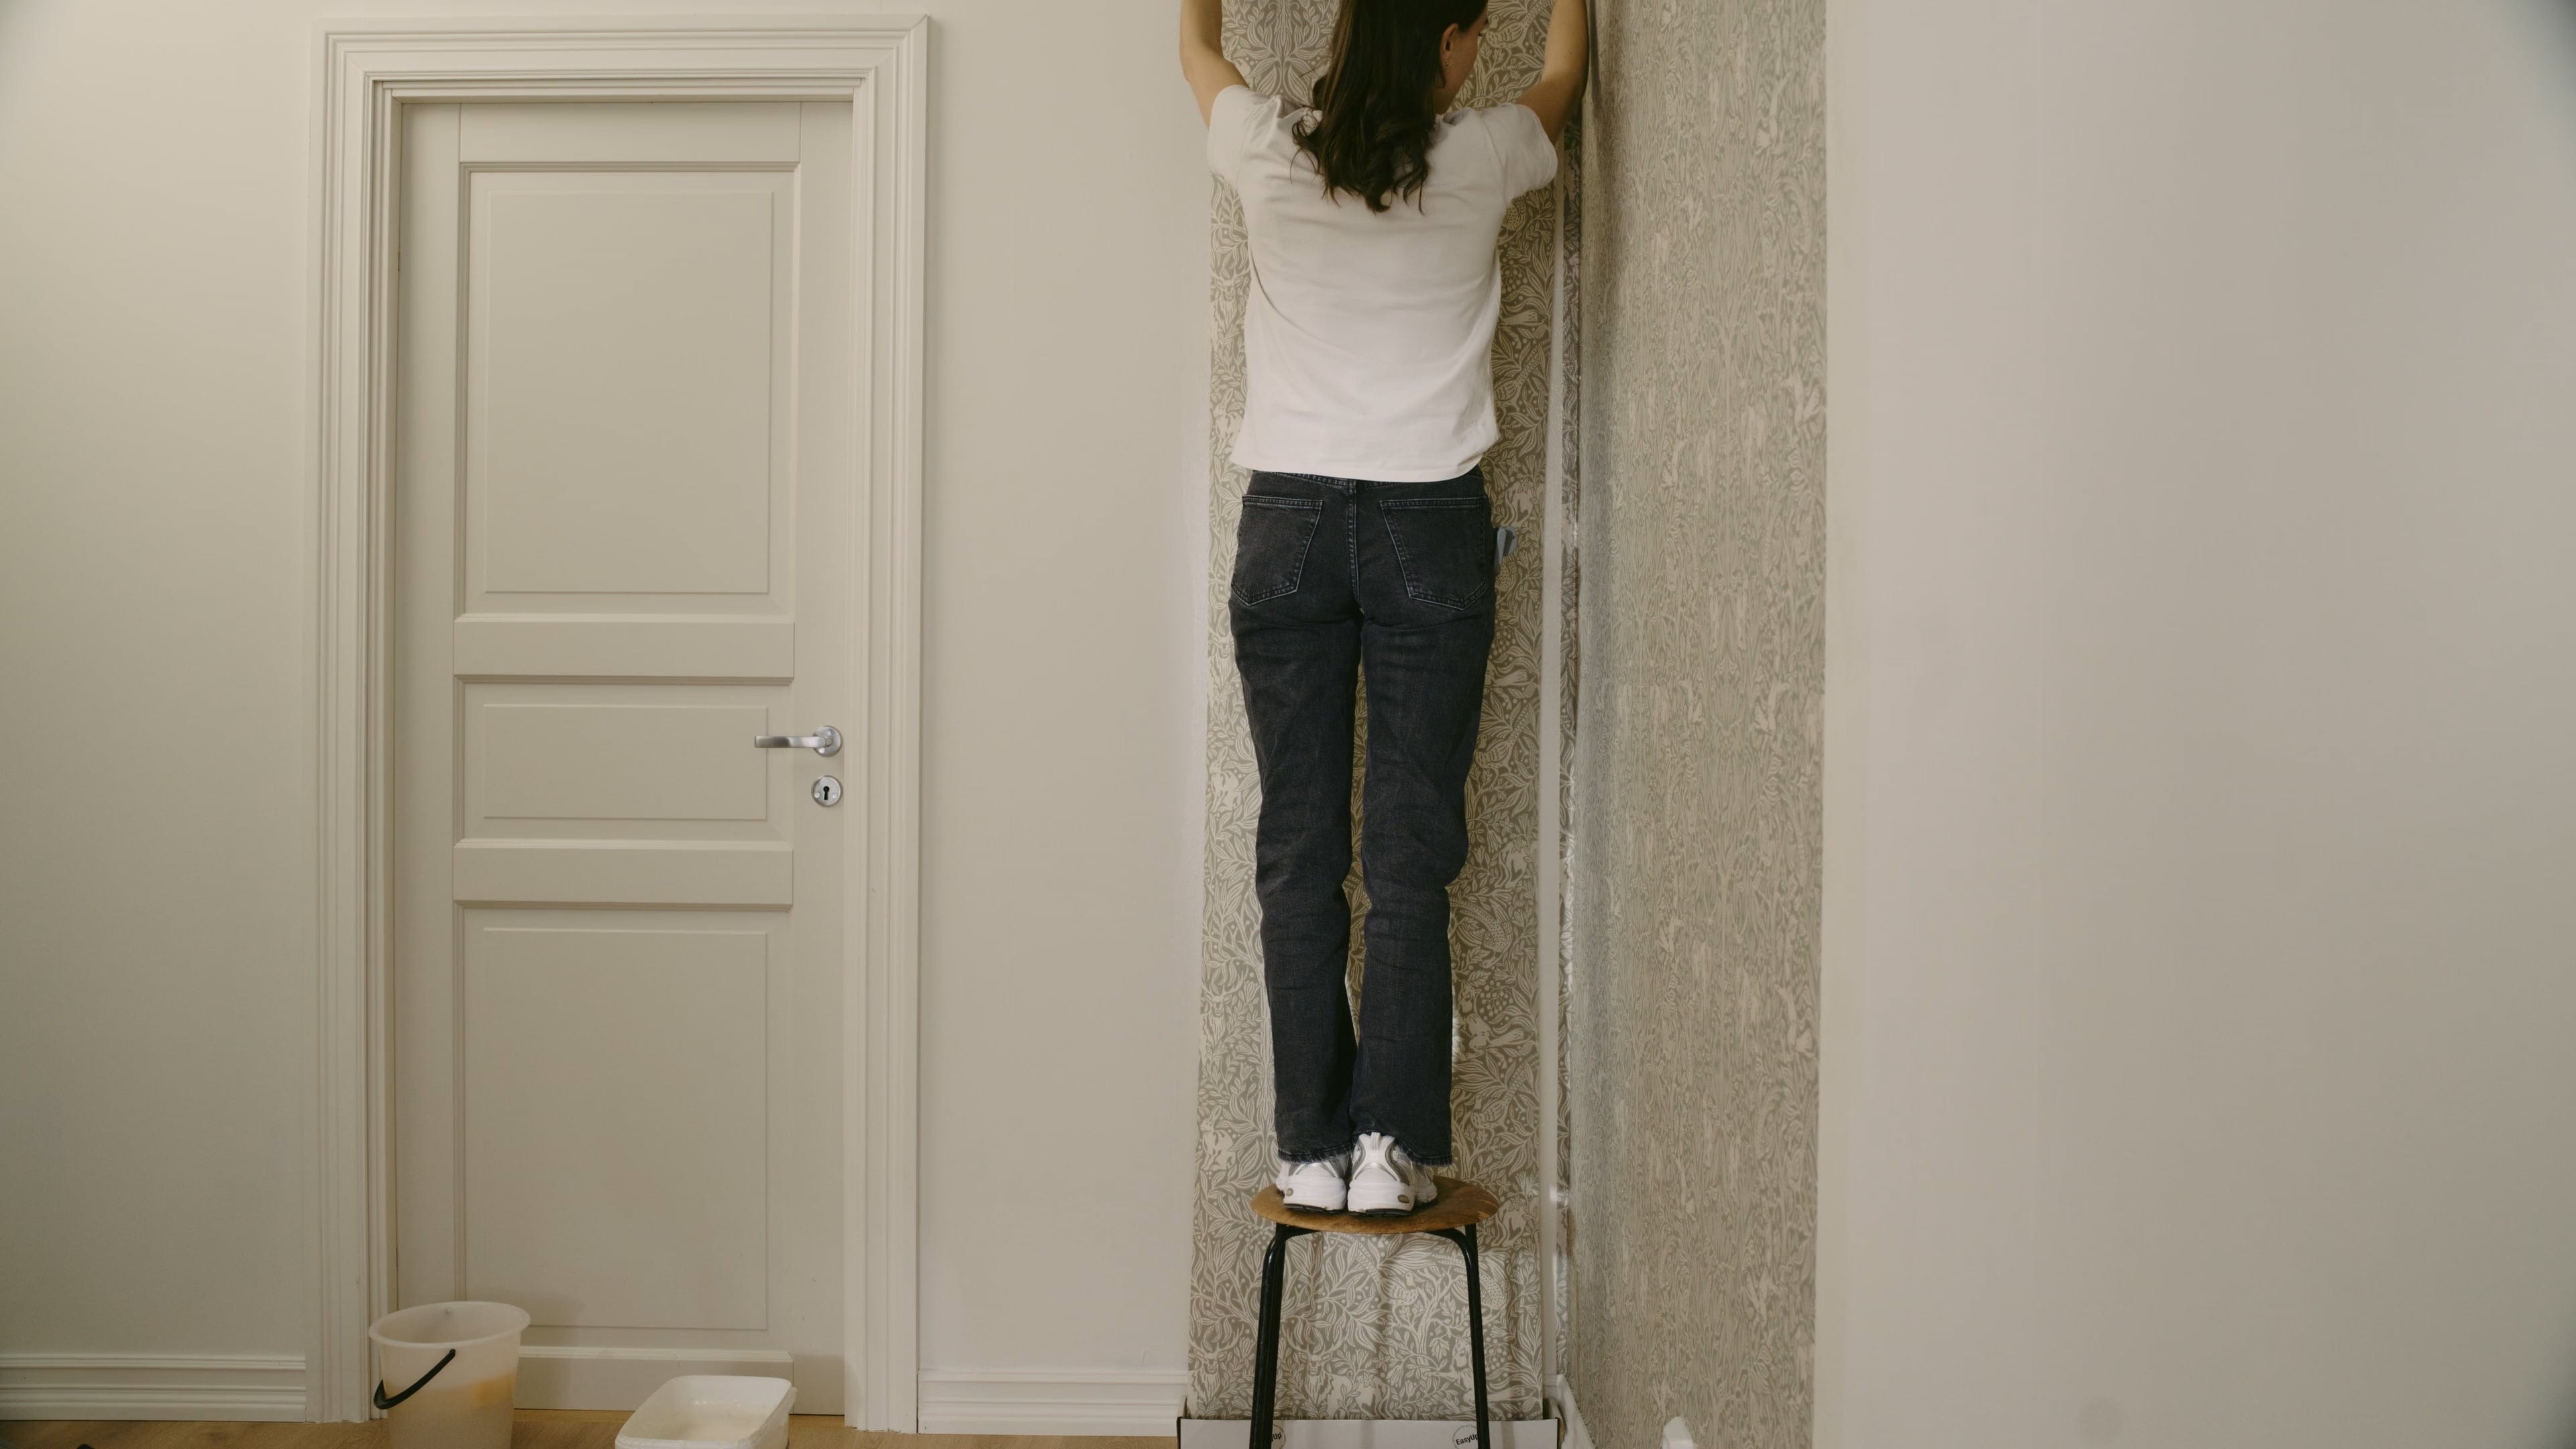
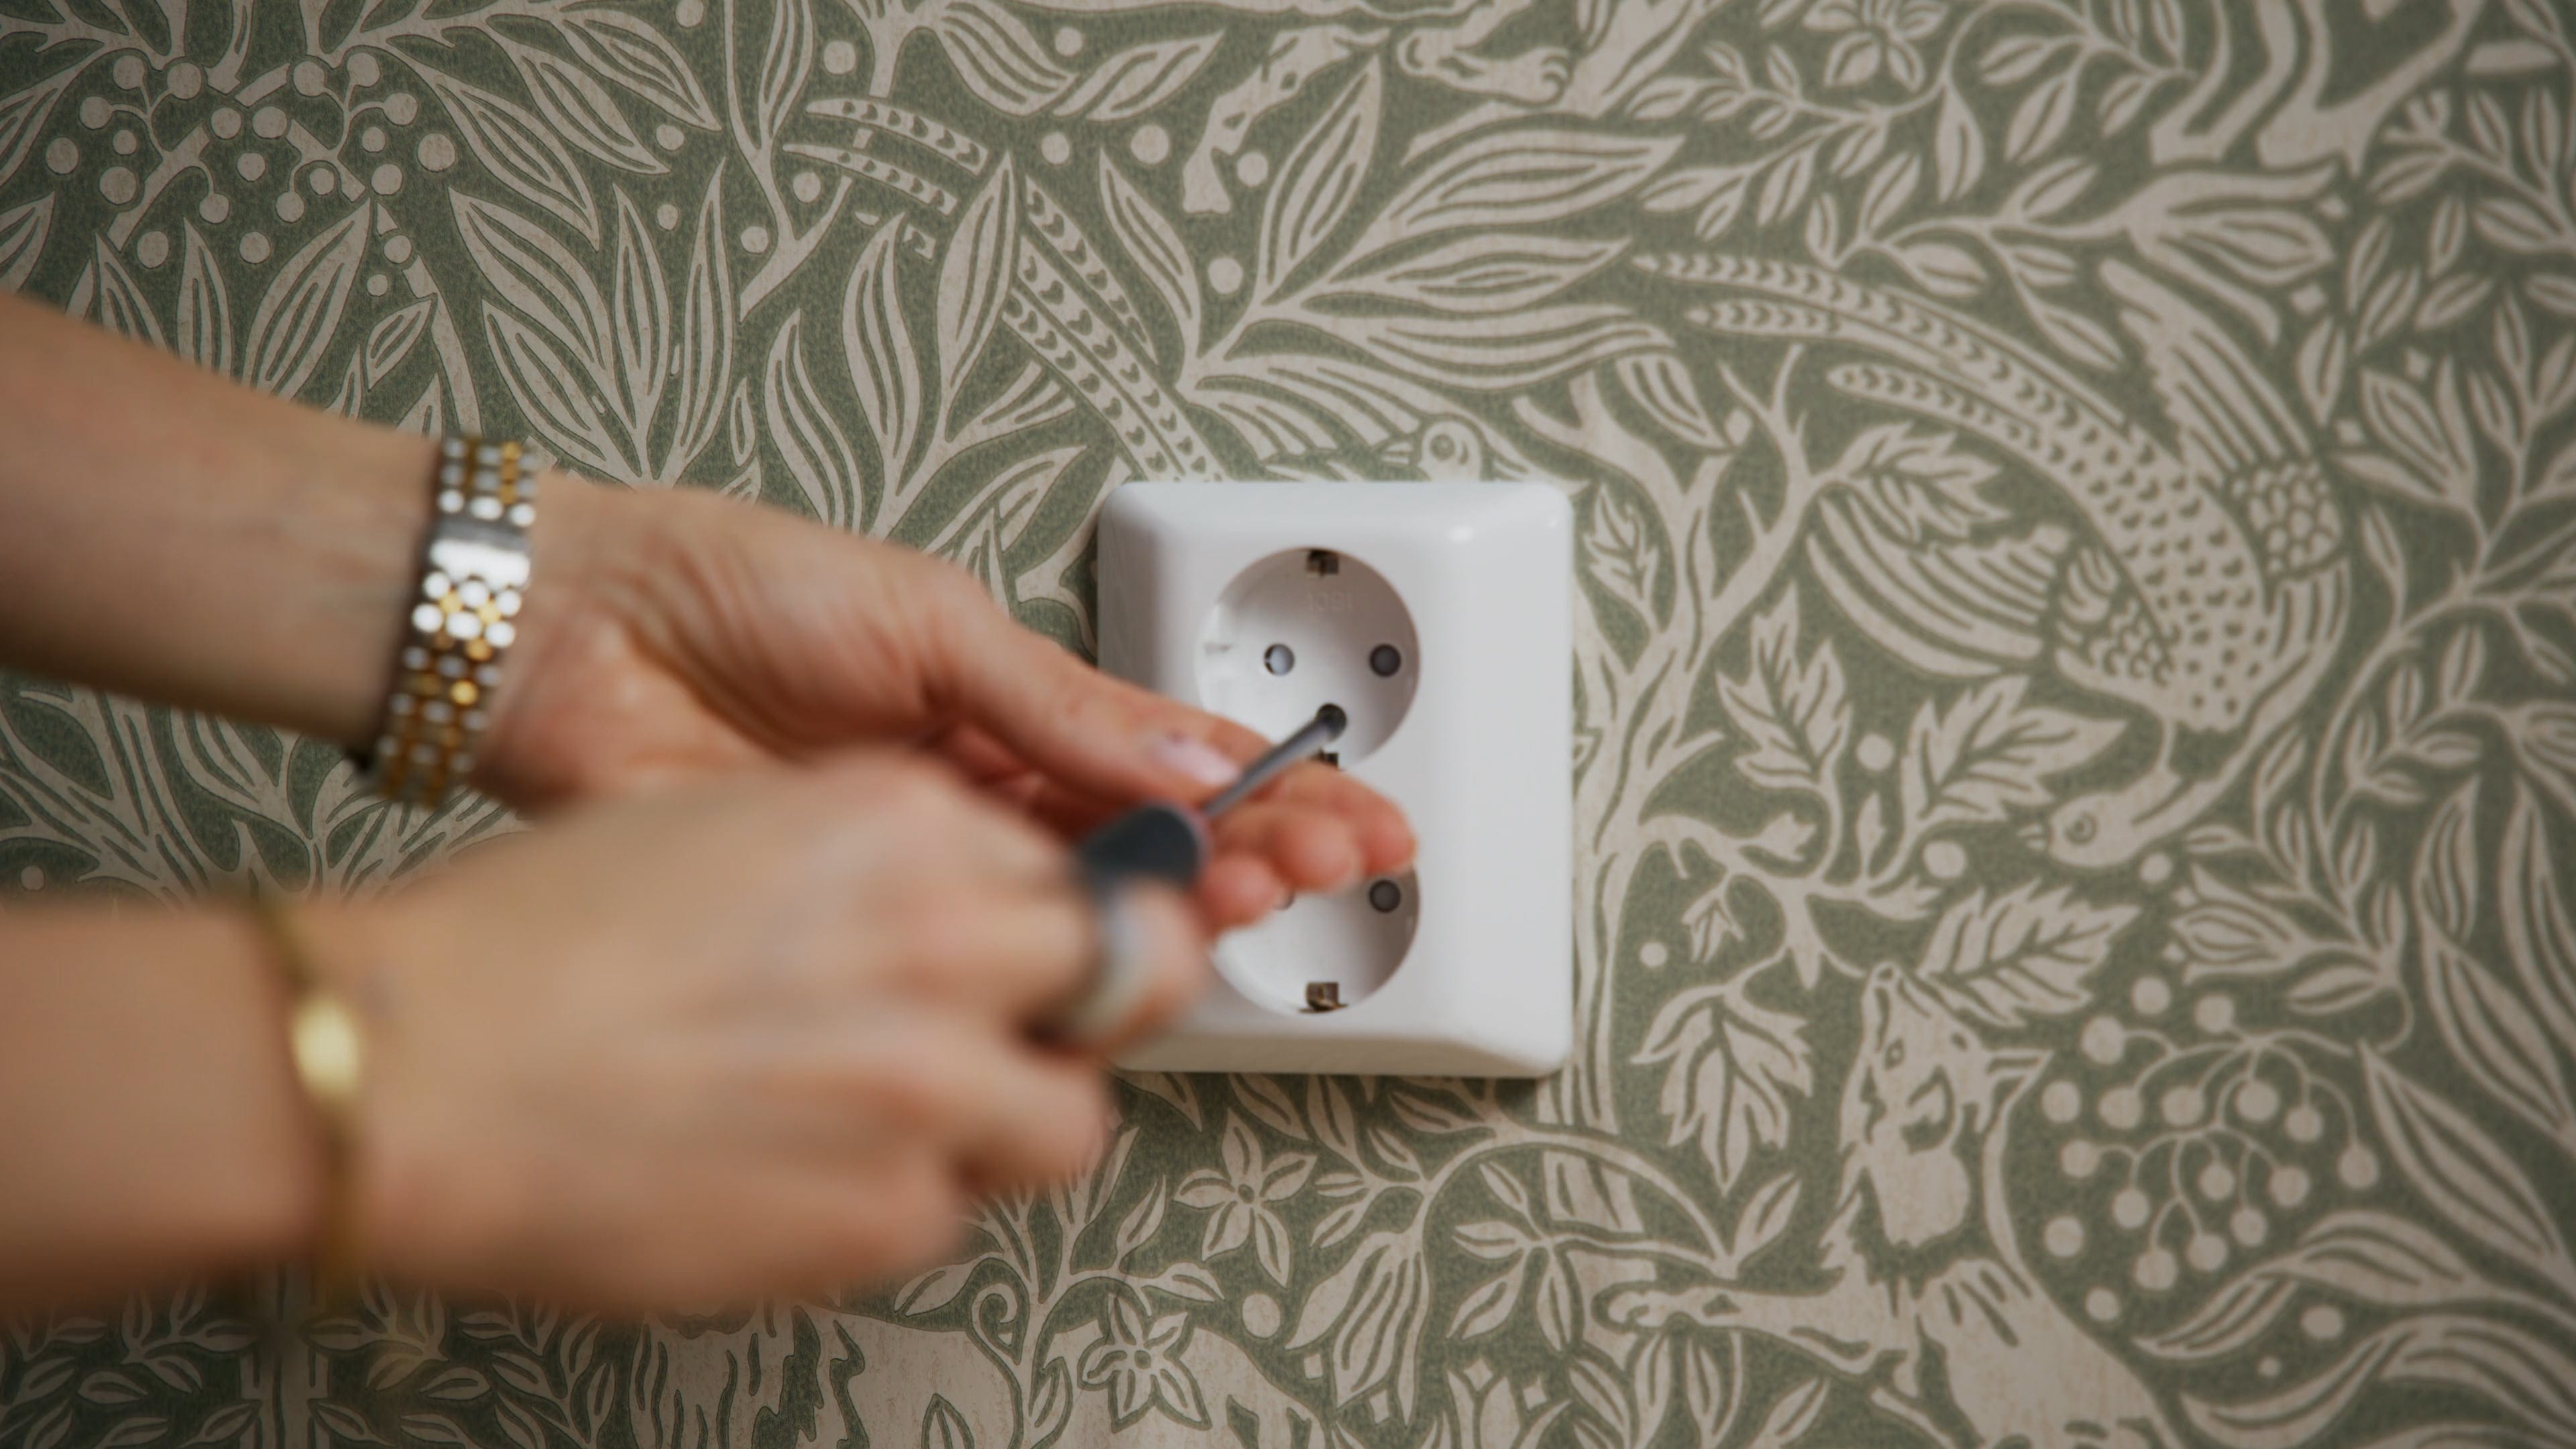
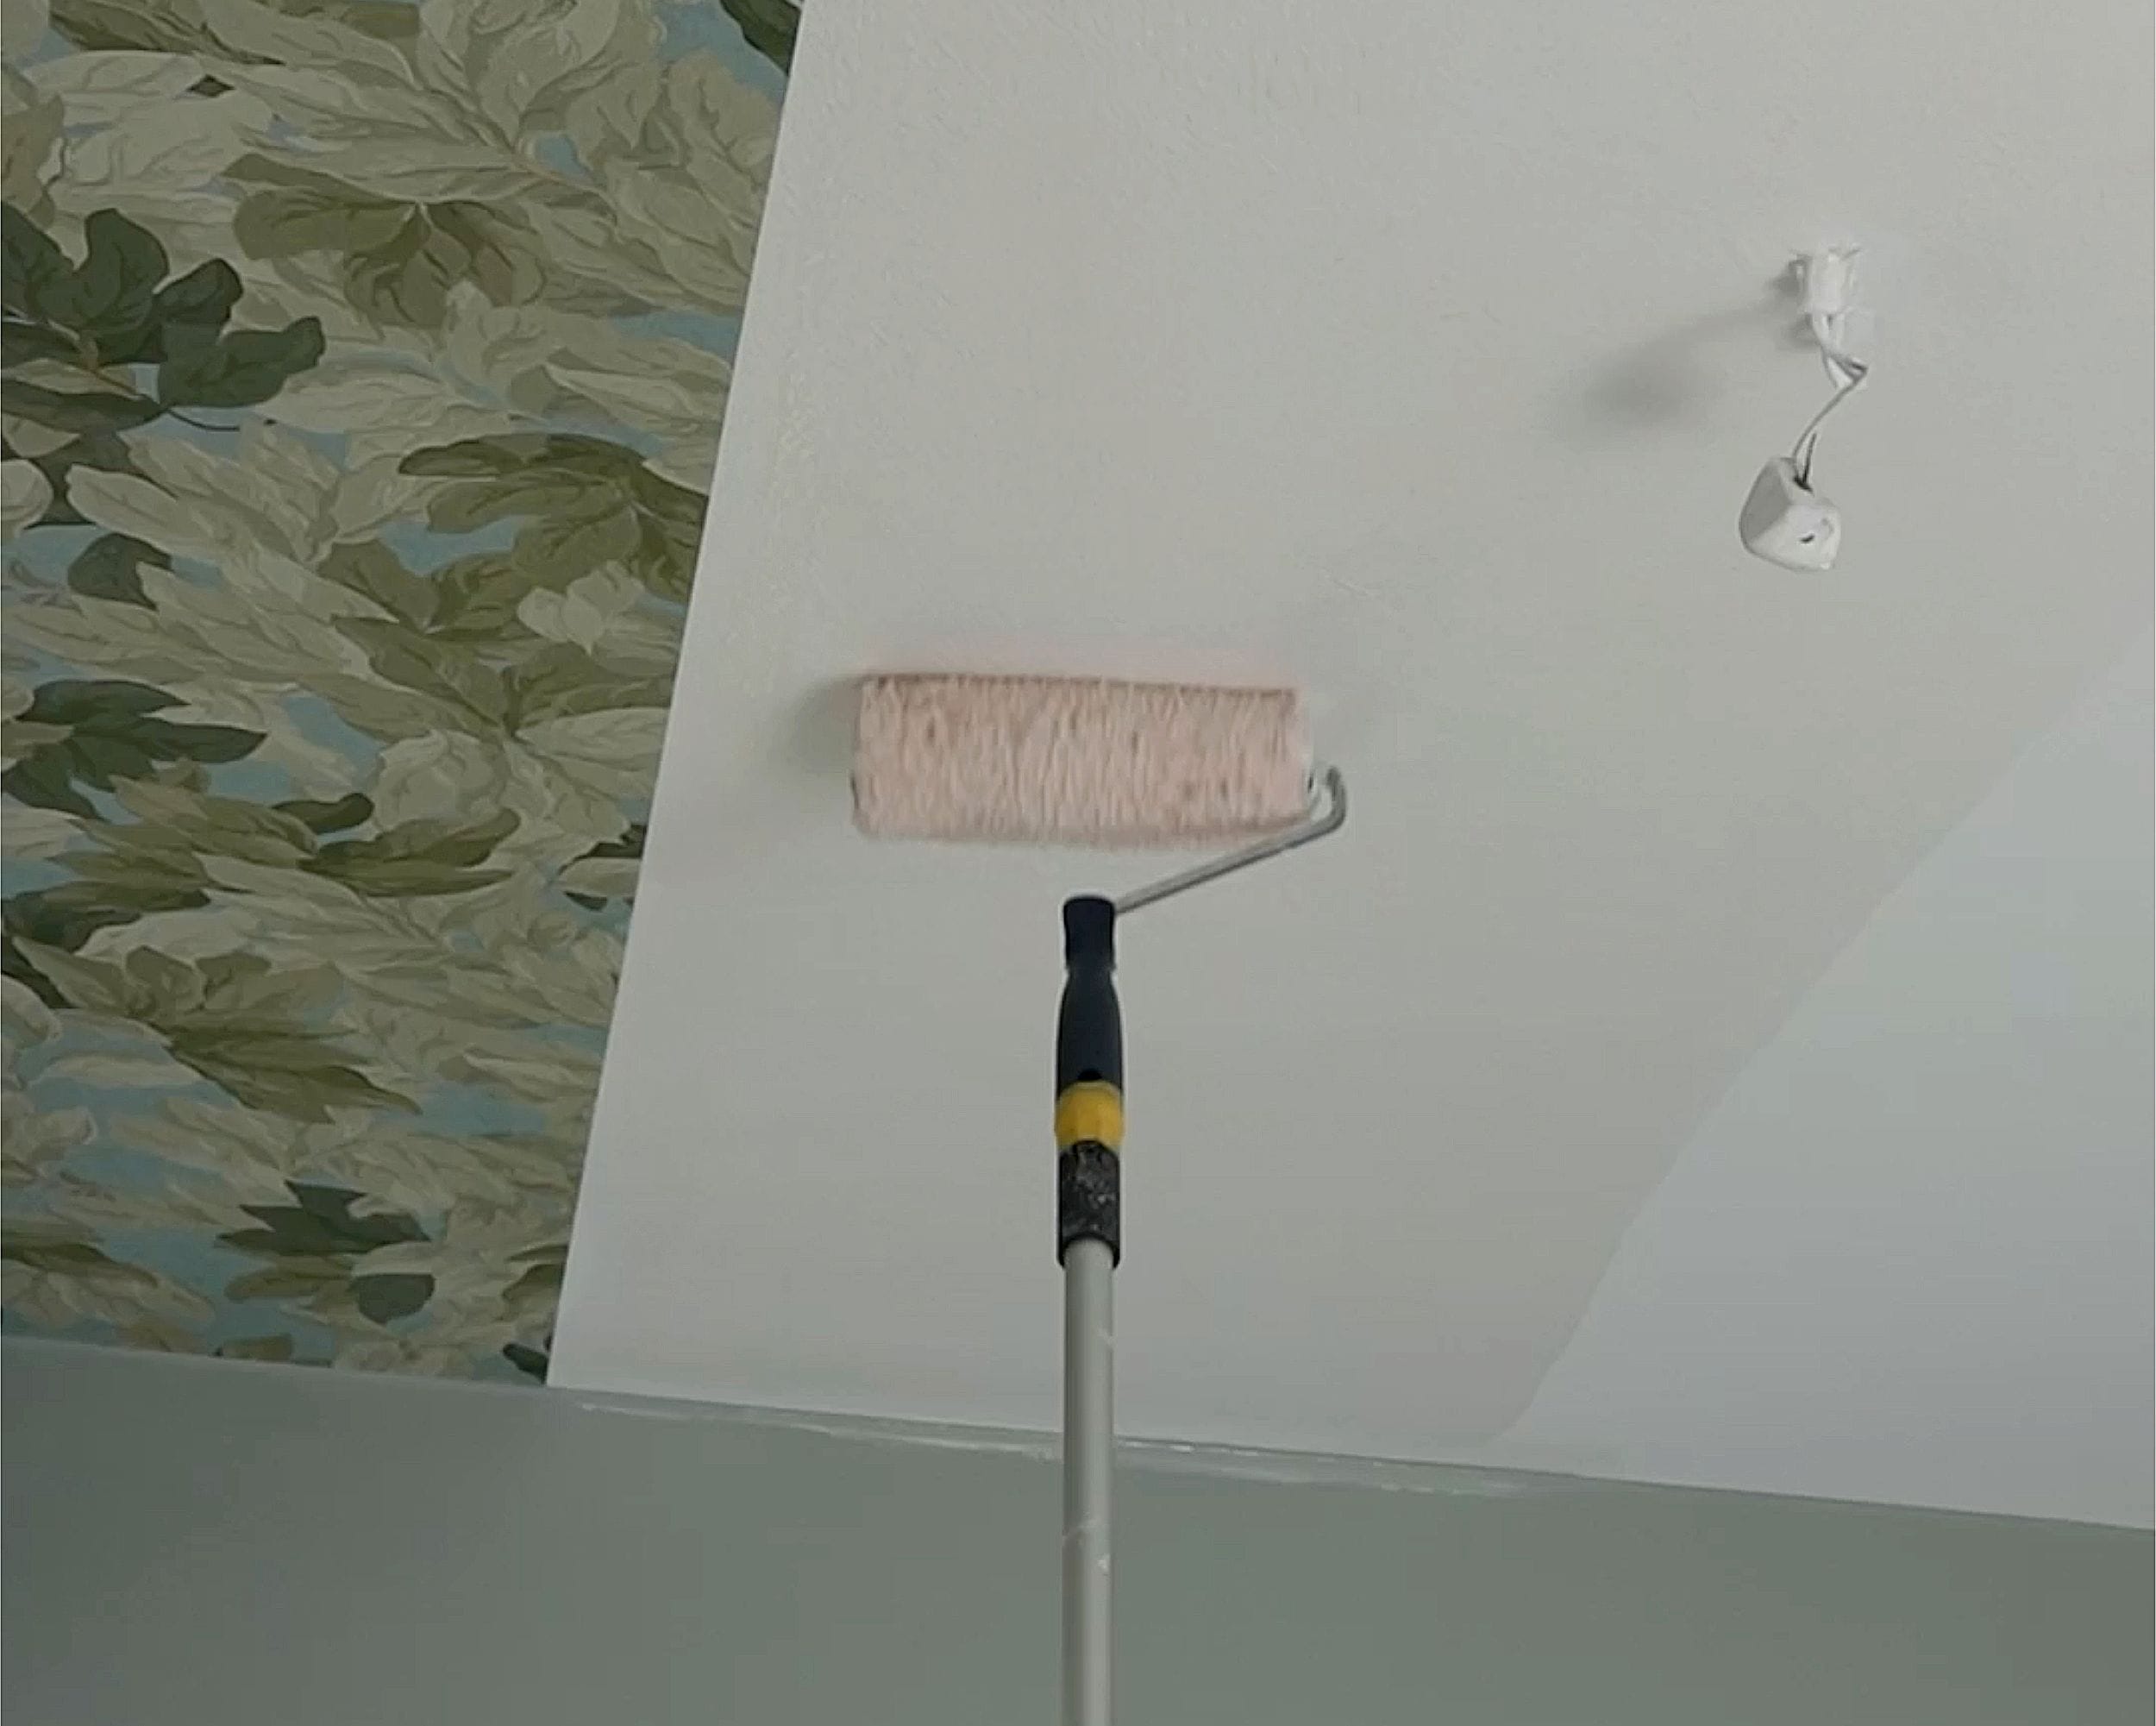
Before it’s time to put up the wallpaper, it’s important that the wall is smooth and clean.

Fill holes and uneven areas and allow to dry thoroughly. Once the filler has dried, sand the surface so everything is even – the result will be much neater.

Our guides

Tools & preparations

Prepare properly before wallpapering with the right tools and careful prep work. Here, you’ll get the basics for a neat and long-lasting result.

View the guide

How to get started

Get off to the right start and achieve perfectly straight drops from the very beginning. Here, we show you how to start wallpapering step by step.

View the guide

Wallpaper paste

How to use wallpaper paste correctly for the best adhesion and finish. Here we show you how much paste is needed.

View the guide

Pattern matching

Get the pattern to align perfectly between the wallpaper lengths. We guide you to easy and precise pattern matching.

View the guide

Wallpapering inside corners

Wallpaper inside corners without any problems. Achieve a neat finish and straight lines even at tricky angles.

View the guide

Wallpapering outside corners

Learn how to wallpaper outside corners in a simple and durable way. Easy tricks that make a big difference.

View the guide

Windows & Doors

How to wallpaper around windows and doors with precision. Here are the tips for neat finishes.

View the guide

Wall socket

Achieve clean, neat details around wall sockets and light switches. With the right technique, it becomes easier.

View the guide

Wallpapering – step by step

Many people feel unsure about how to hang wallpaper, but in fact it’s both easy and a lot of fun. Here, we show you how to do it, step by step.

View the guide