Create a wow factor with custom-fit mural wallpapers! Would you like to transform your room into a lush forest, a rolling mountain landscape, or why not a dreamy magnolia garden? Inga problem! Here, we show you how it’s done.

 
Load video: Wallpapering School – learn how to wallpaper, step by step.

How to hang a wall mural

1. Prepare the surface
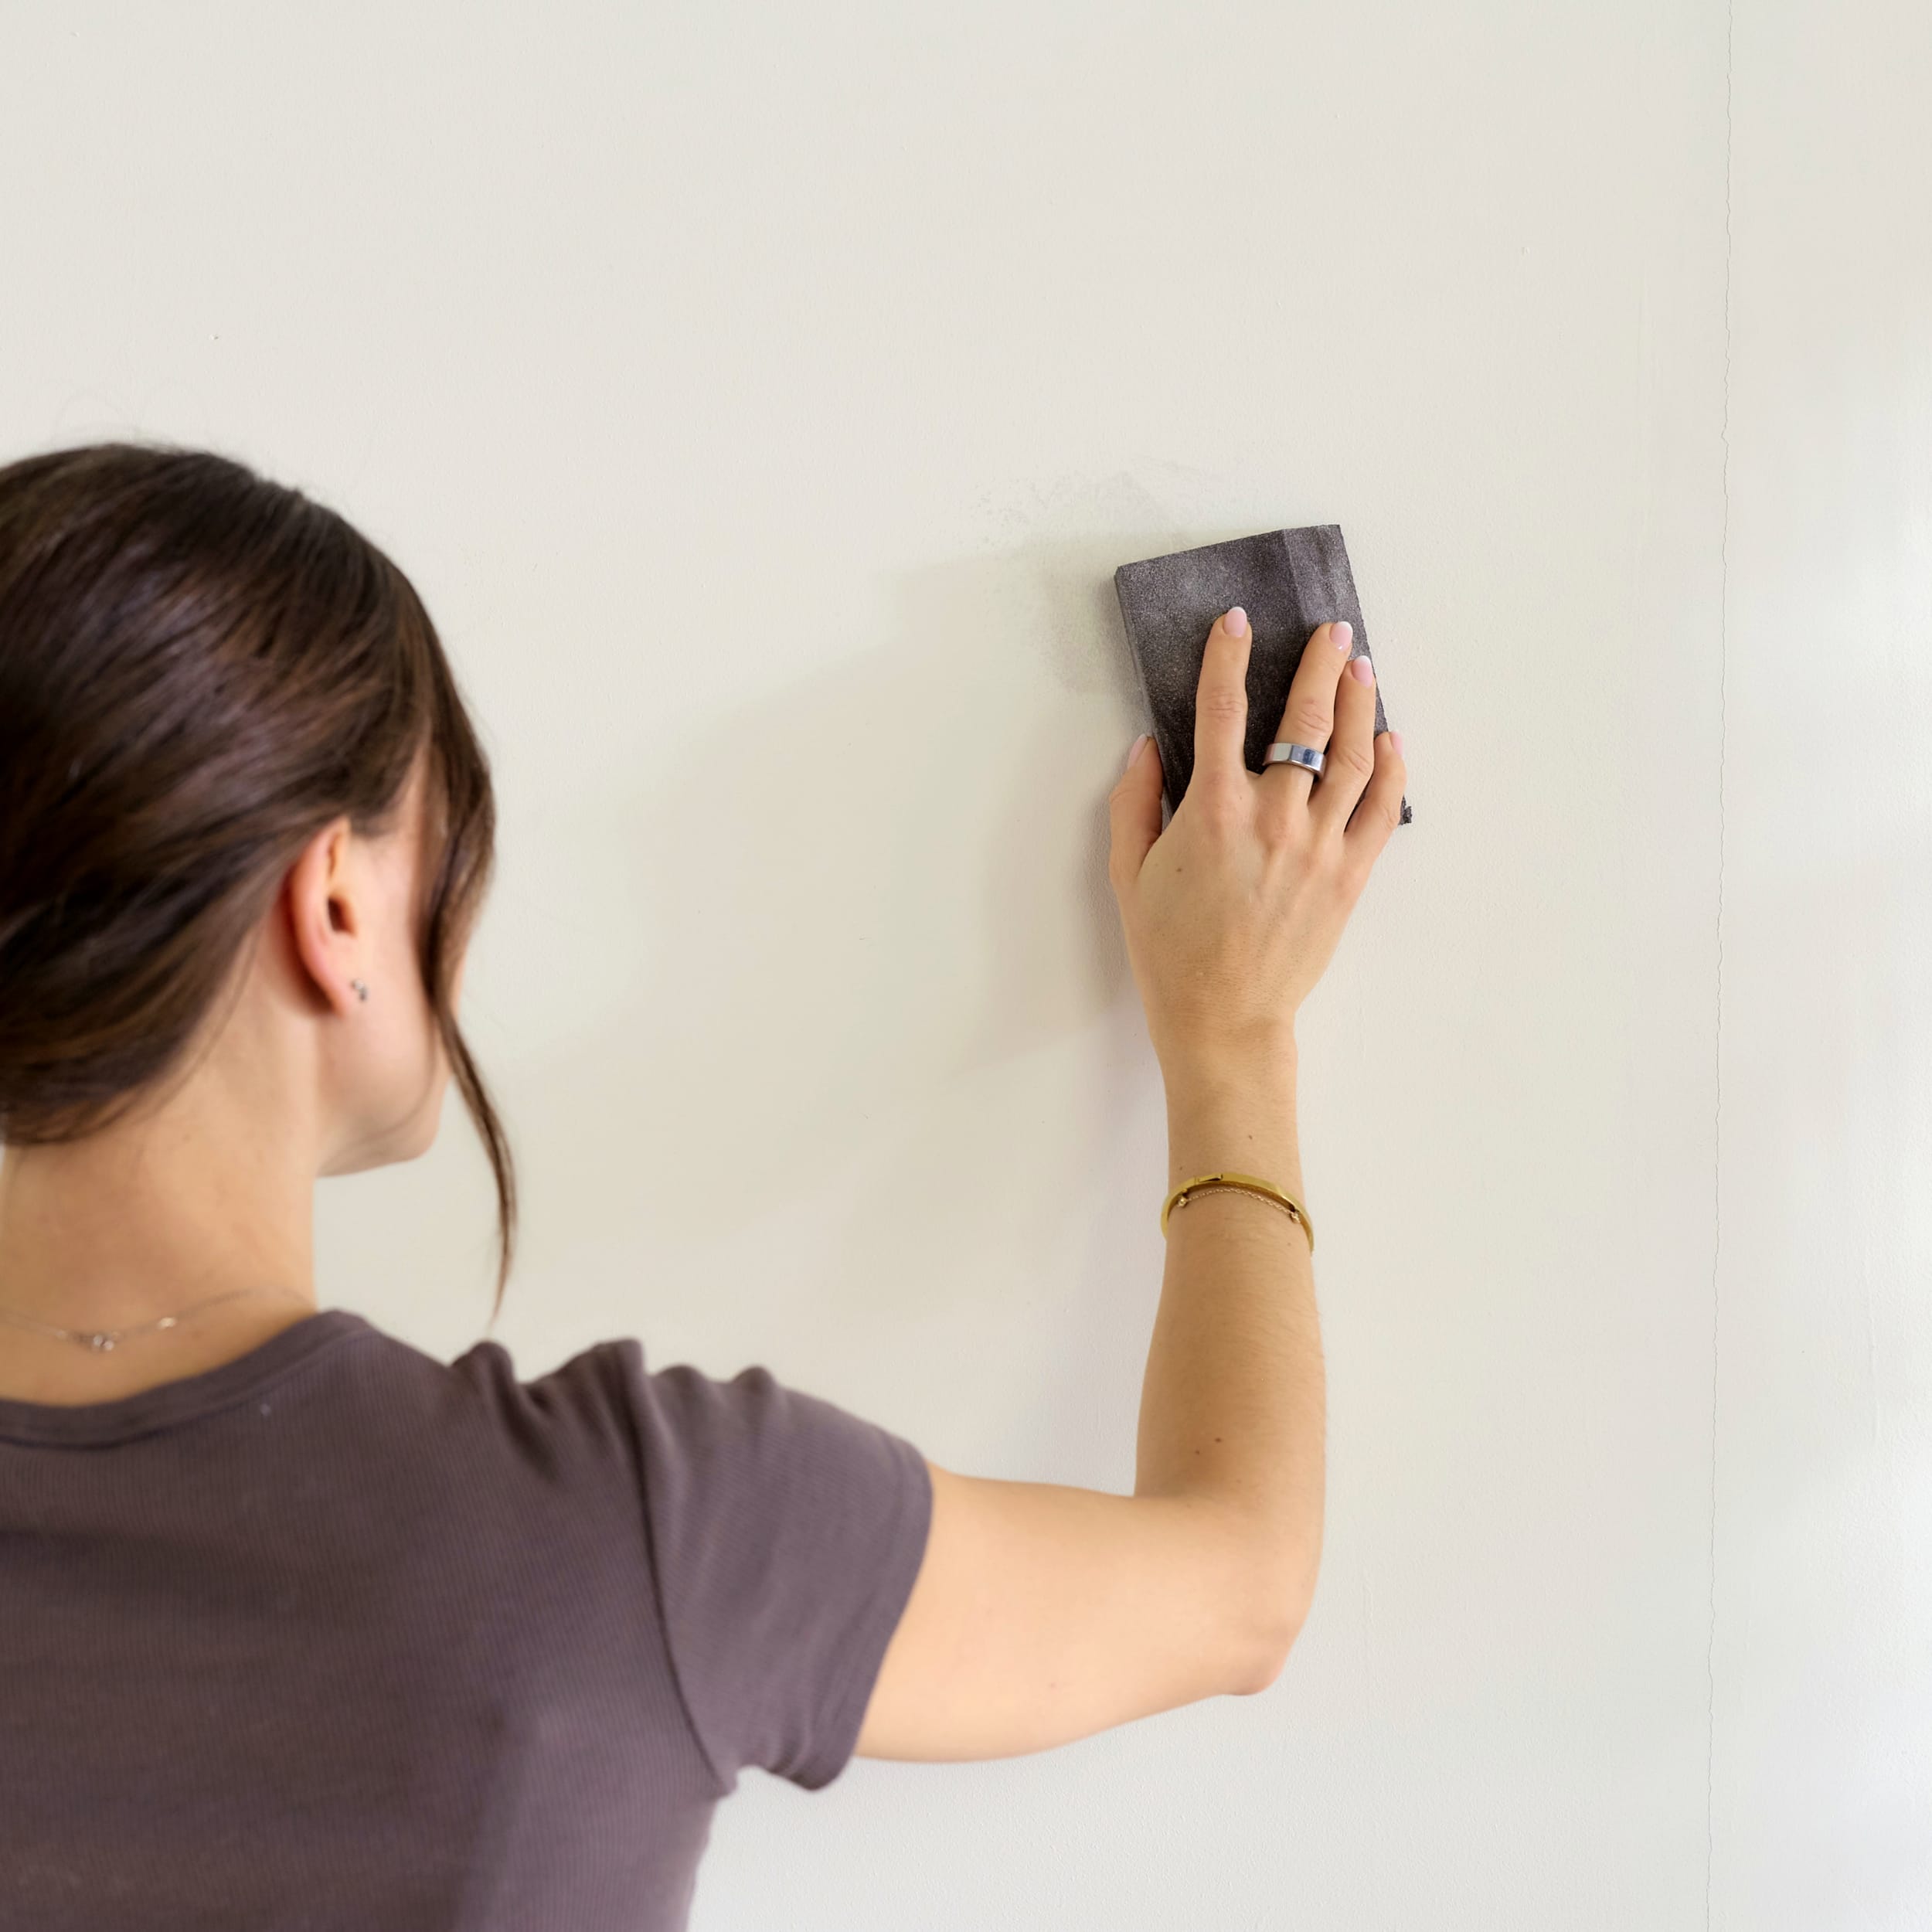
If your walls are ready for the wallpaper you’re about to hang, the result will be so much better. For your mural wallpaper to look its best, the surface should be a single colour, so if you already have a patterned wallpaper, it needs to be removed or painted over. It’s also important to make sure the walls are clean and completely dry, and that there are no holes or uneven areas. If there are, simply fill them and sand the surface smooth.

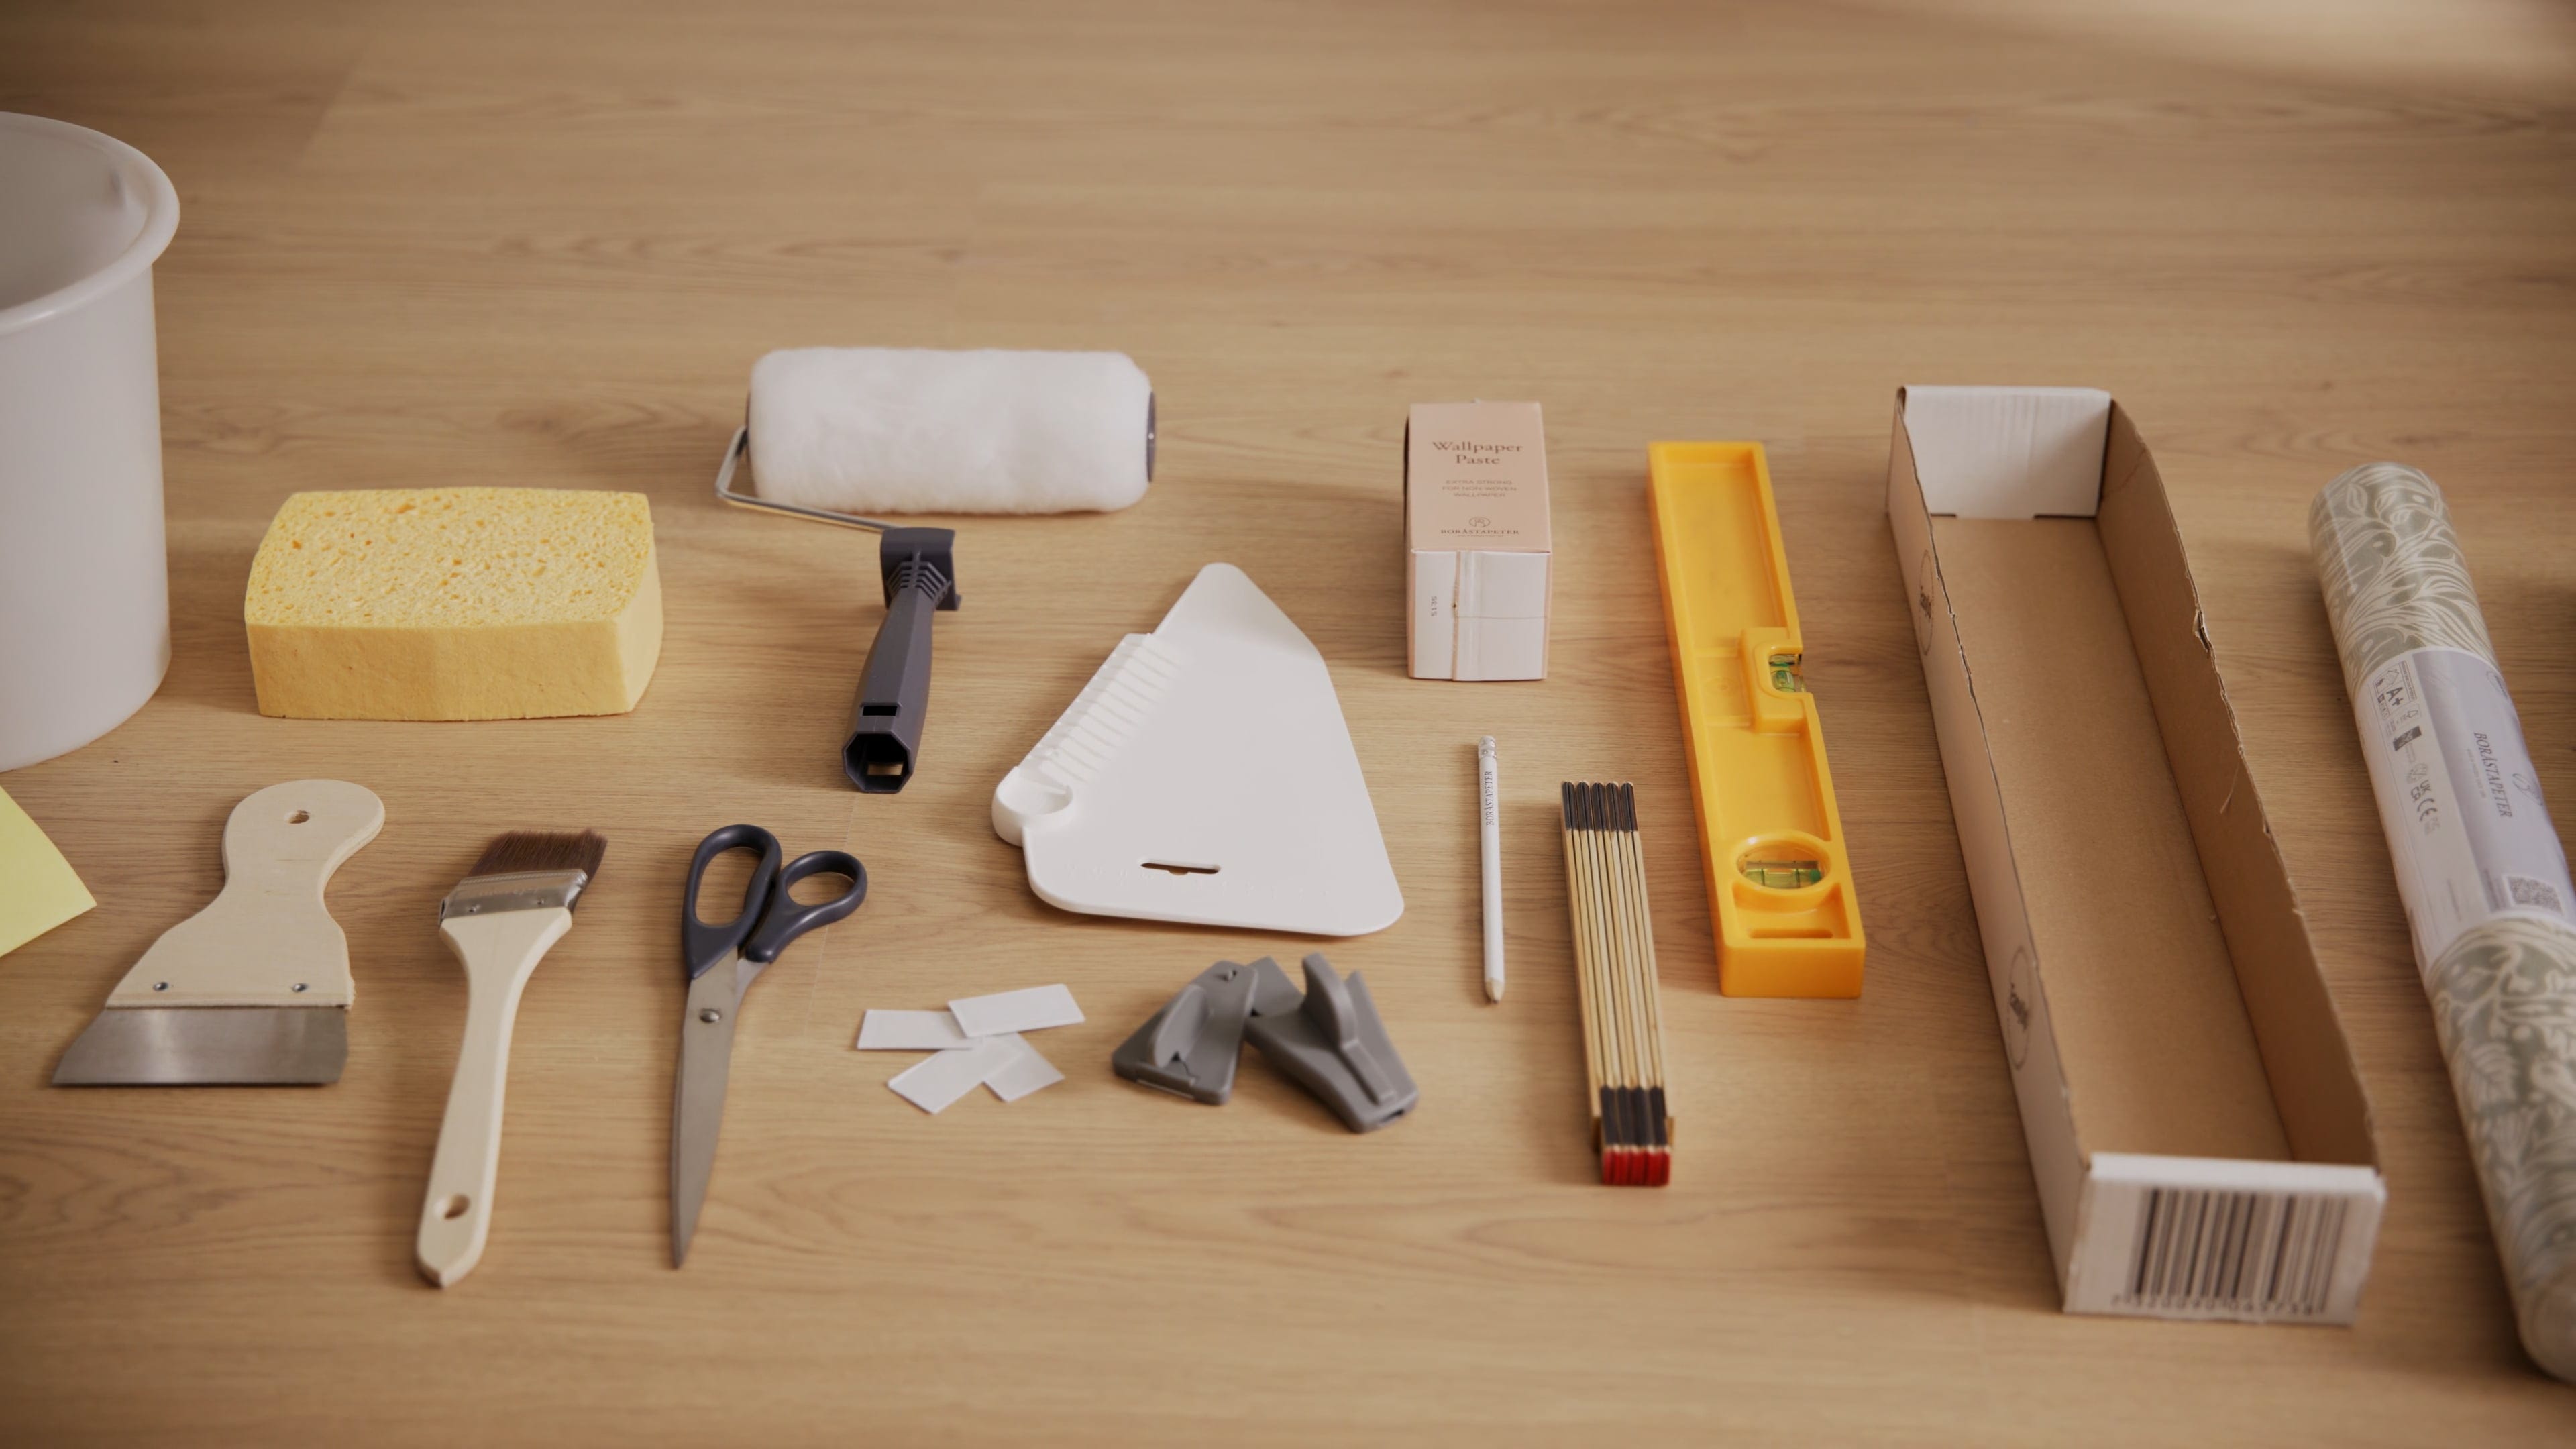
2. Gather your tools
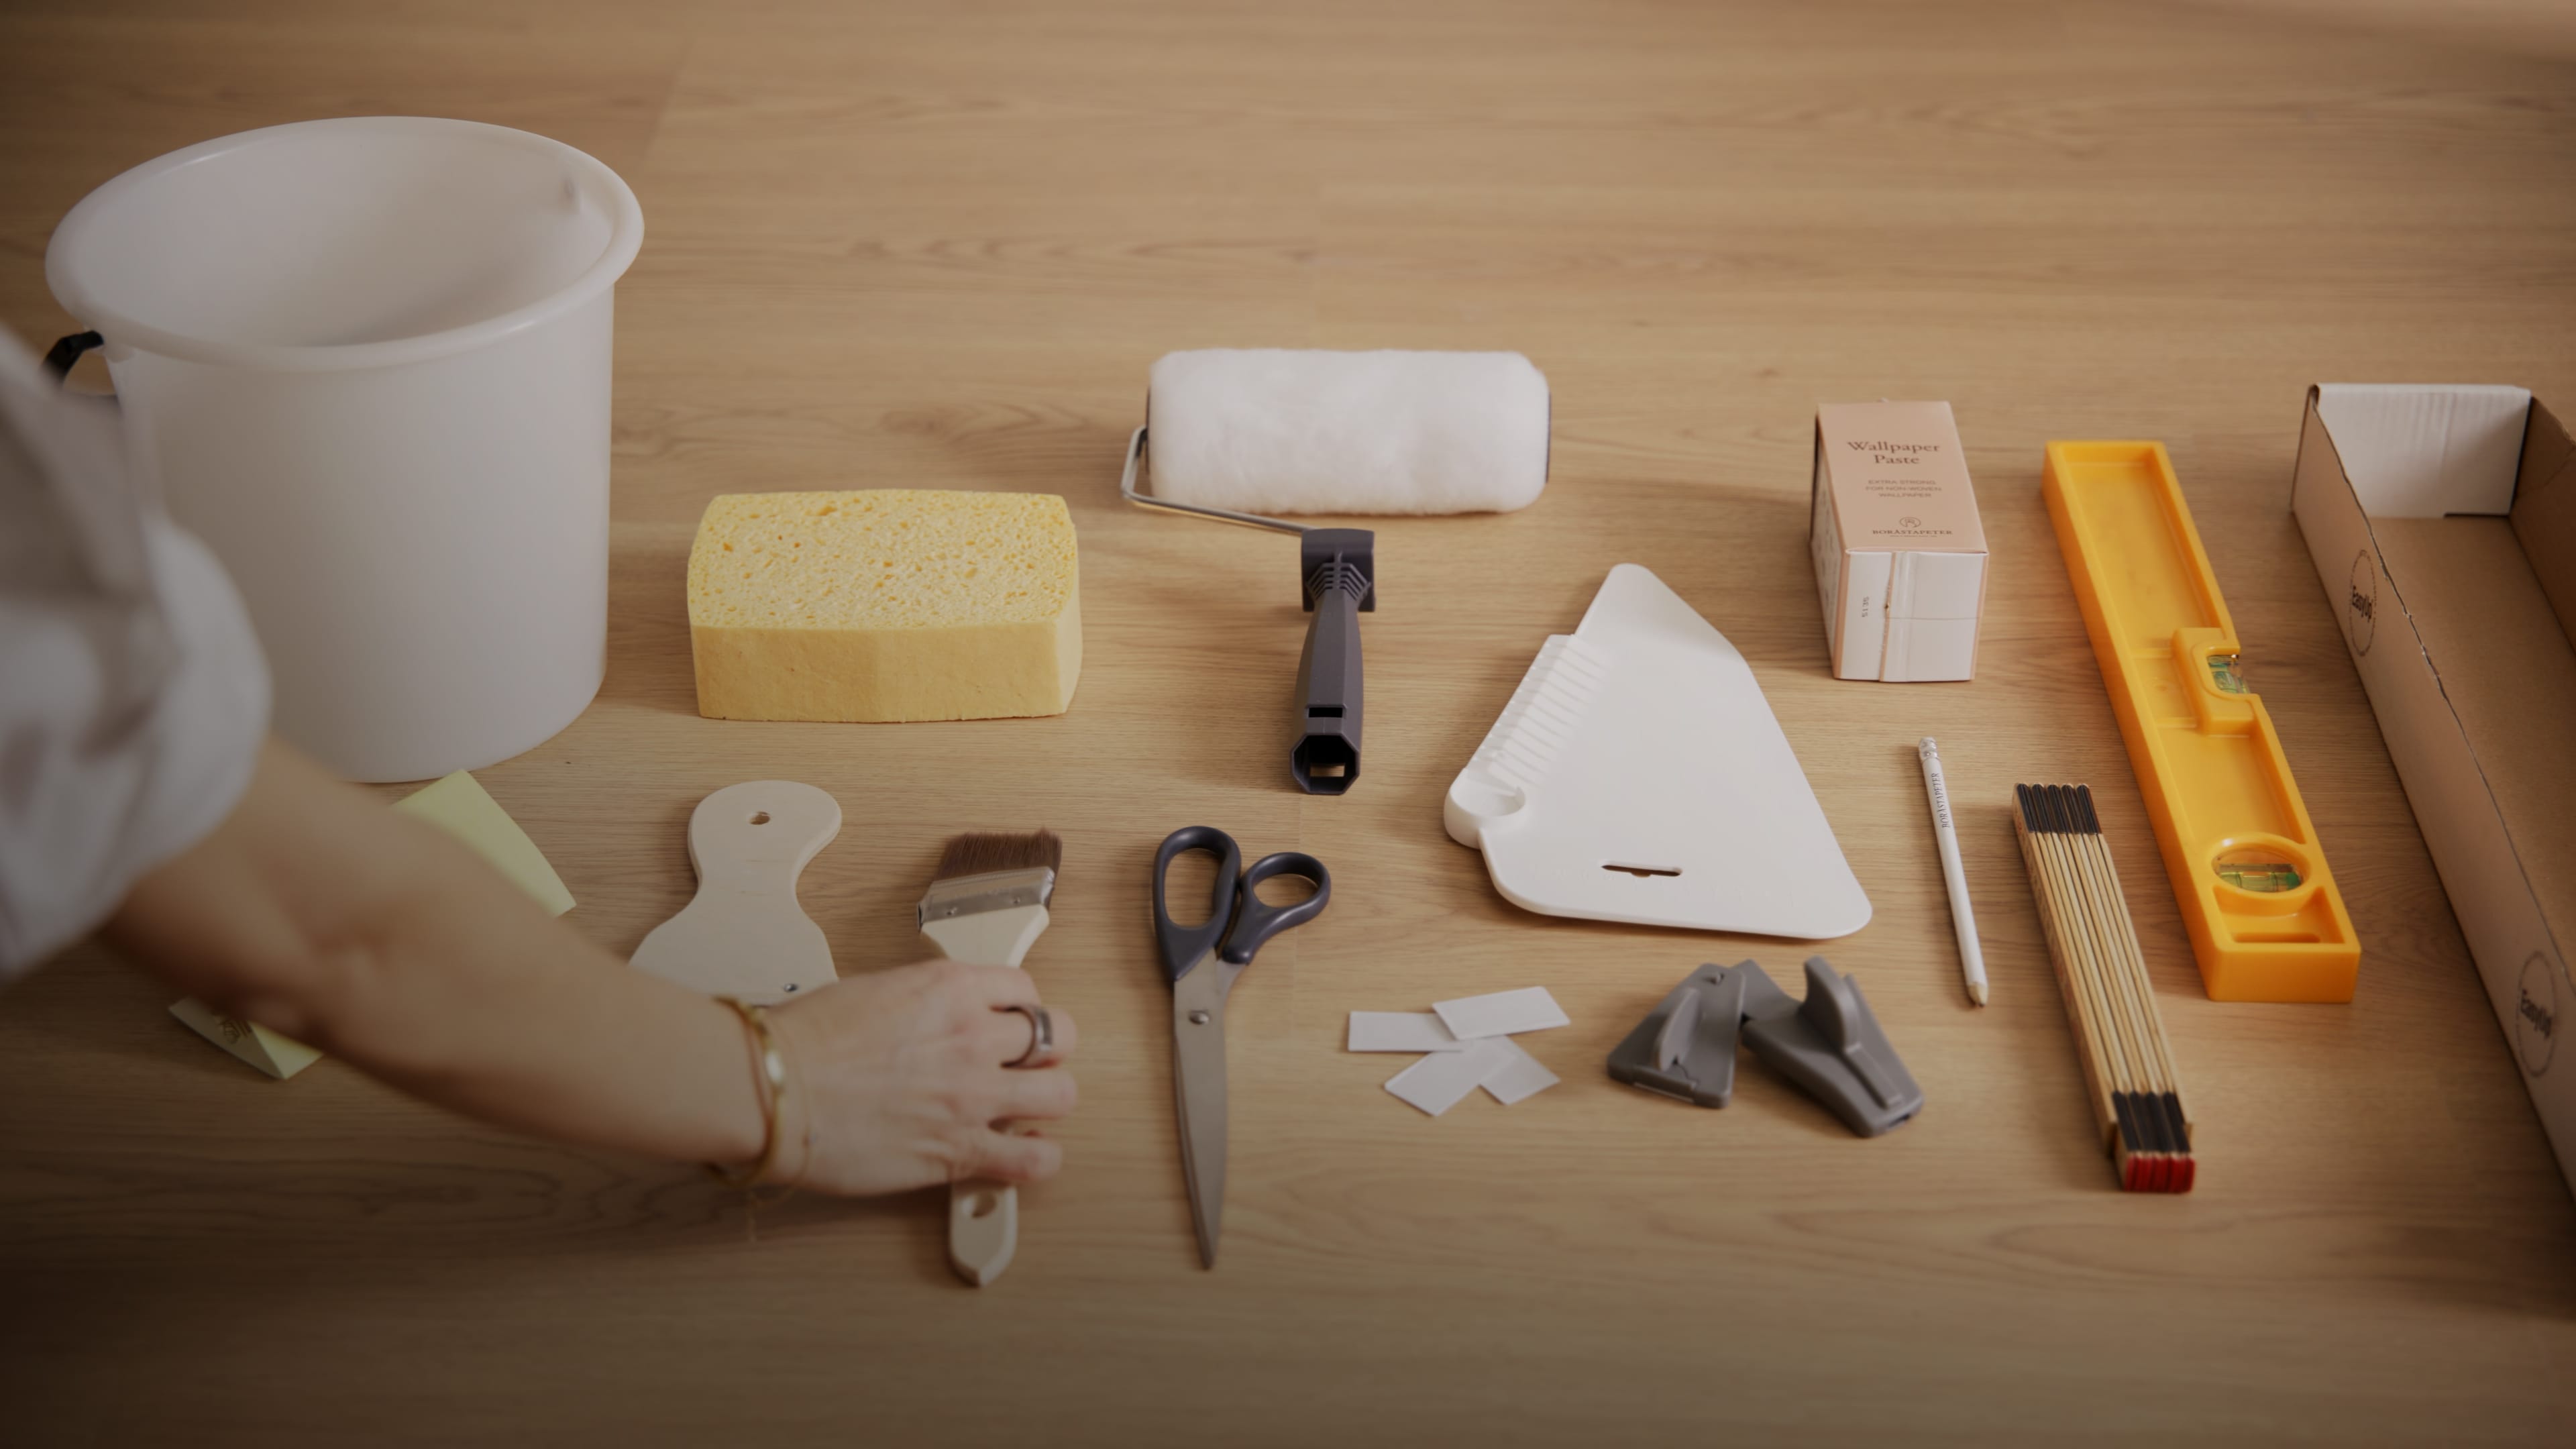
The right tools make a bigger difference to the final result than you might think. You will need a roller, bucket, non-woven adhesive, folding ruler, pencil, sandpaper, brush, filling knife, wallpaper tool, scissors, sponge, trimming knife, spirit level, and your mural wallpaper.

3. Cut the lengths
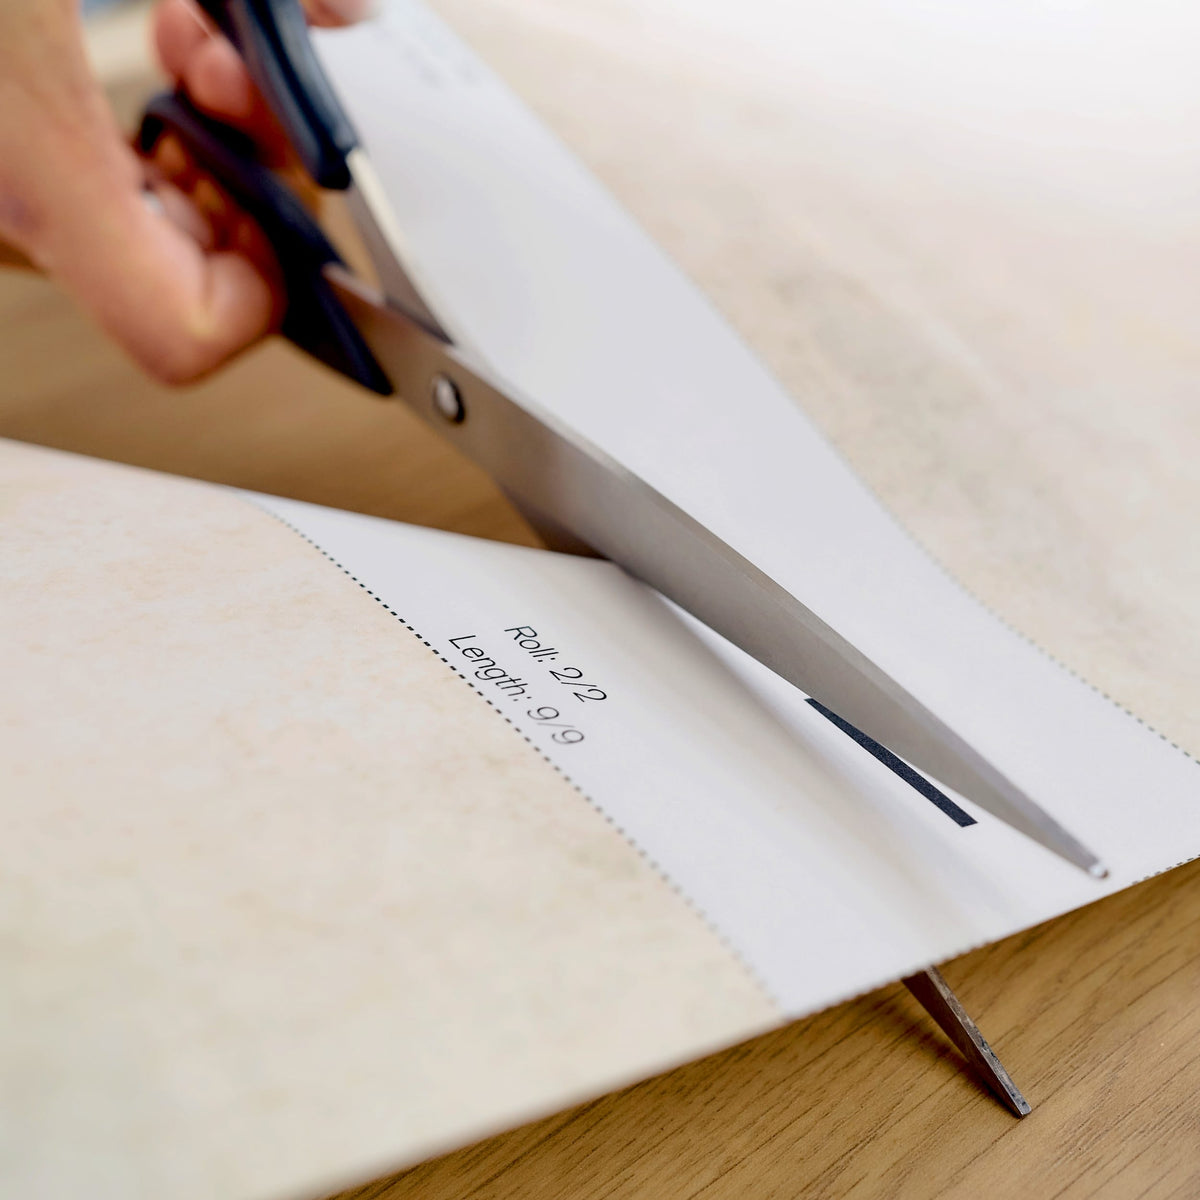
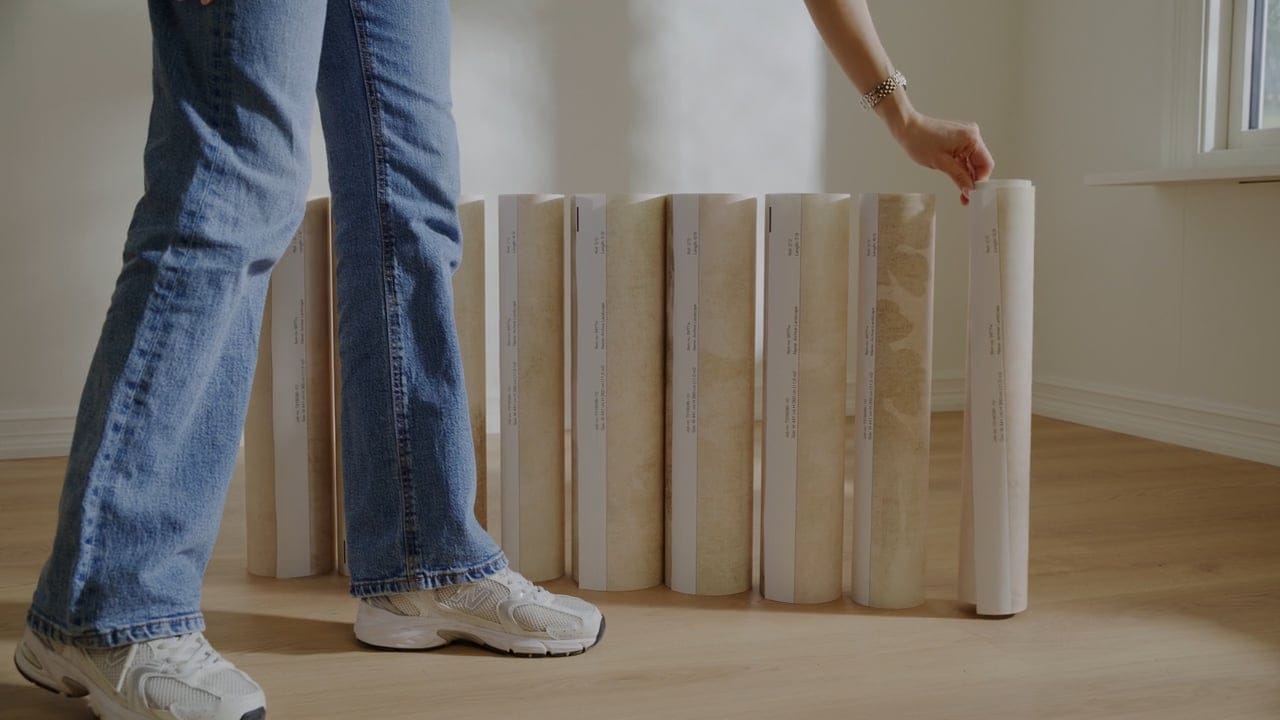
Take out your roll of mural wallpaper and a pair of scissors. Then cut each length at the marked lines.

4. Arrange the lengths in numerical order
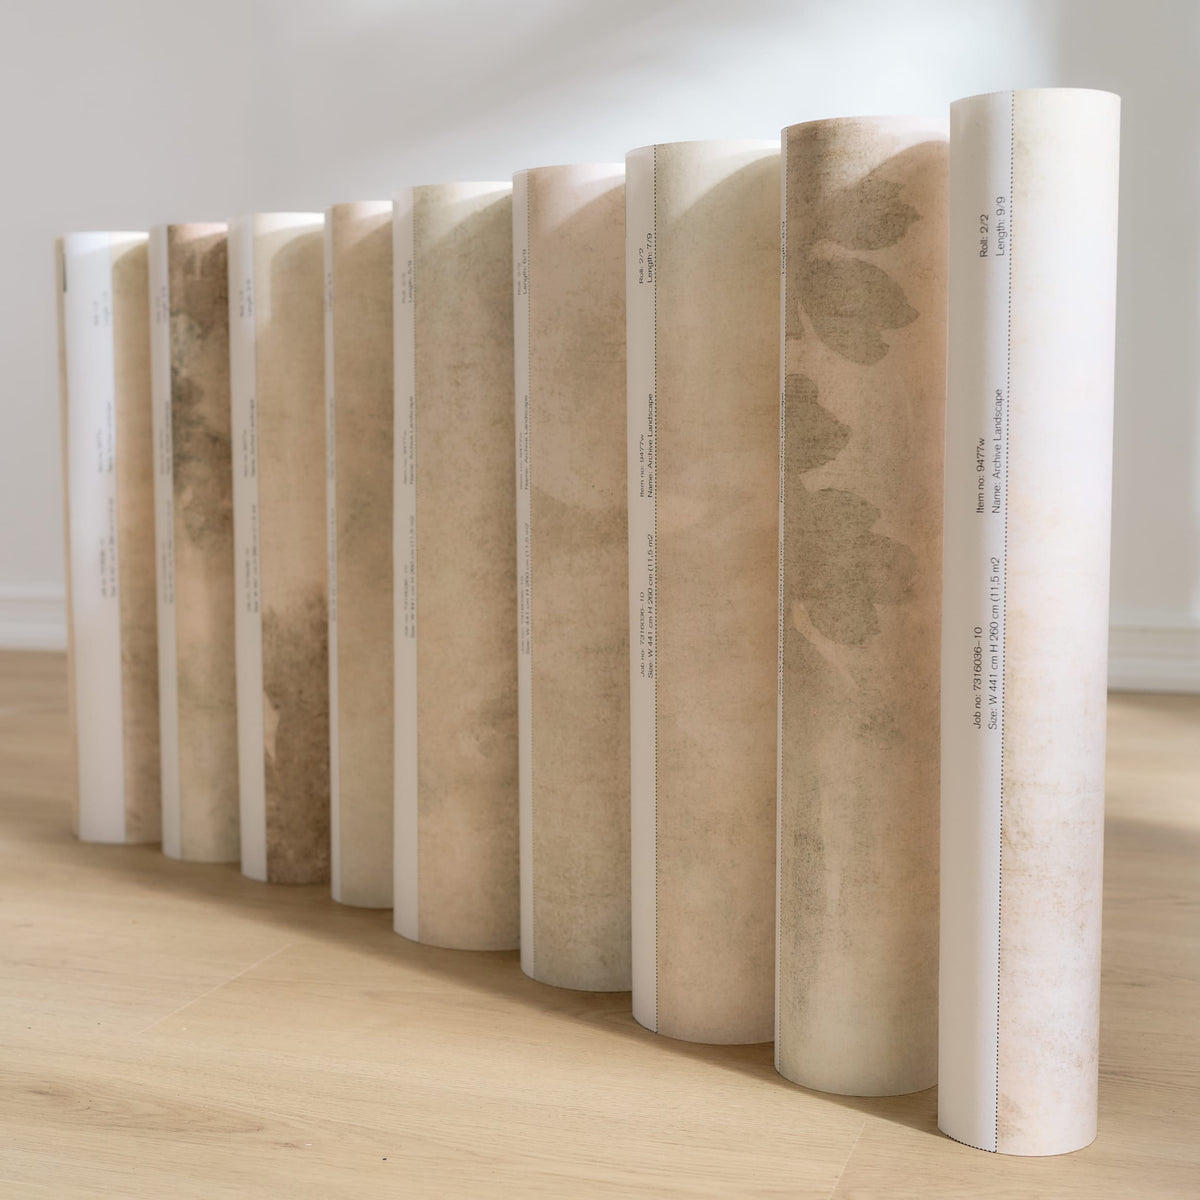
Each length is numbered, so to make things easier once you get started, it is a good idea to place the lengths side by side in numerical order.

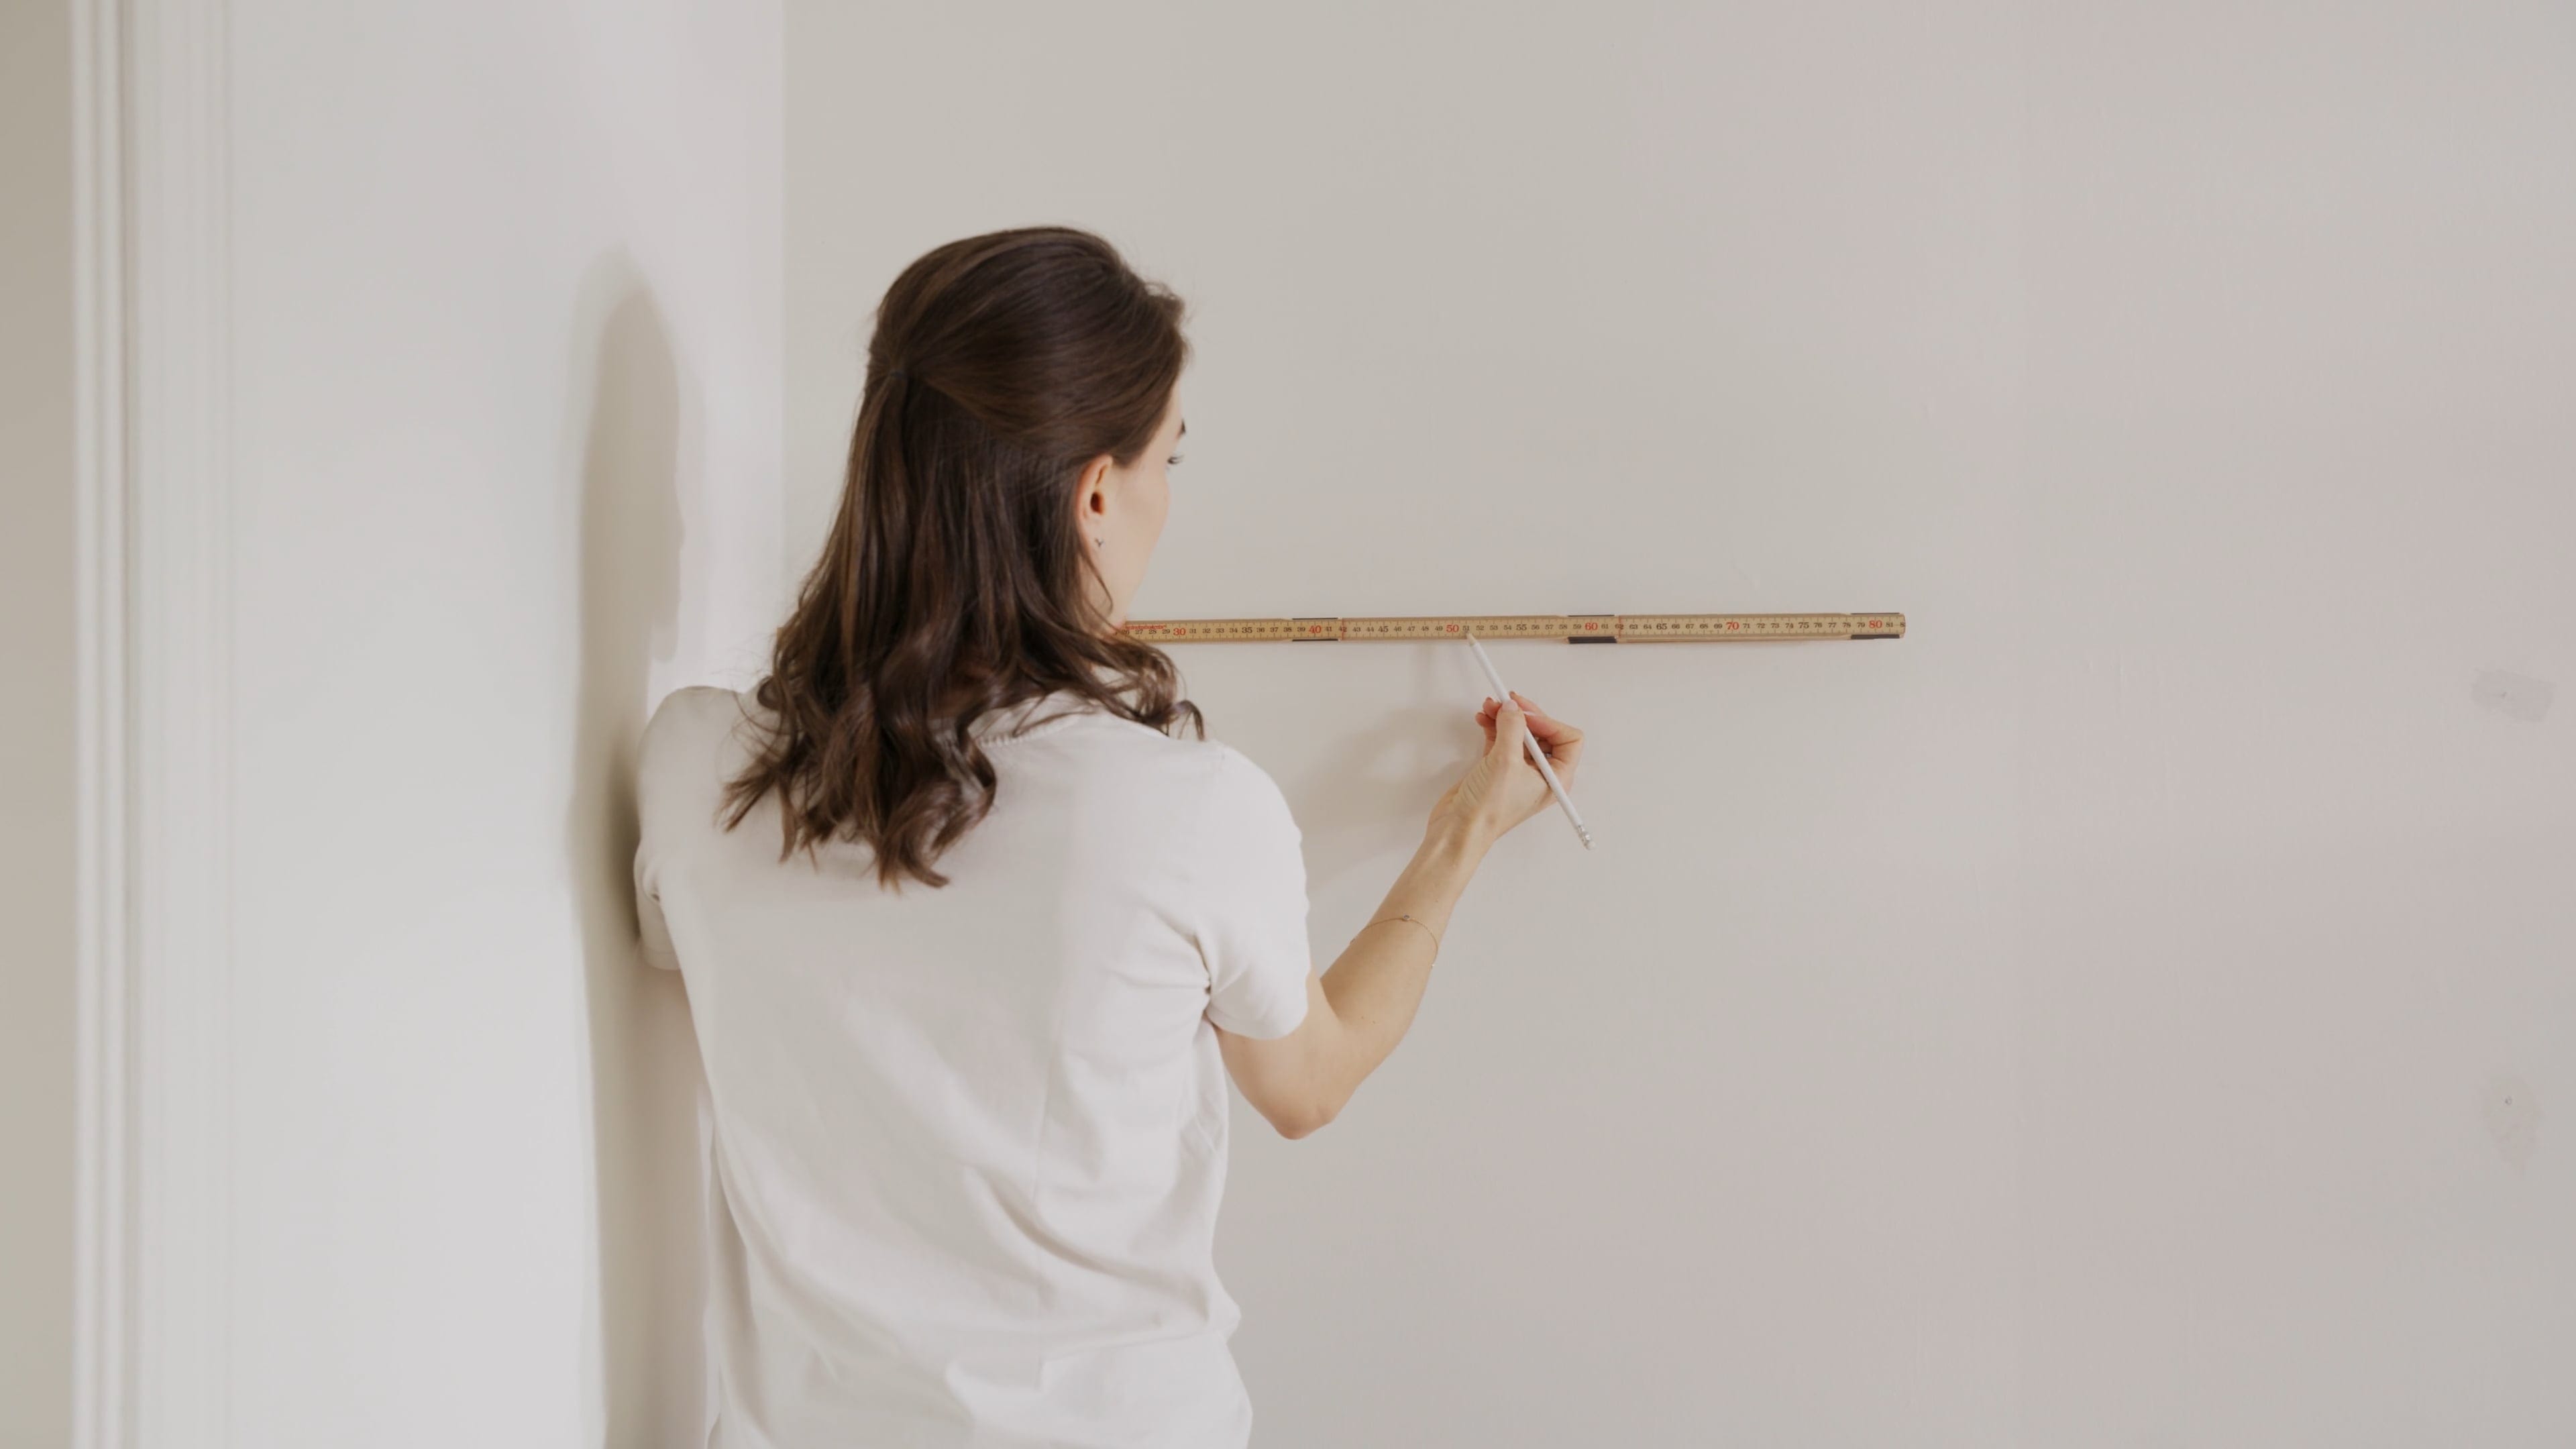
4. Make a guideline
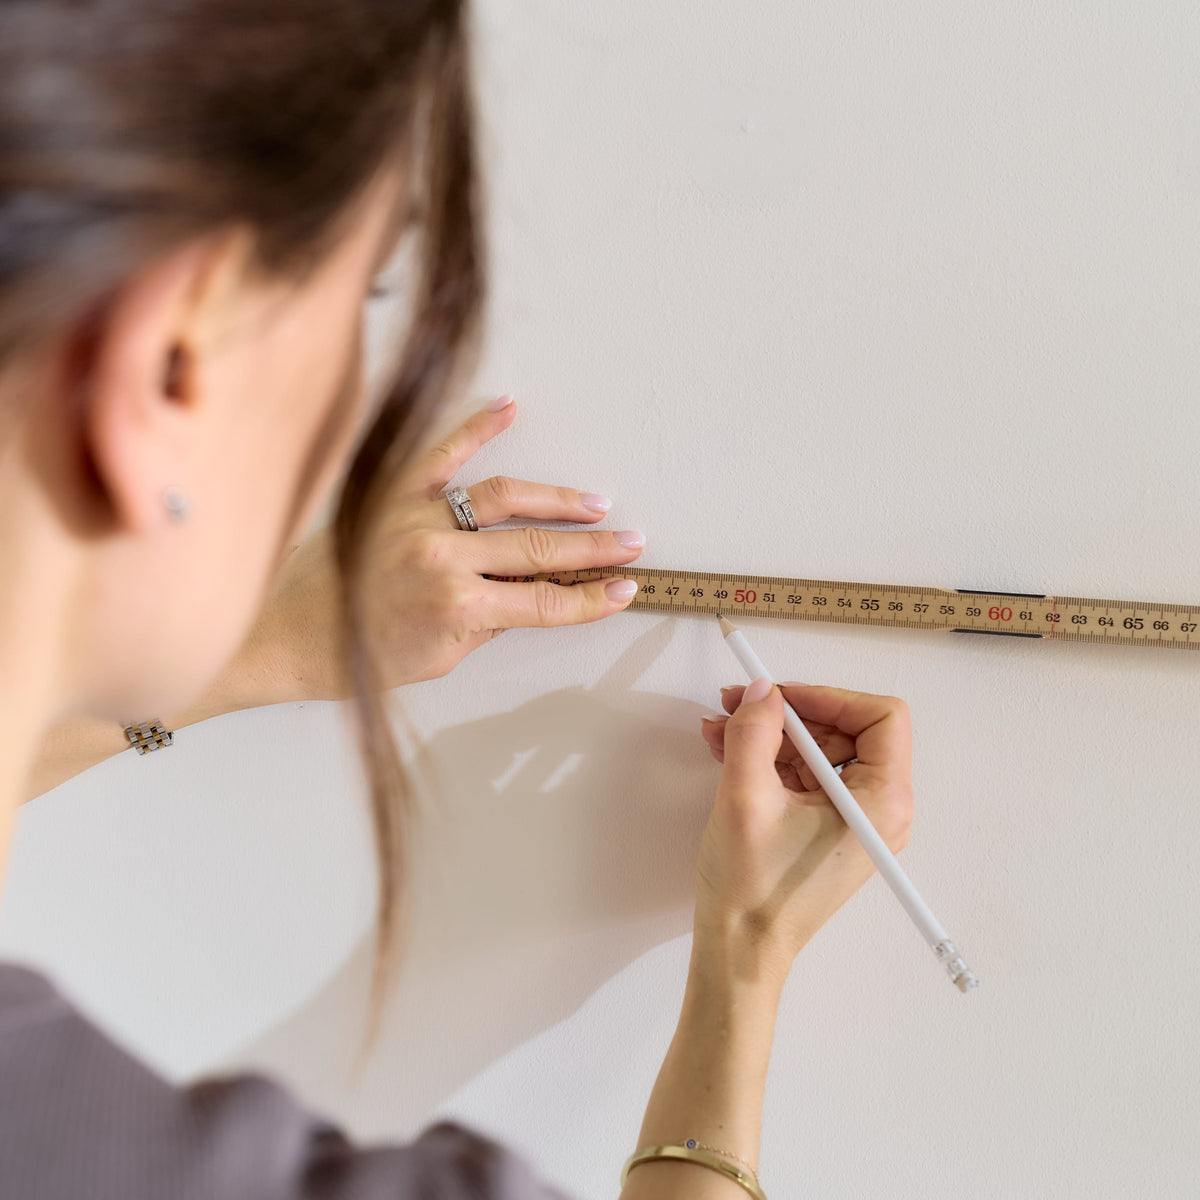
With a guideline on the wall, the first length will be straight much more quickly, which is important to ensure the rest of the wallpaper lengths are positioned correctly. Measure approximately 49 cm from the corner and draw a vertical line using a spirit level.

5. Apply the adhesive
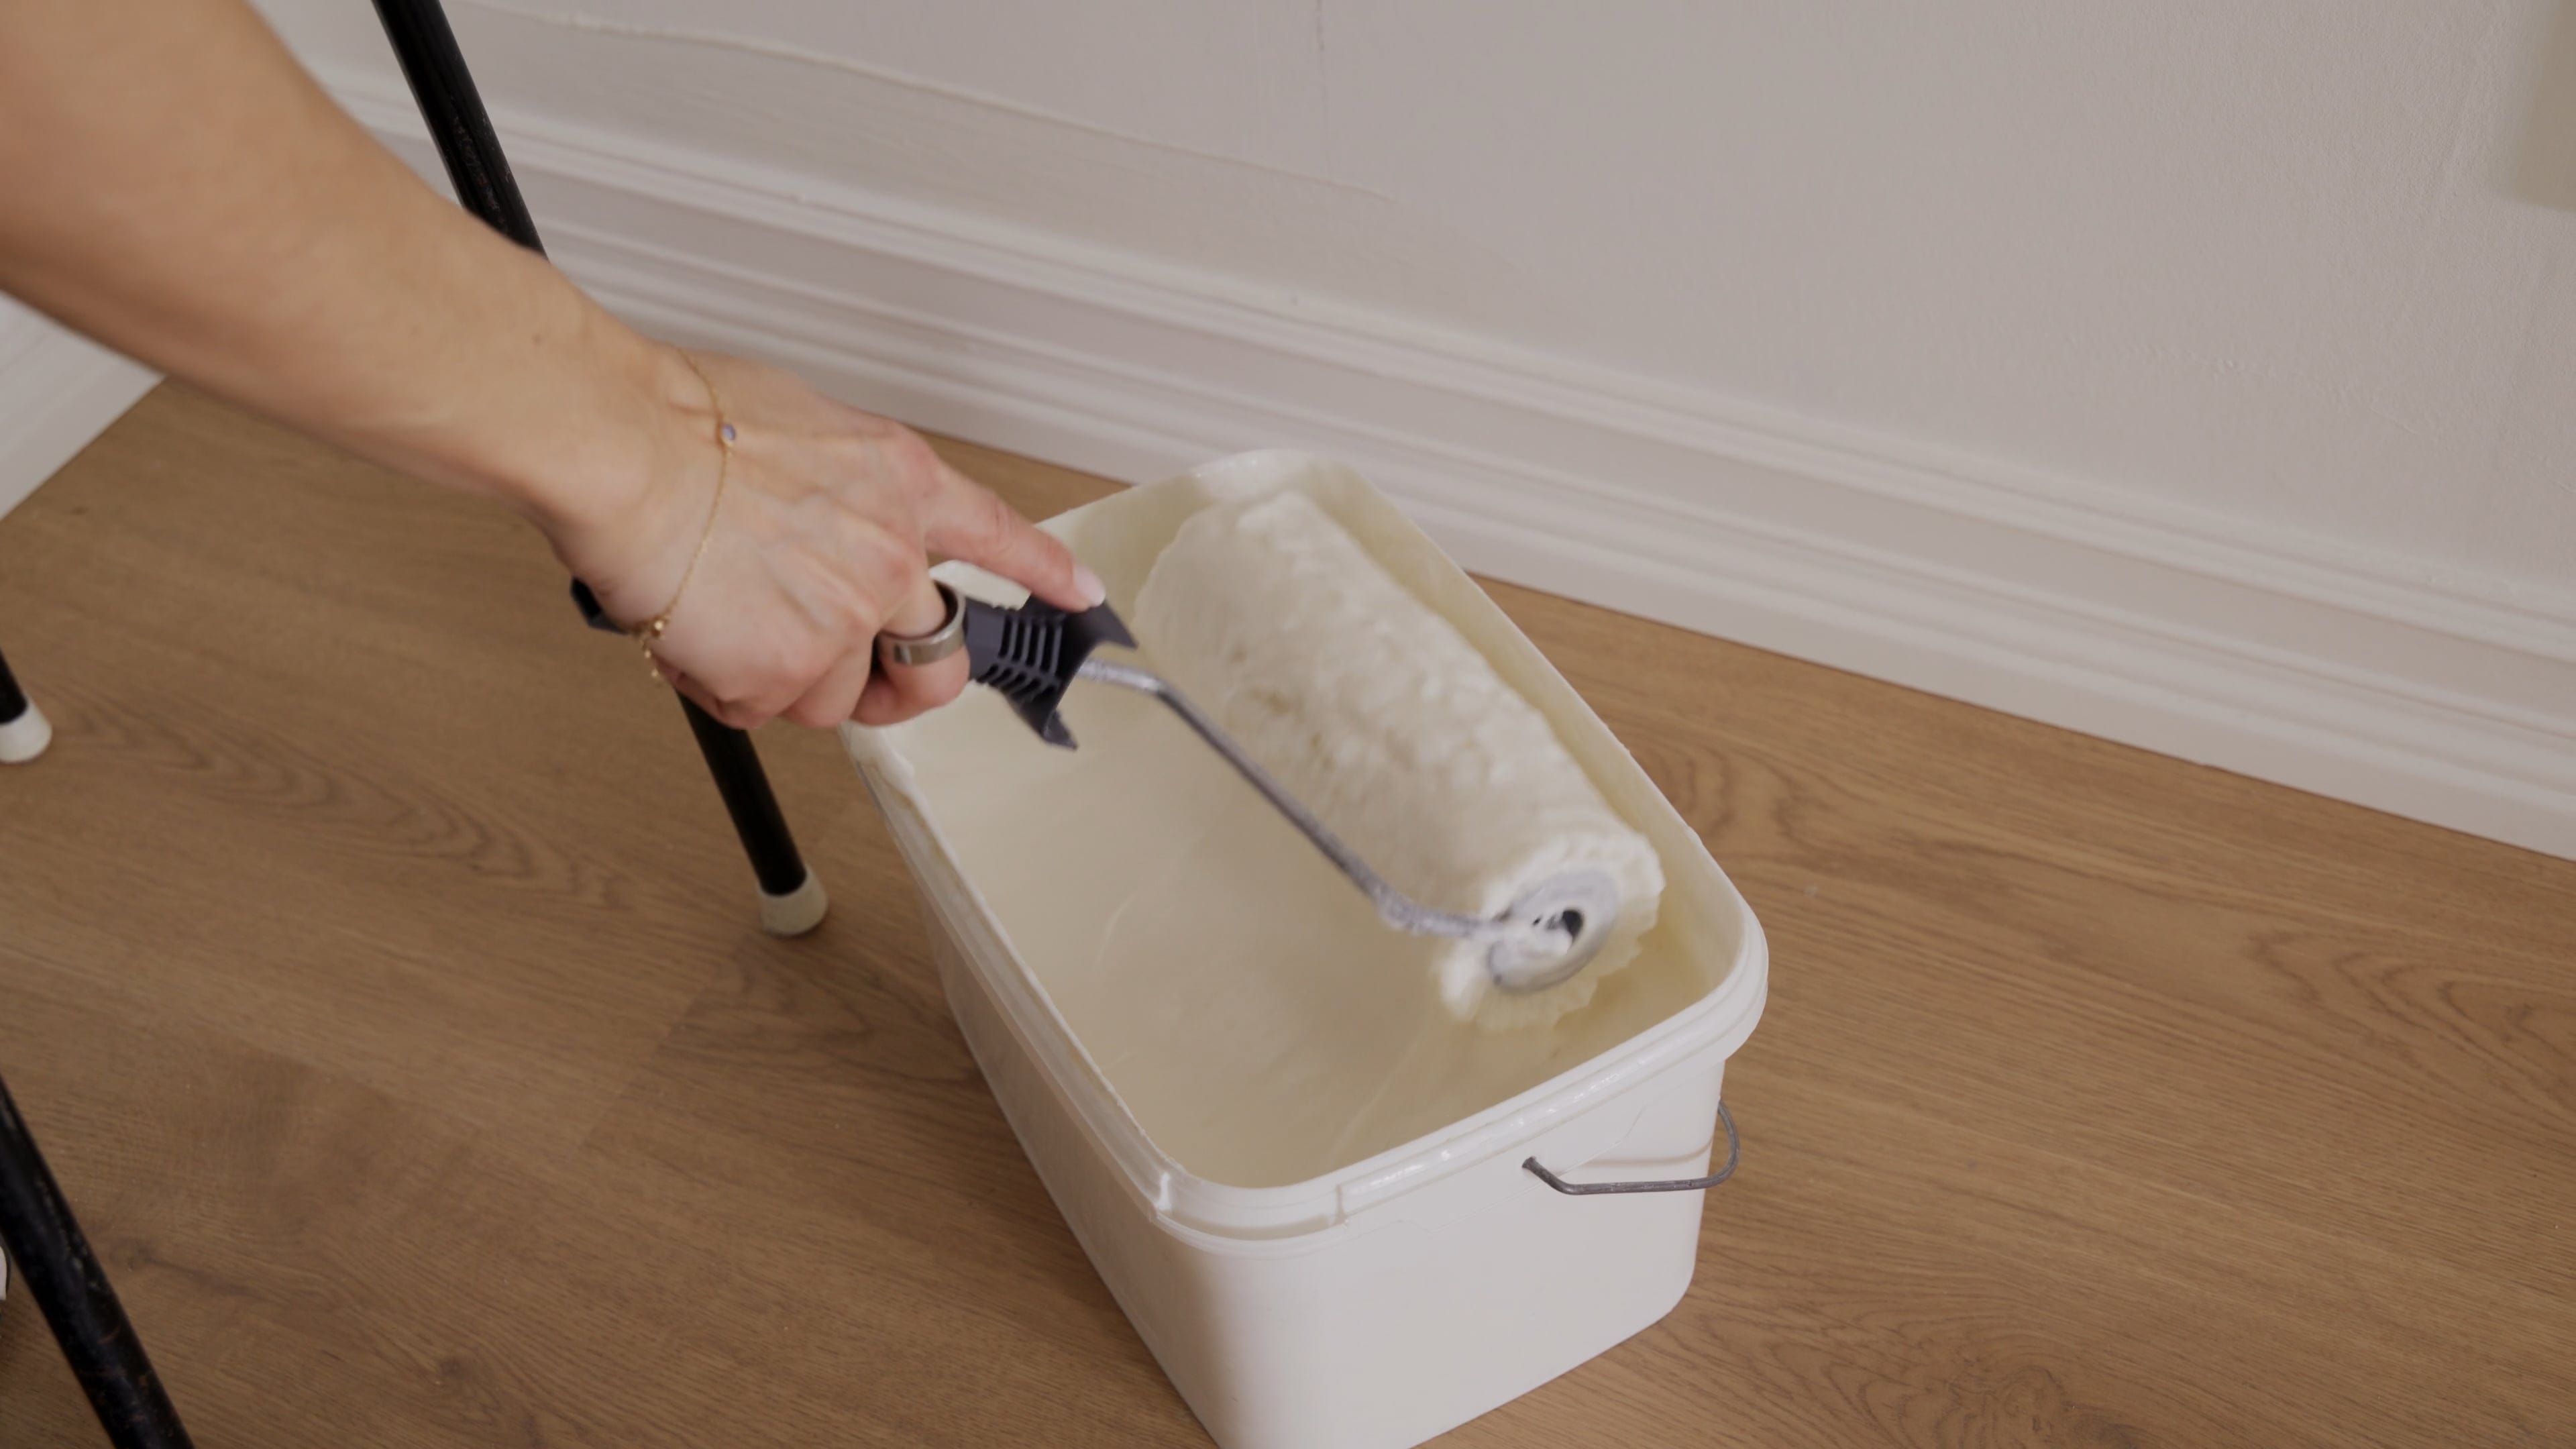
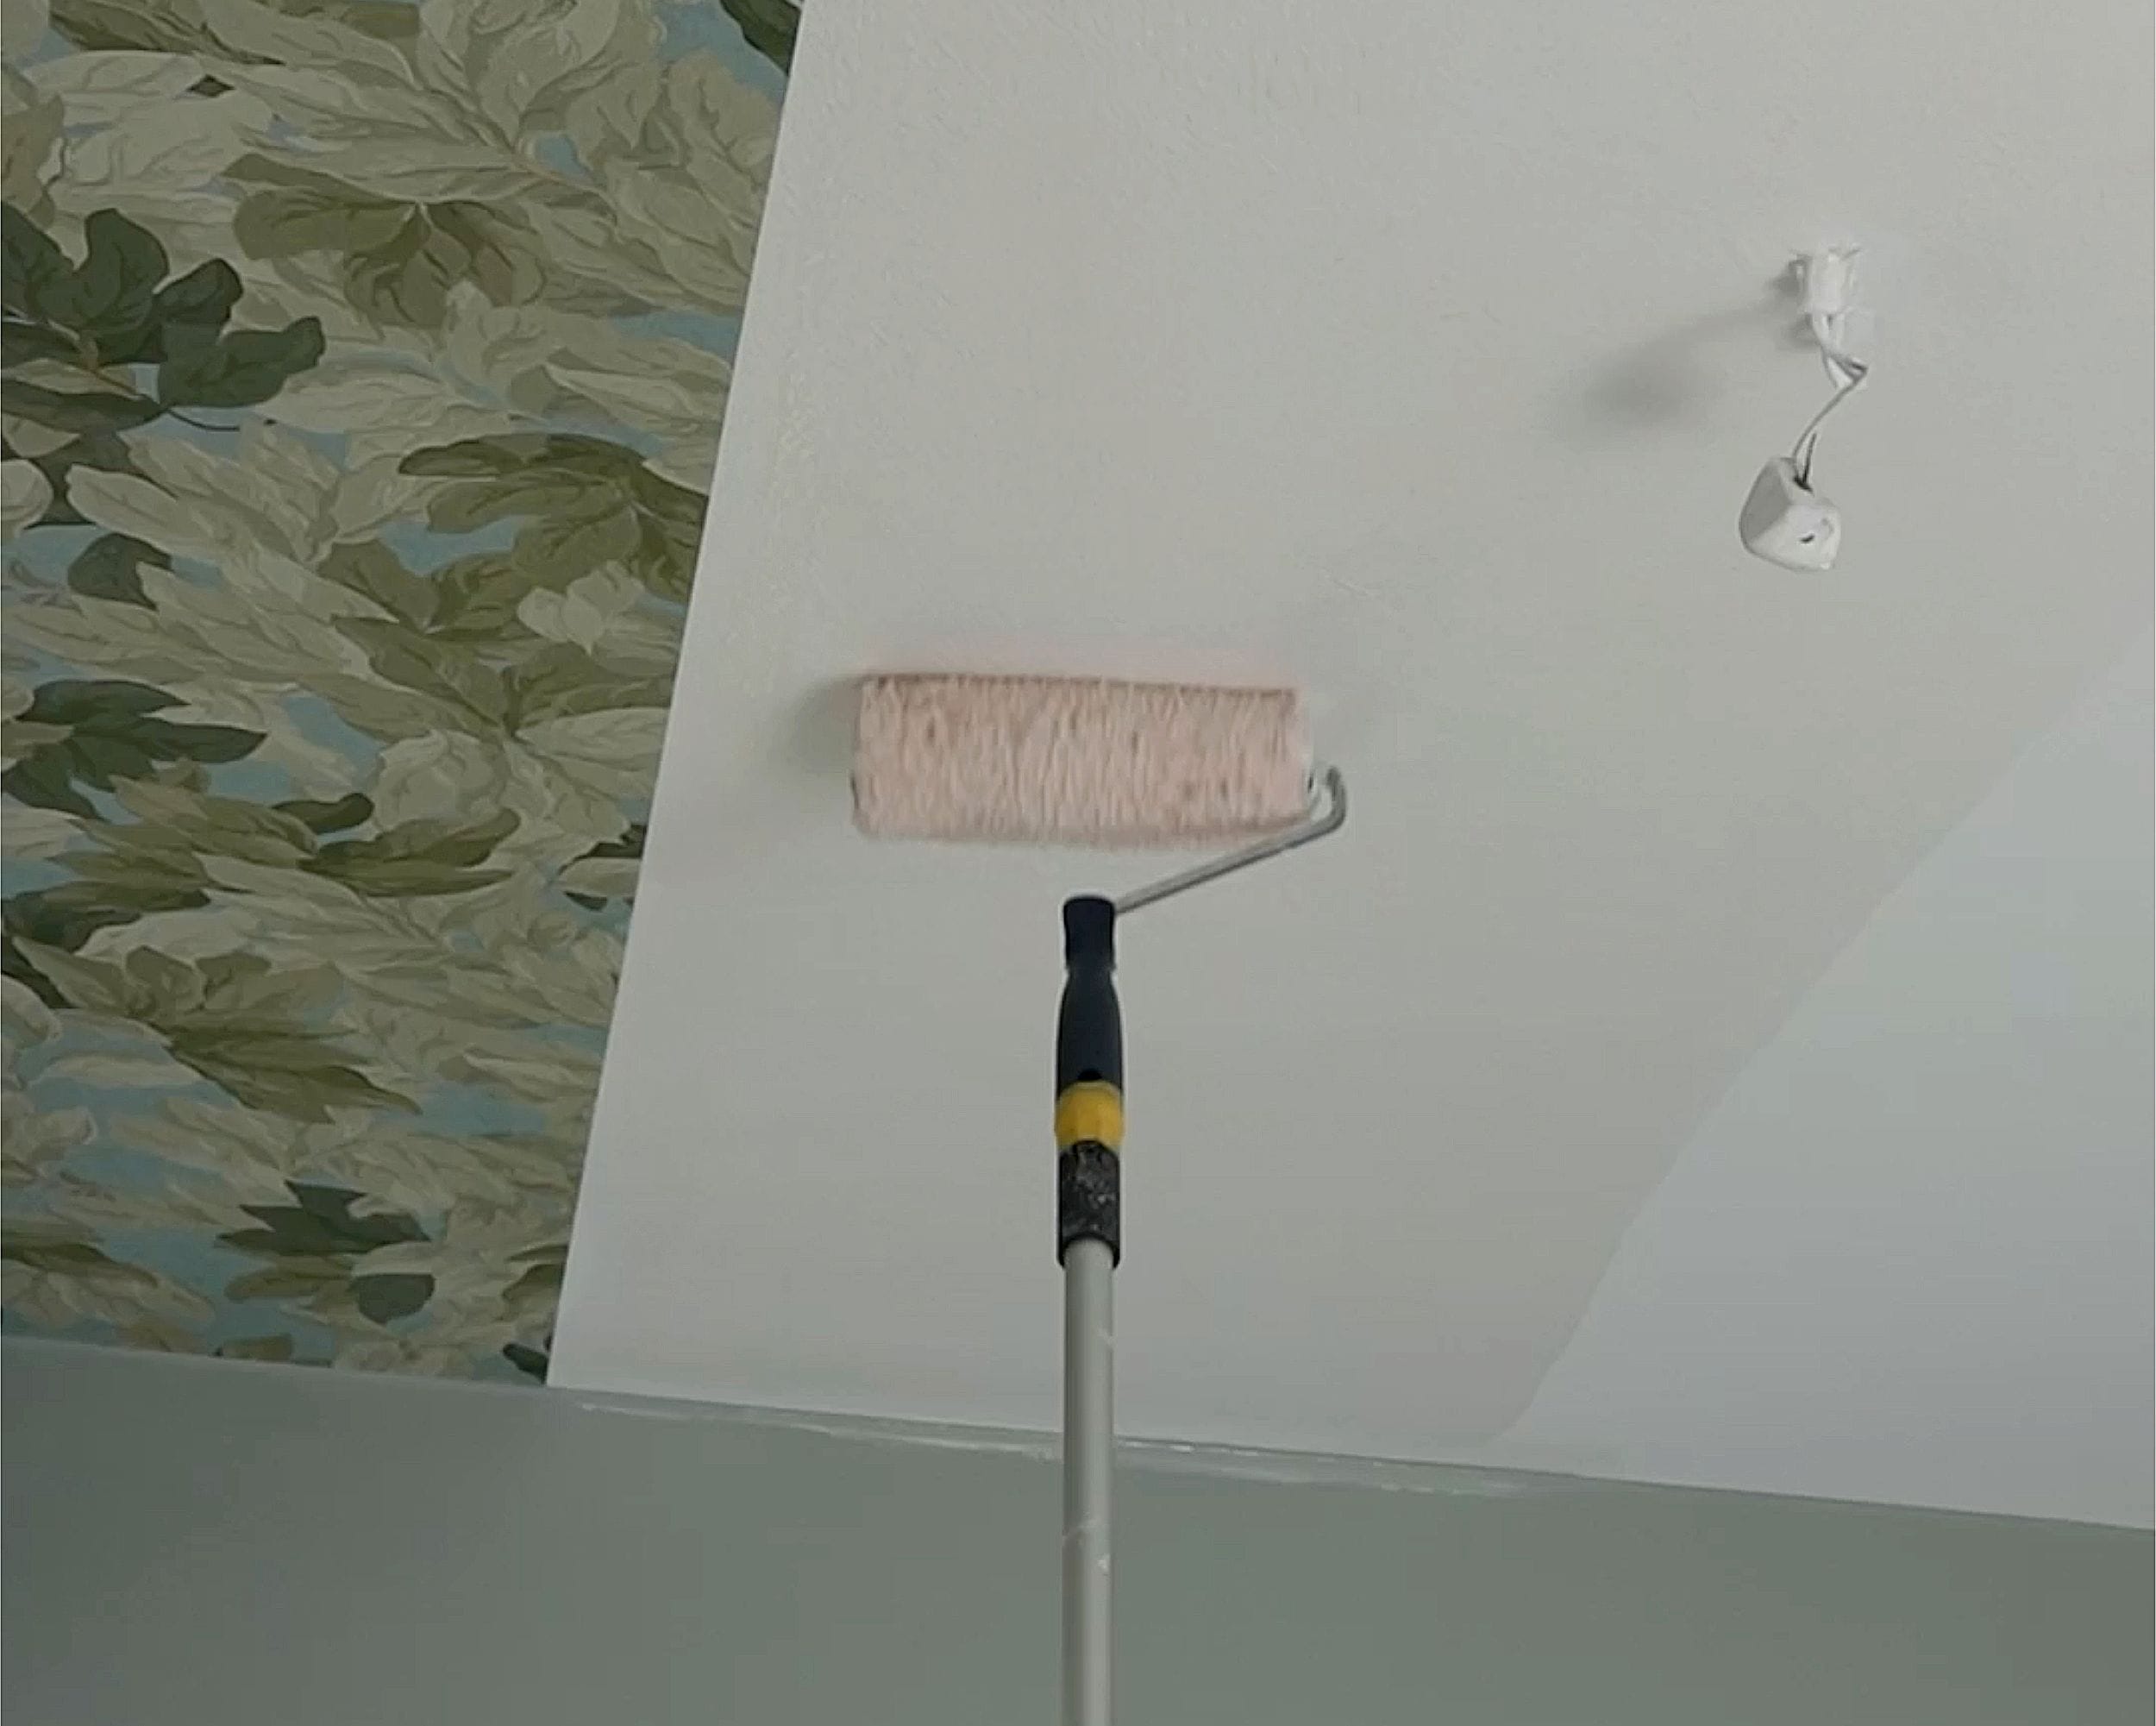
Now start applying adhesive to the walls. Use a smaller brush along the ceiling, at the edges and along the skirting board, and roll the rest of the wall surface with a thin, even layer of adhesive. Apply adhesive one length-width at a time with a little extra margin, as this makes it easier when putting up the next length.

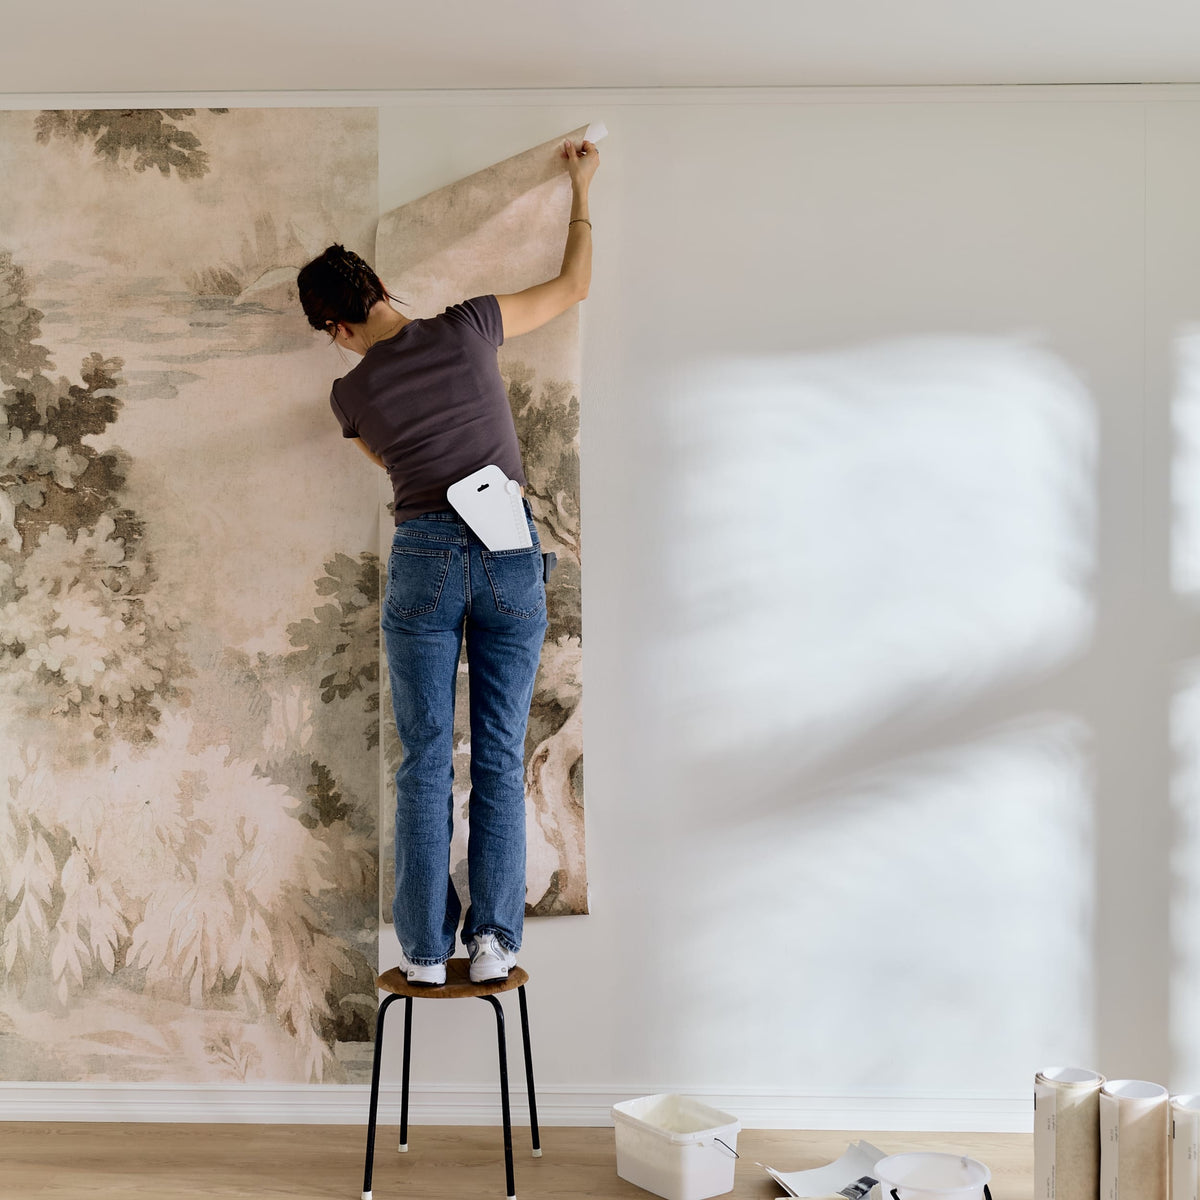
6. Hang the first length
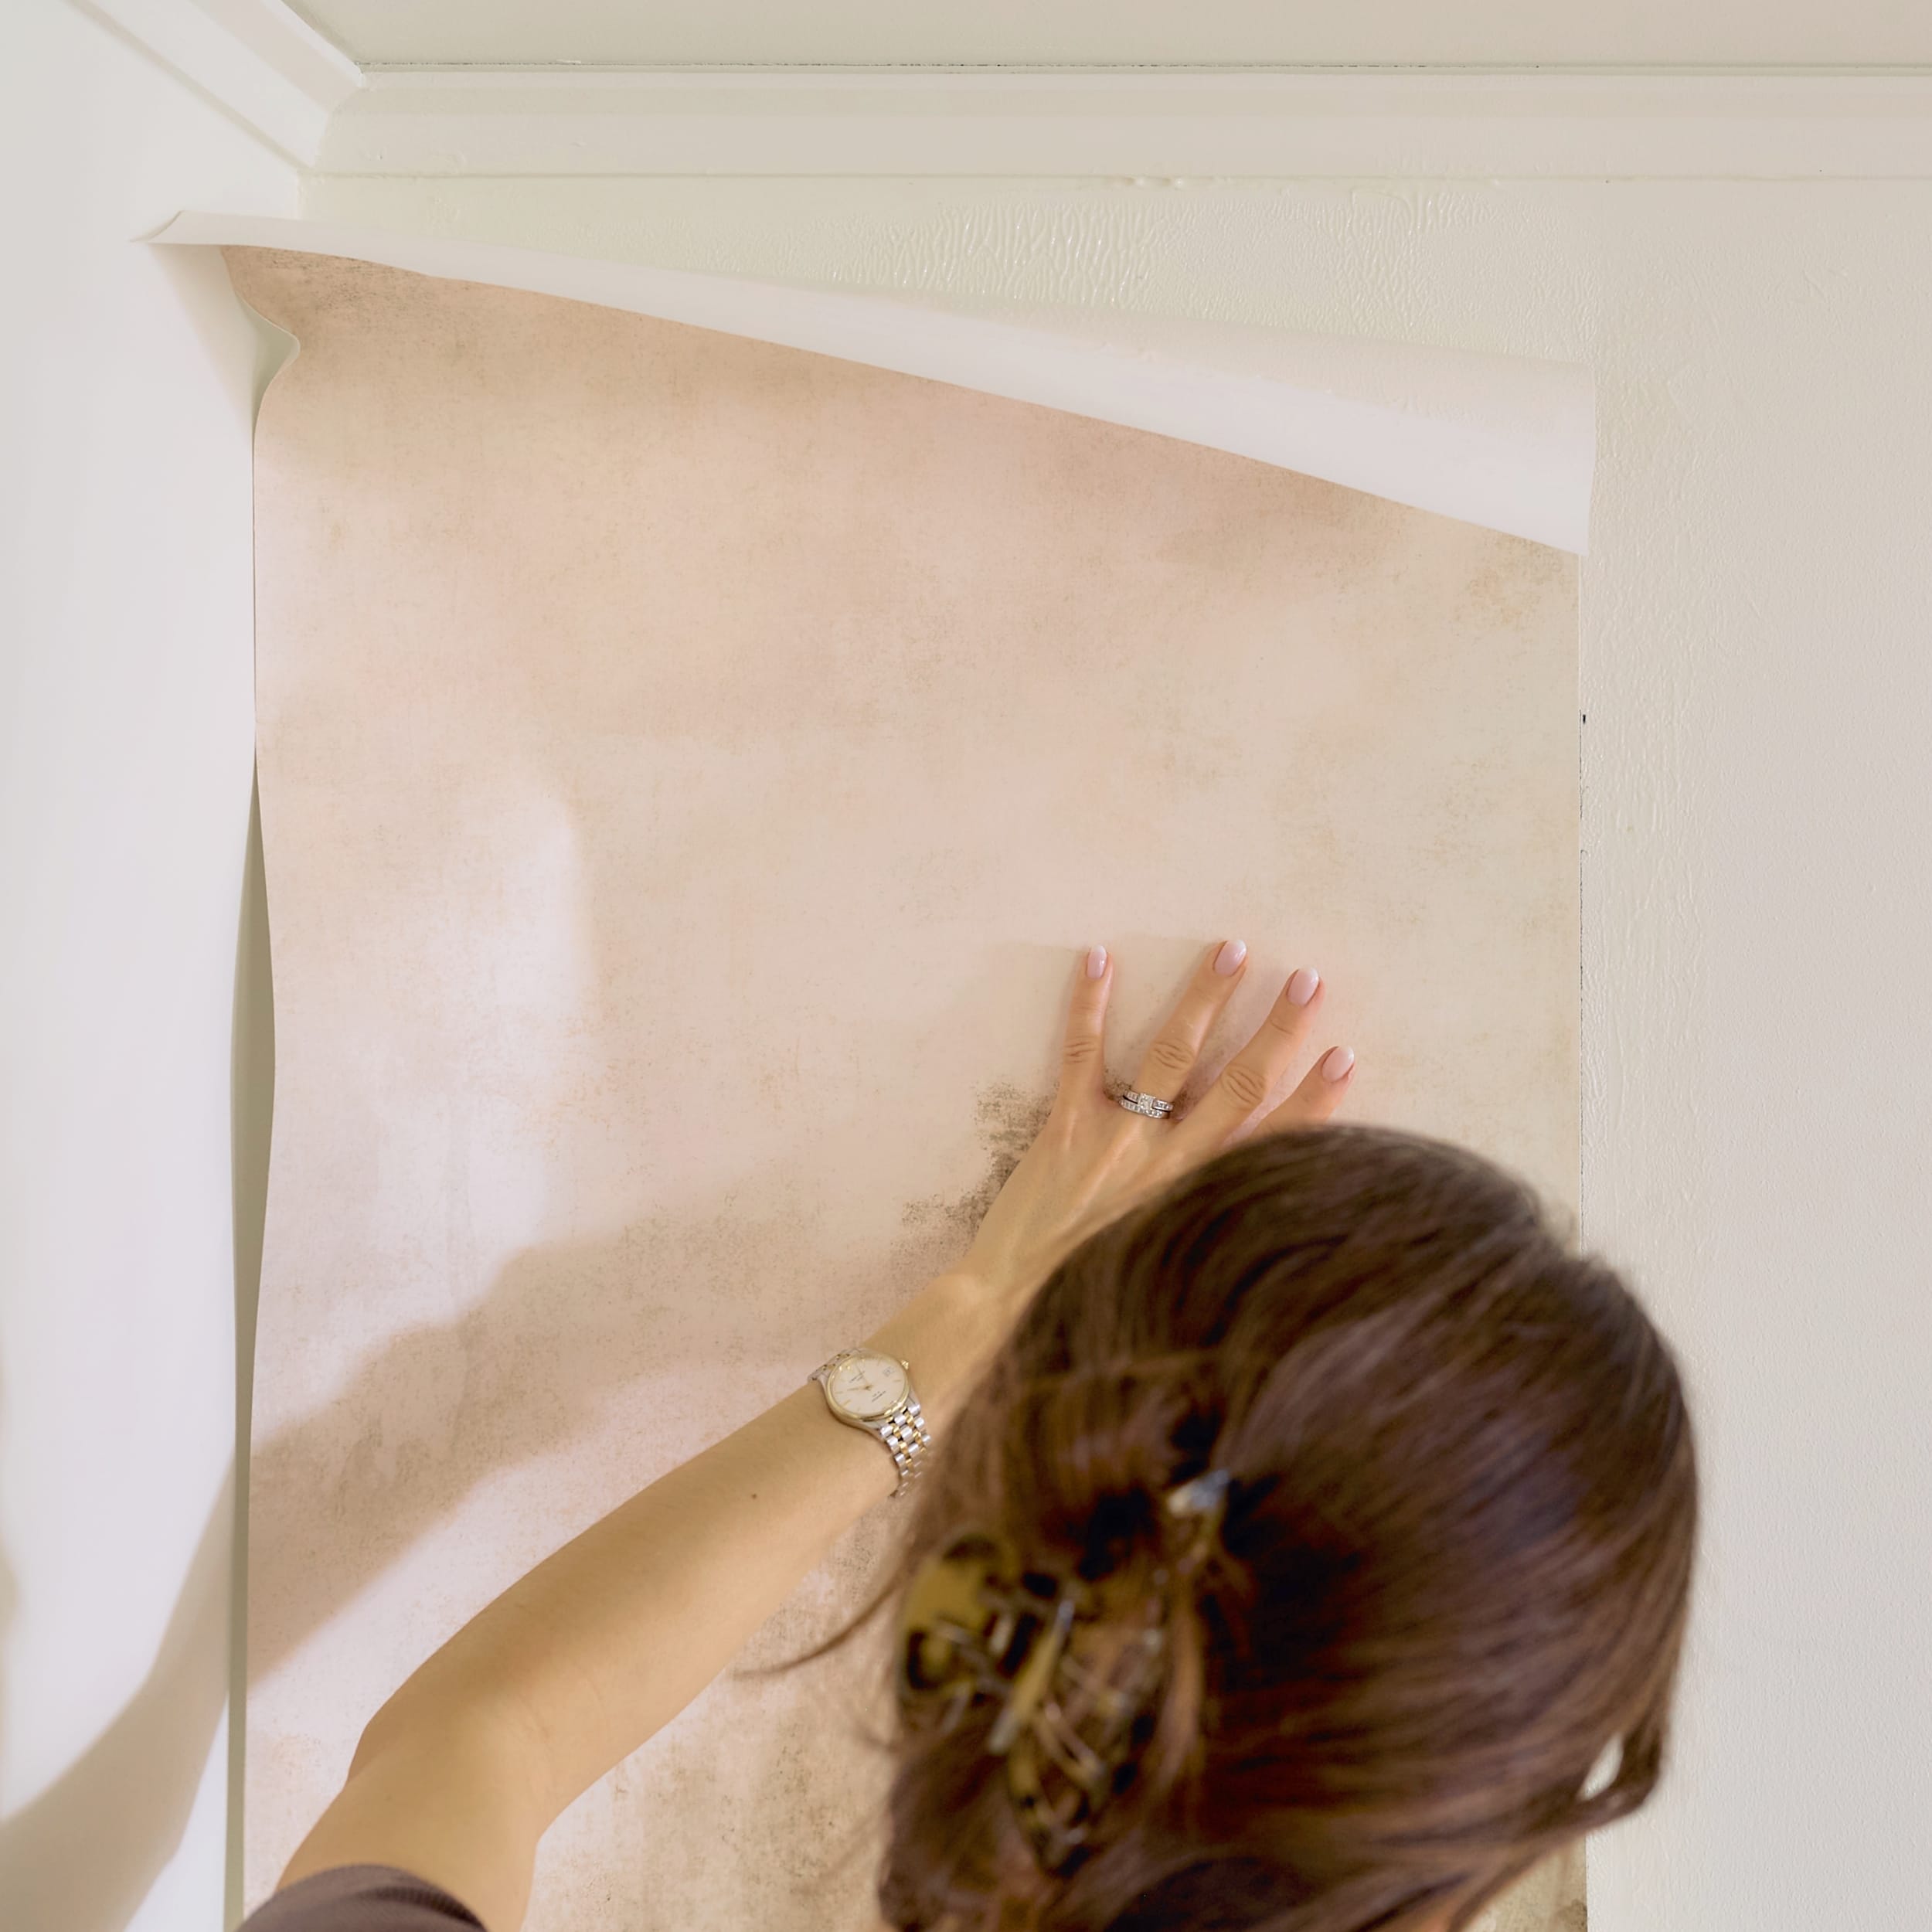
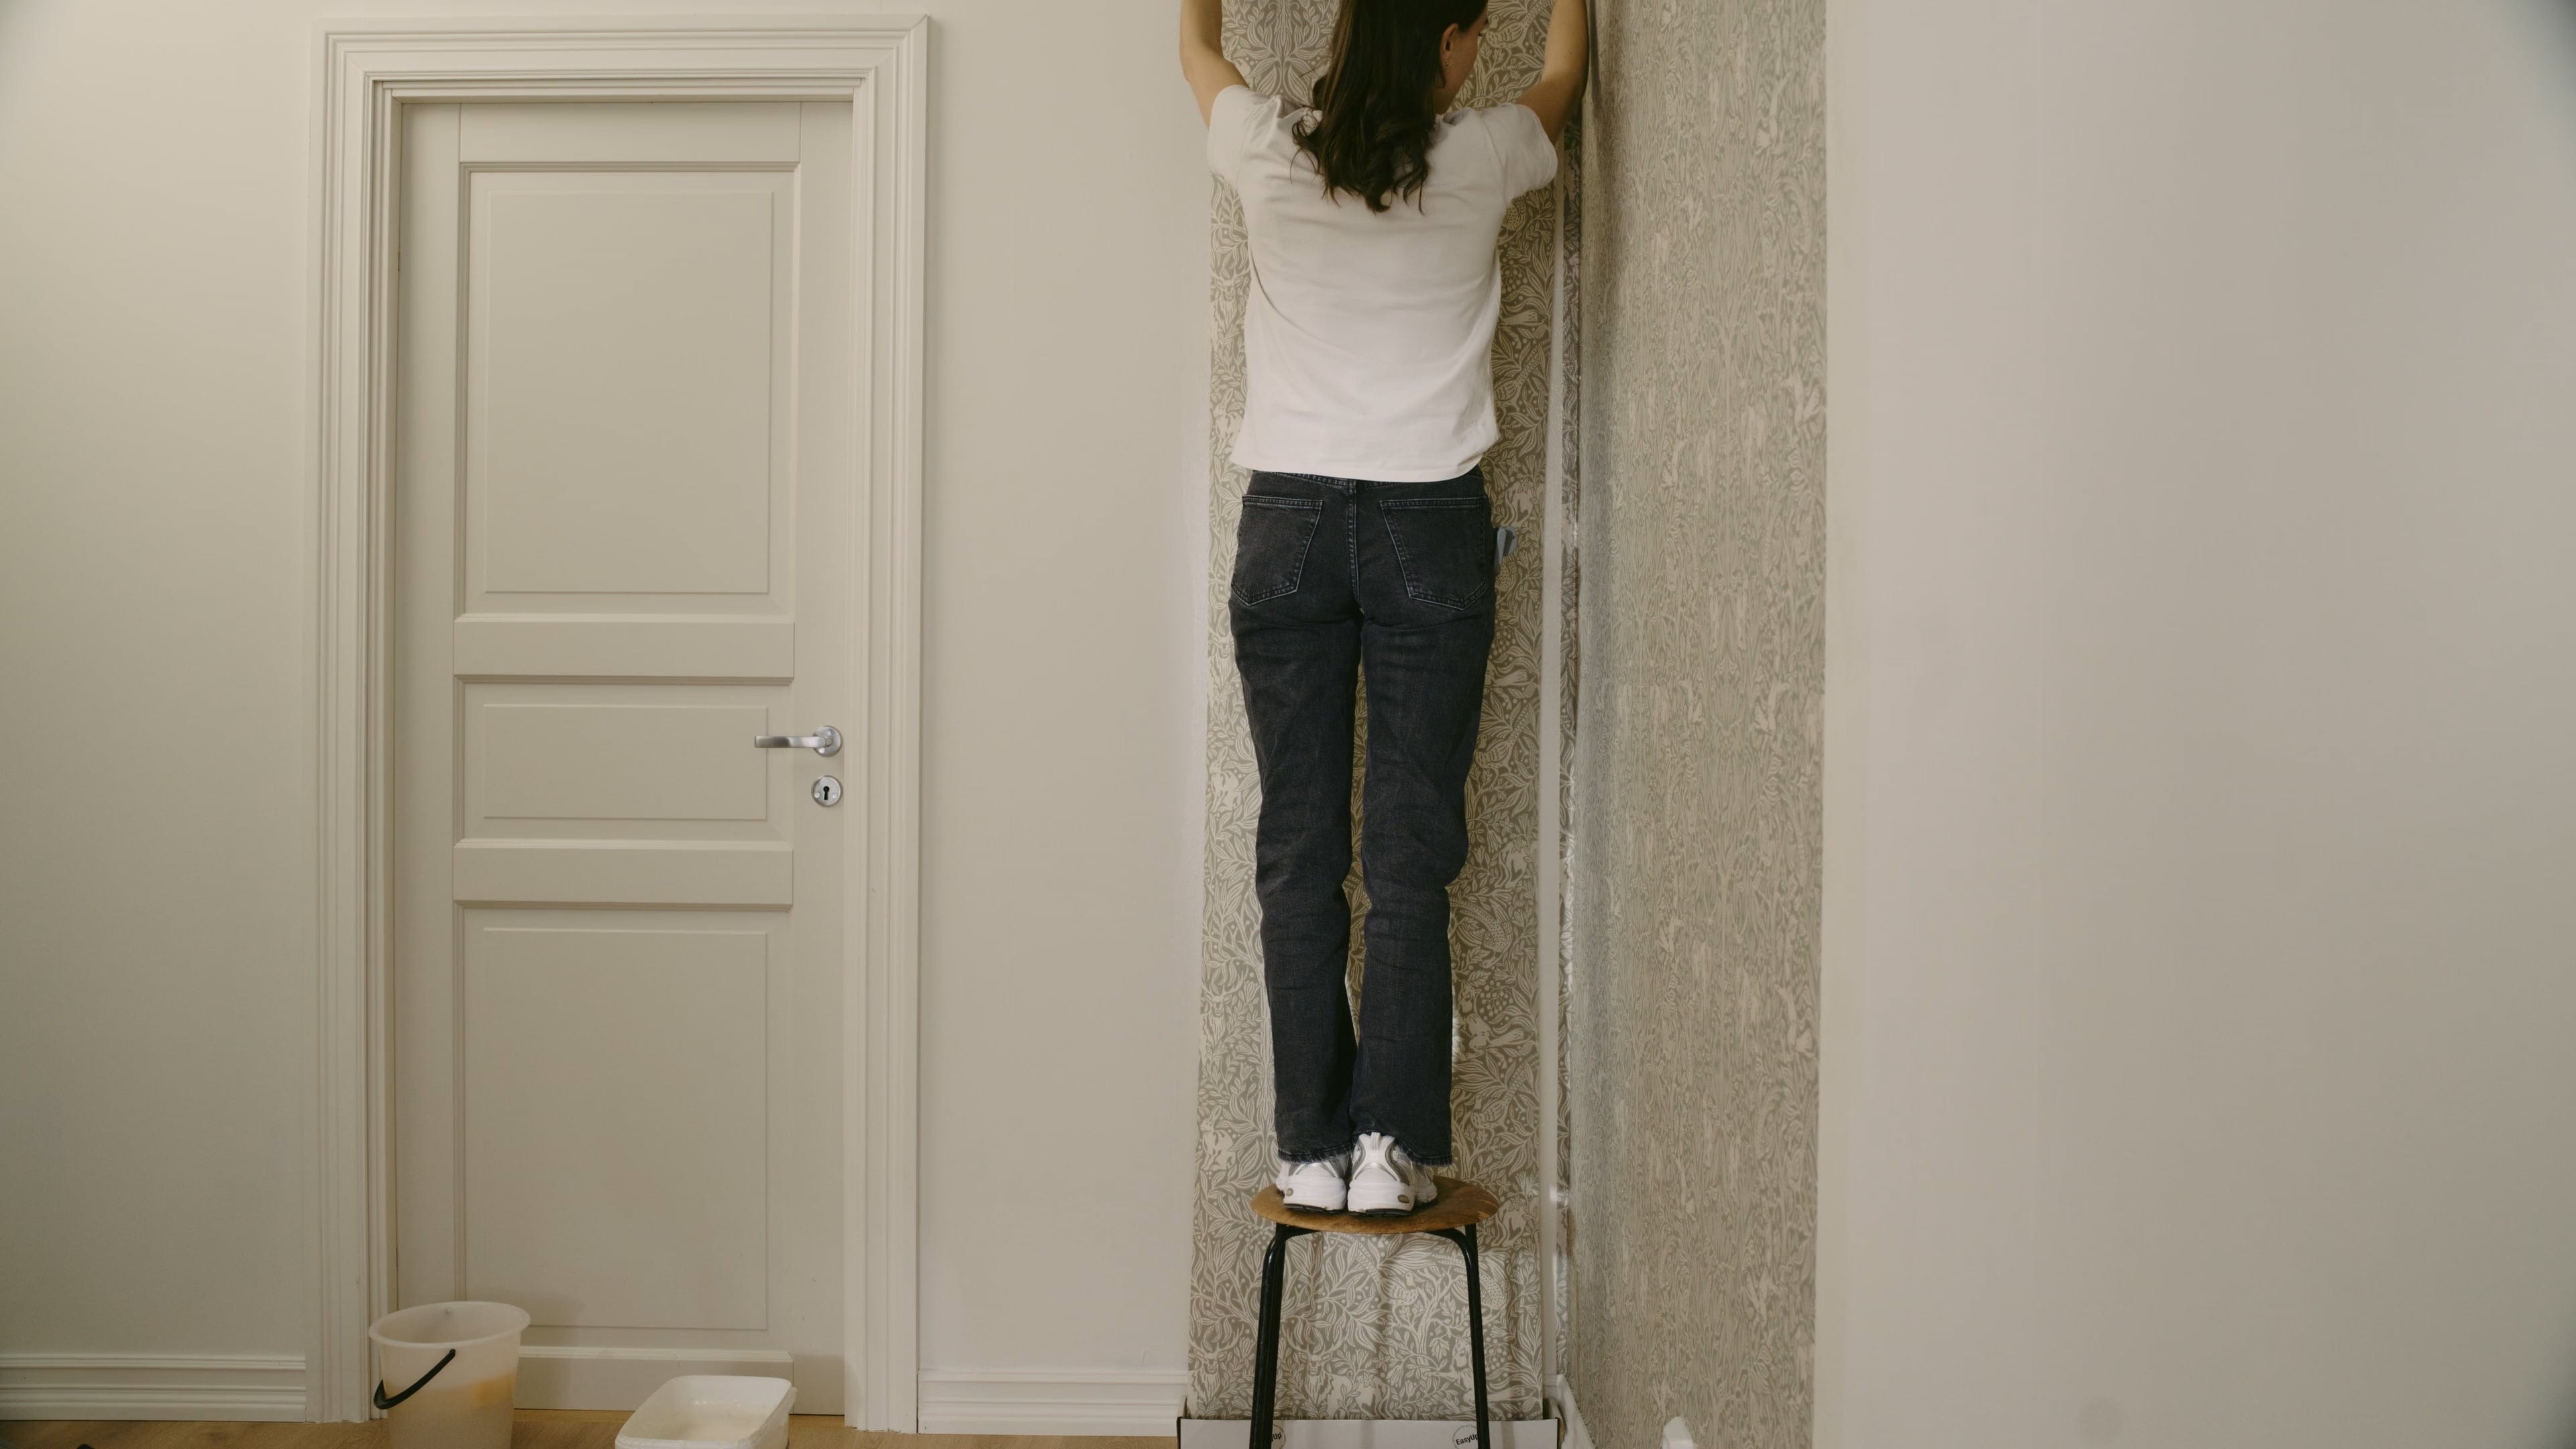
Are you starting from the right? Then hang the last numbered length first. But if you are starting from the left, hang the first length first. Begin by attaching the length at the ceiling and make sure it follows the guideline you have drawn.

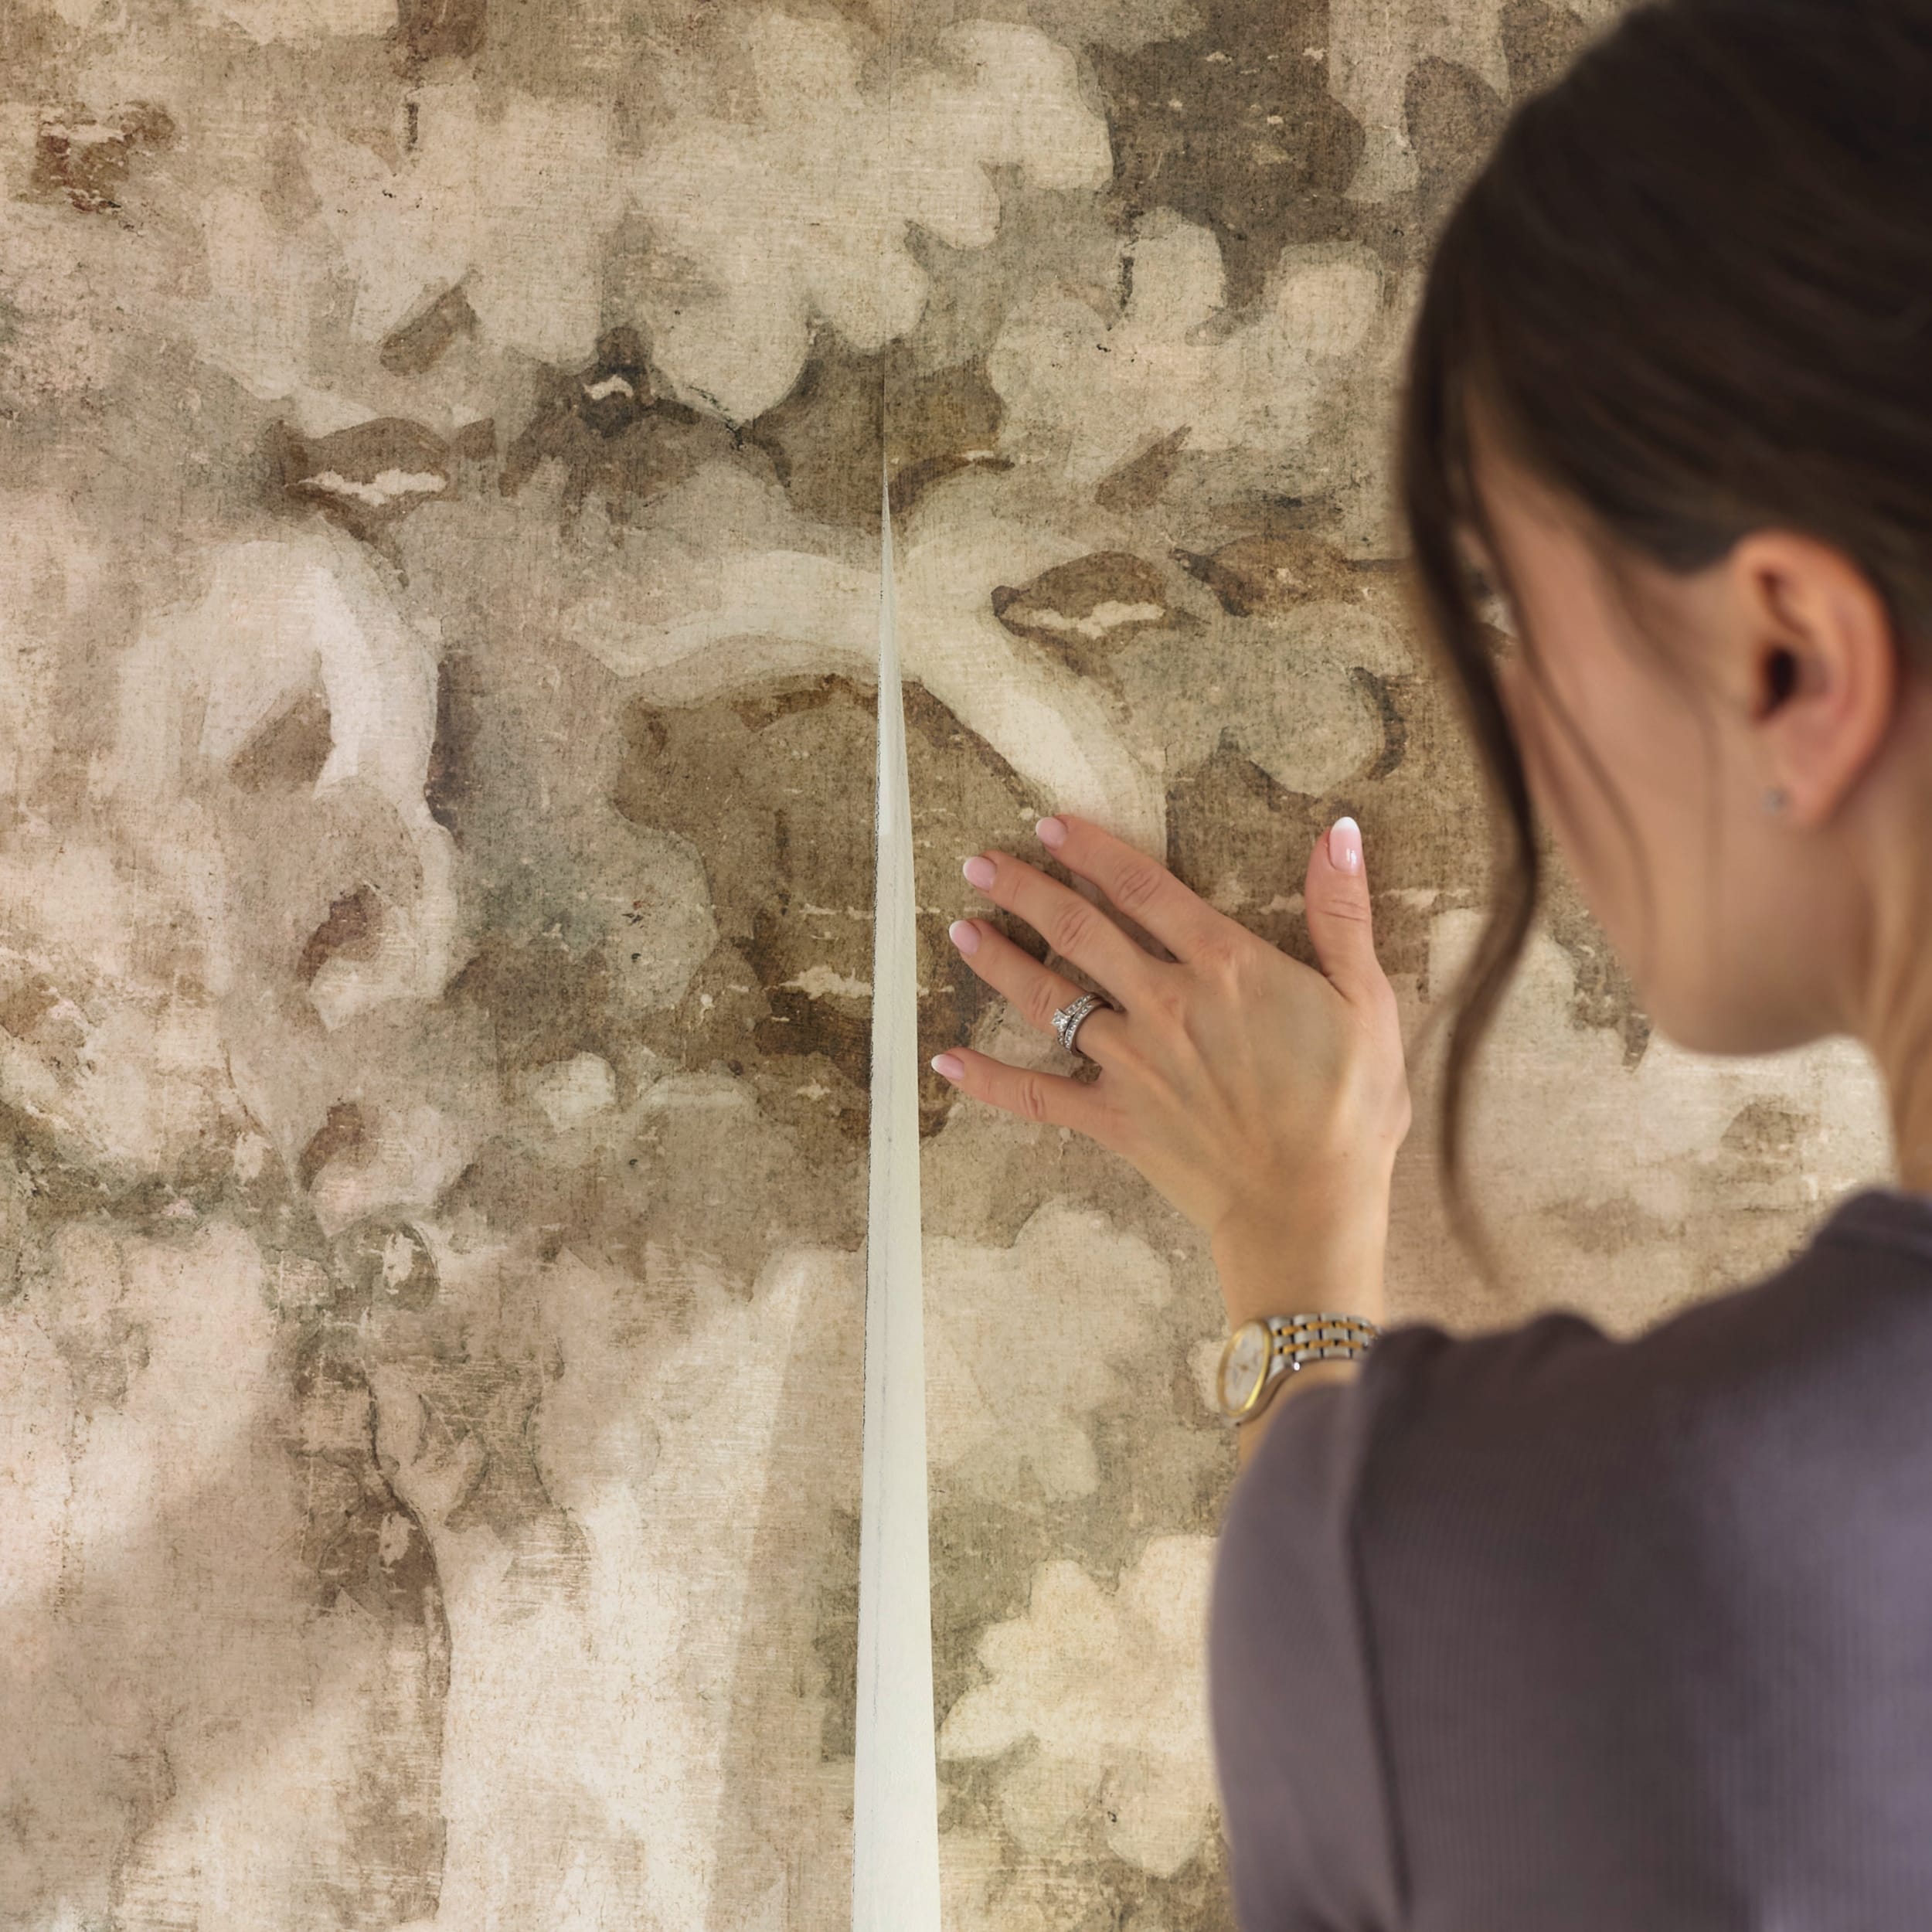
7. Smooth it out
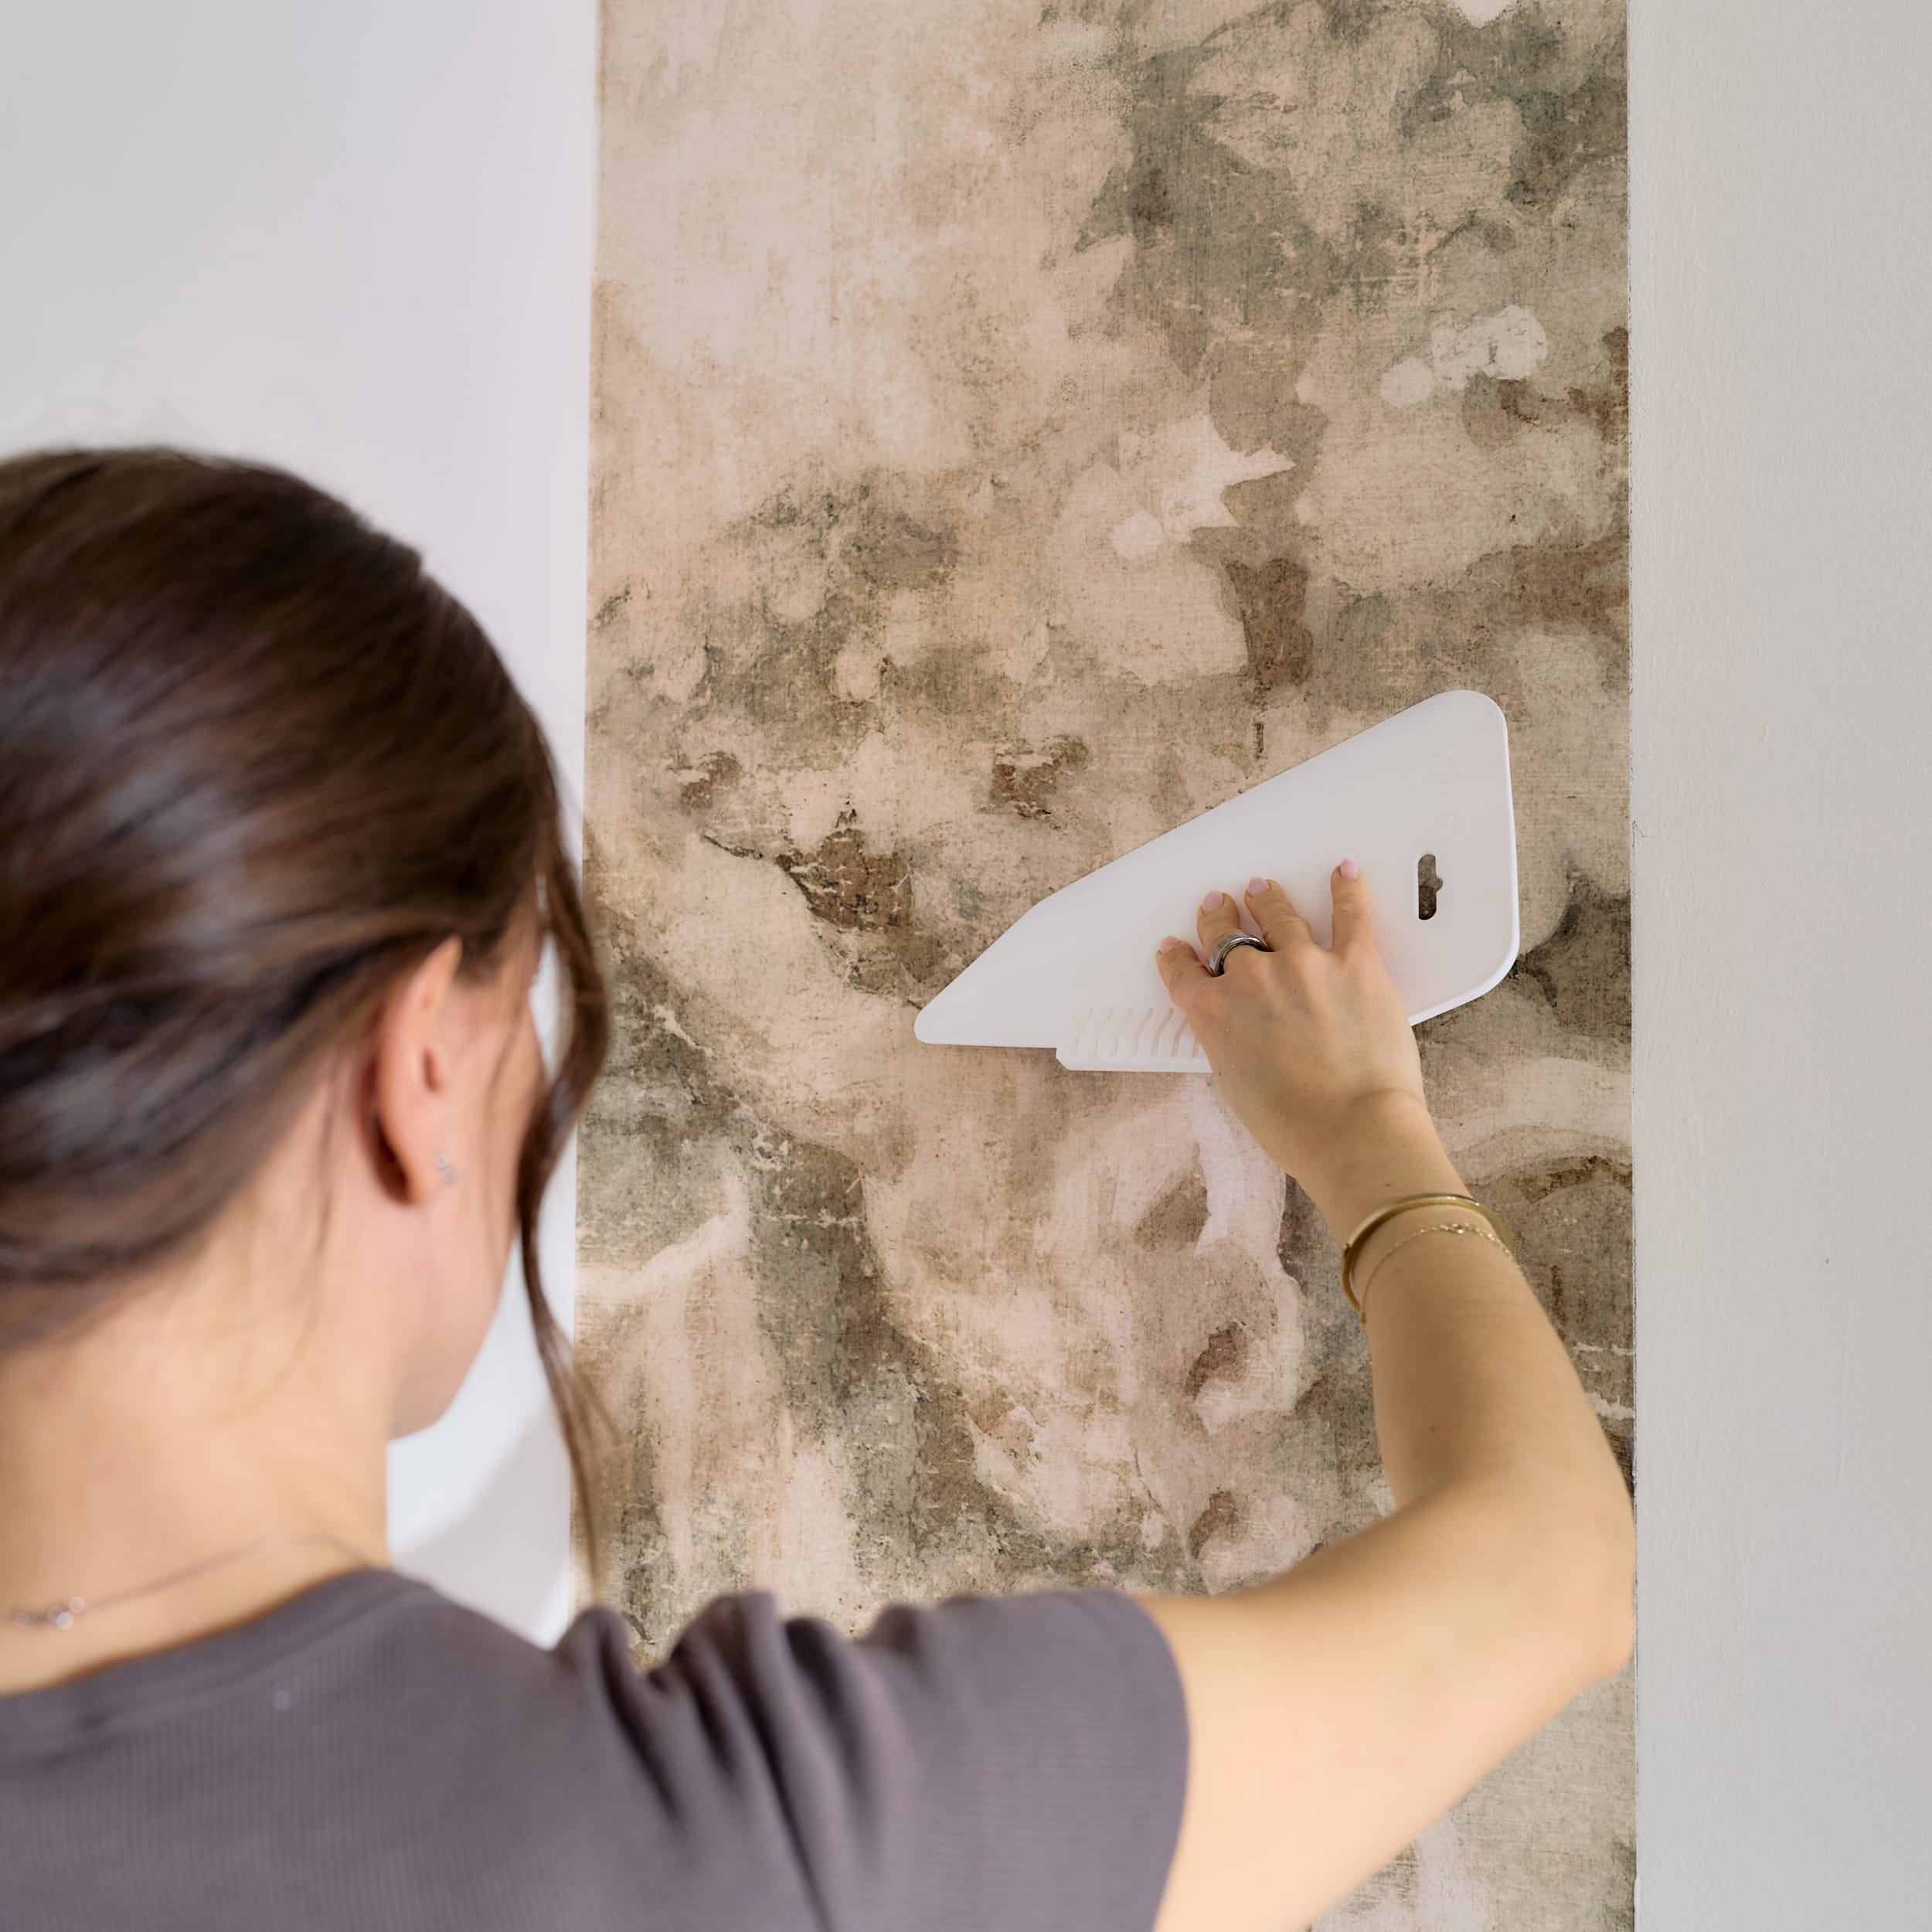
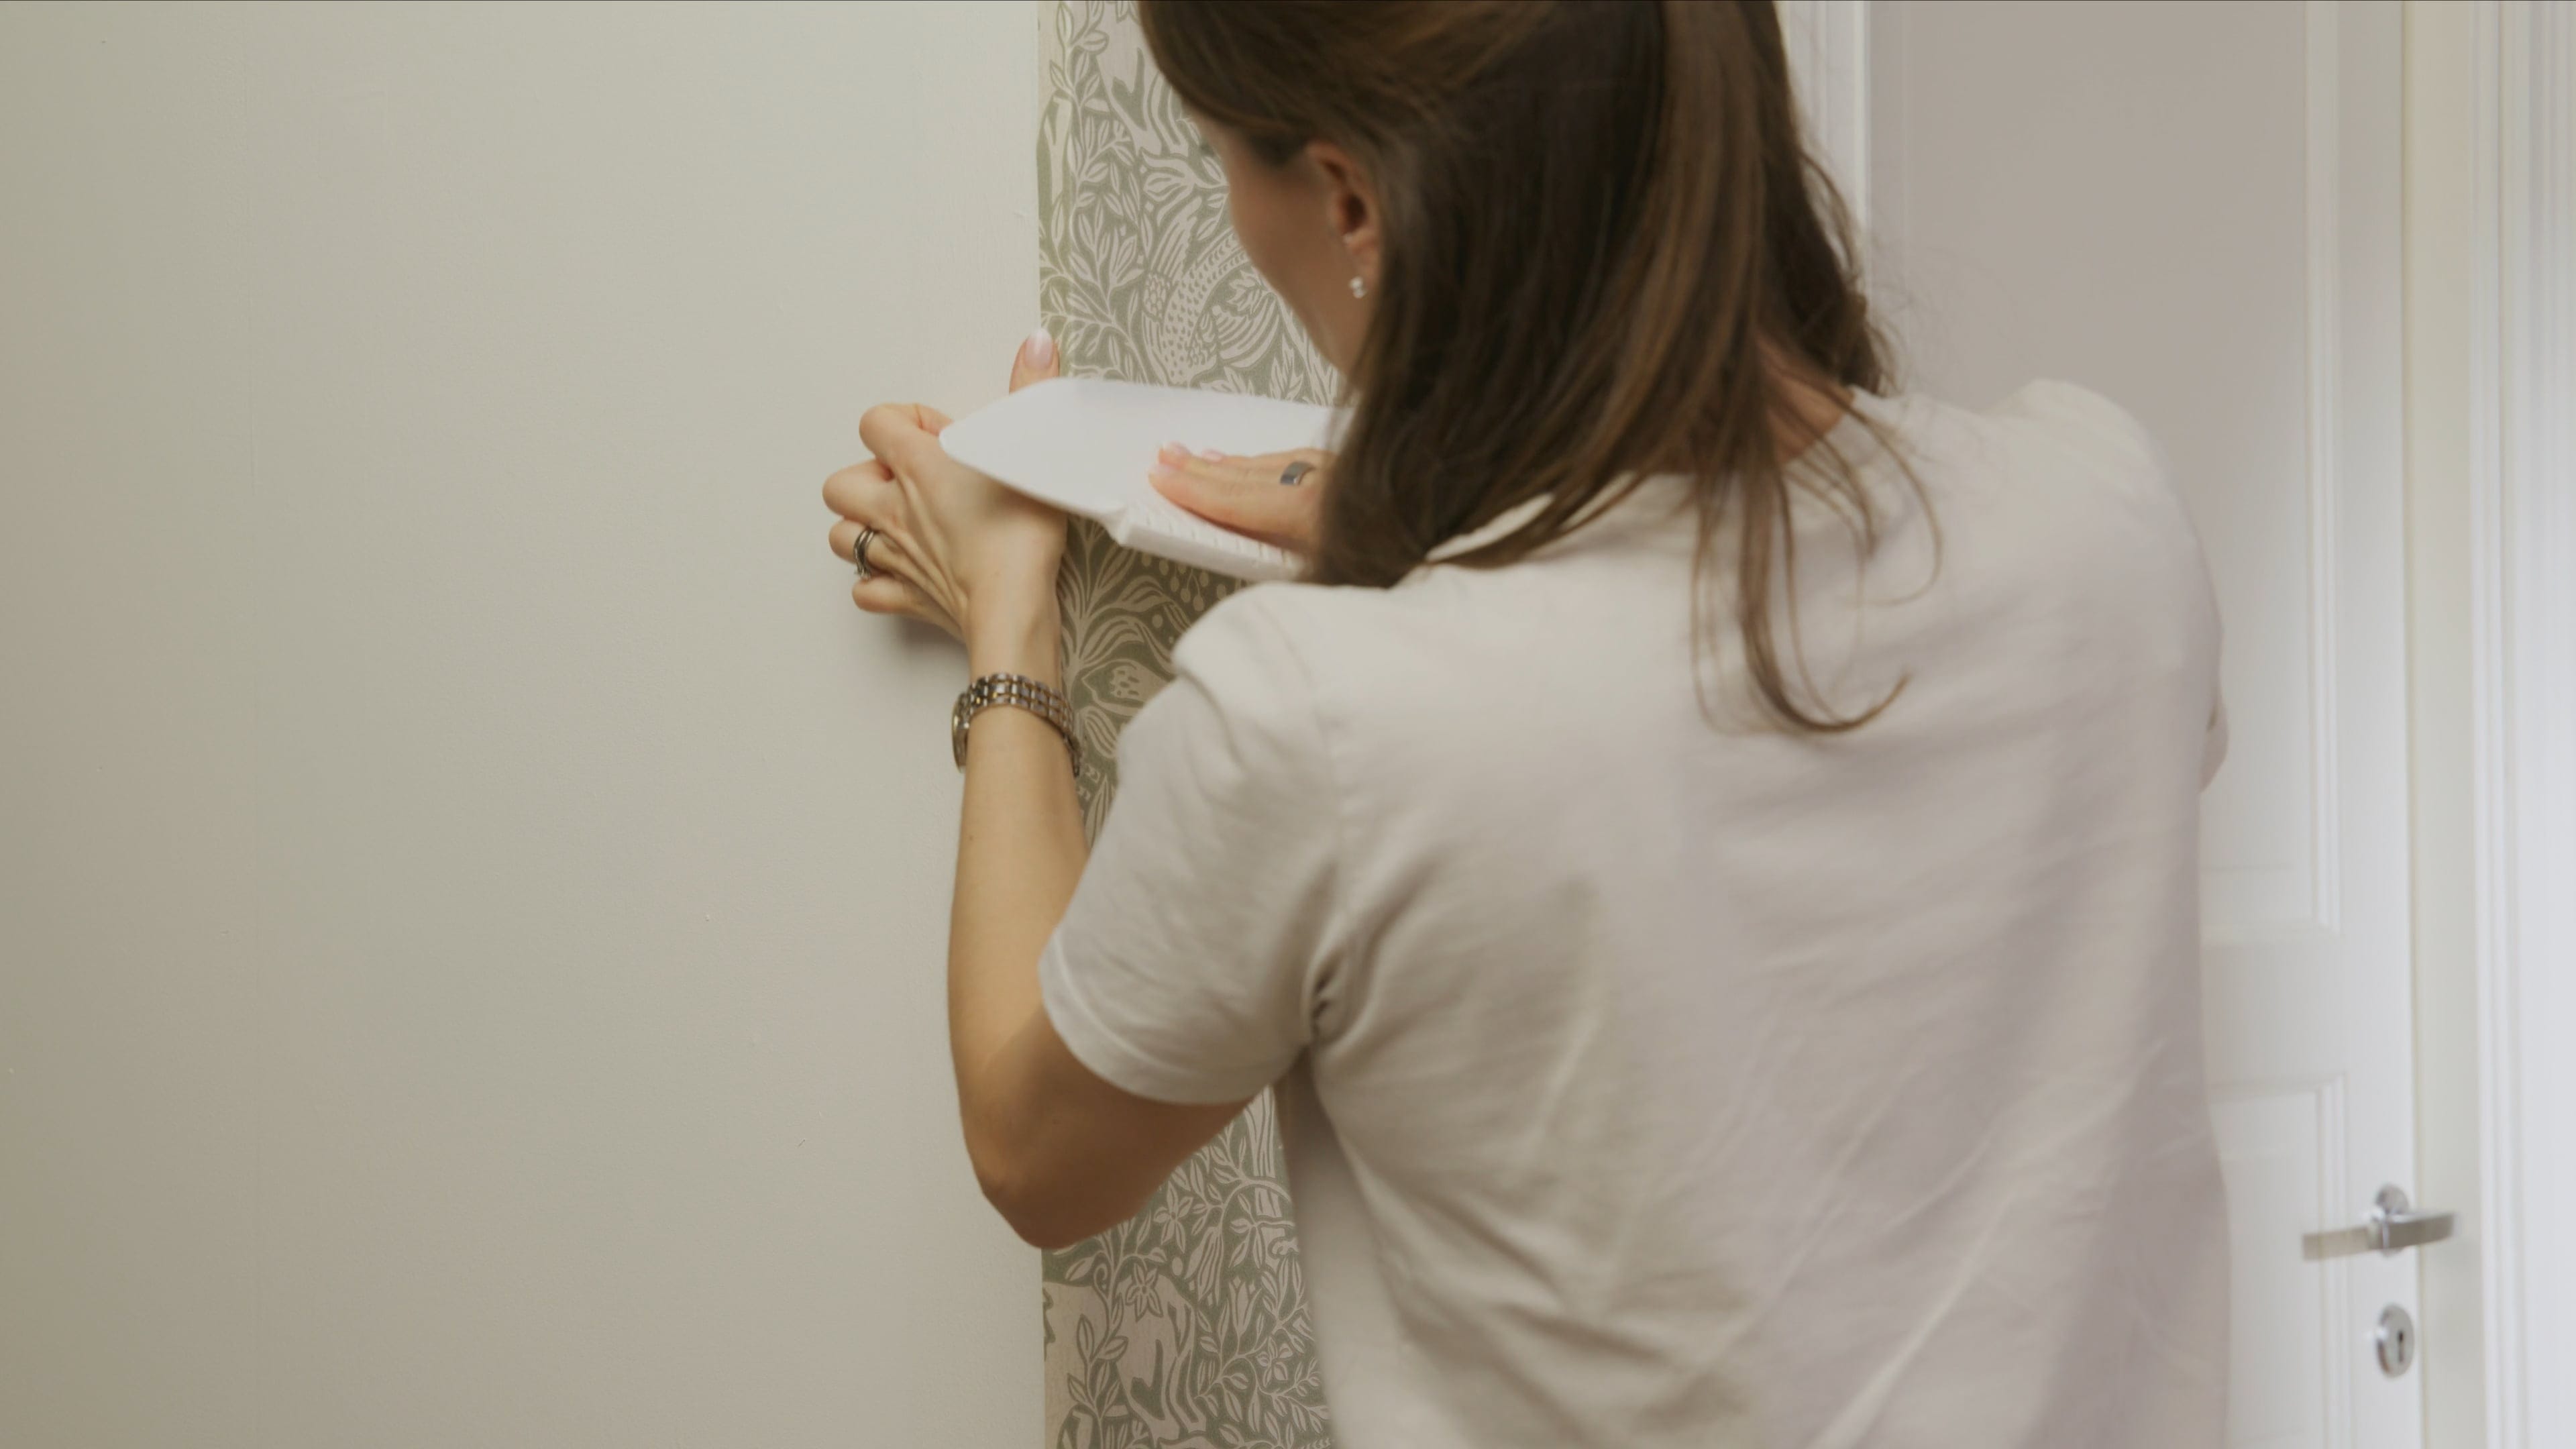
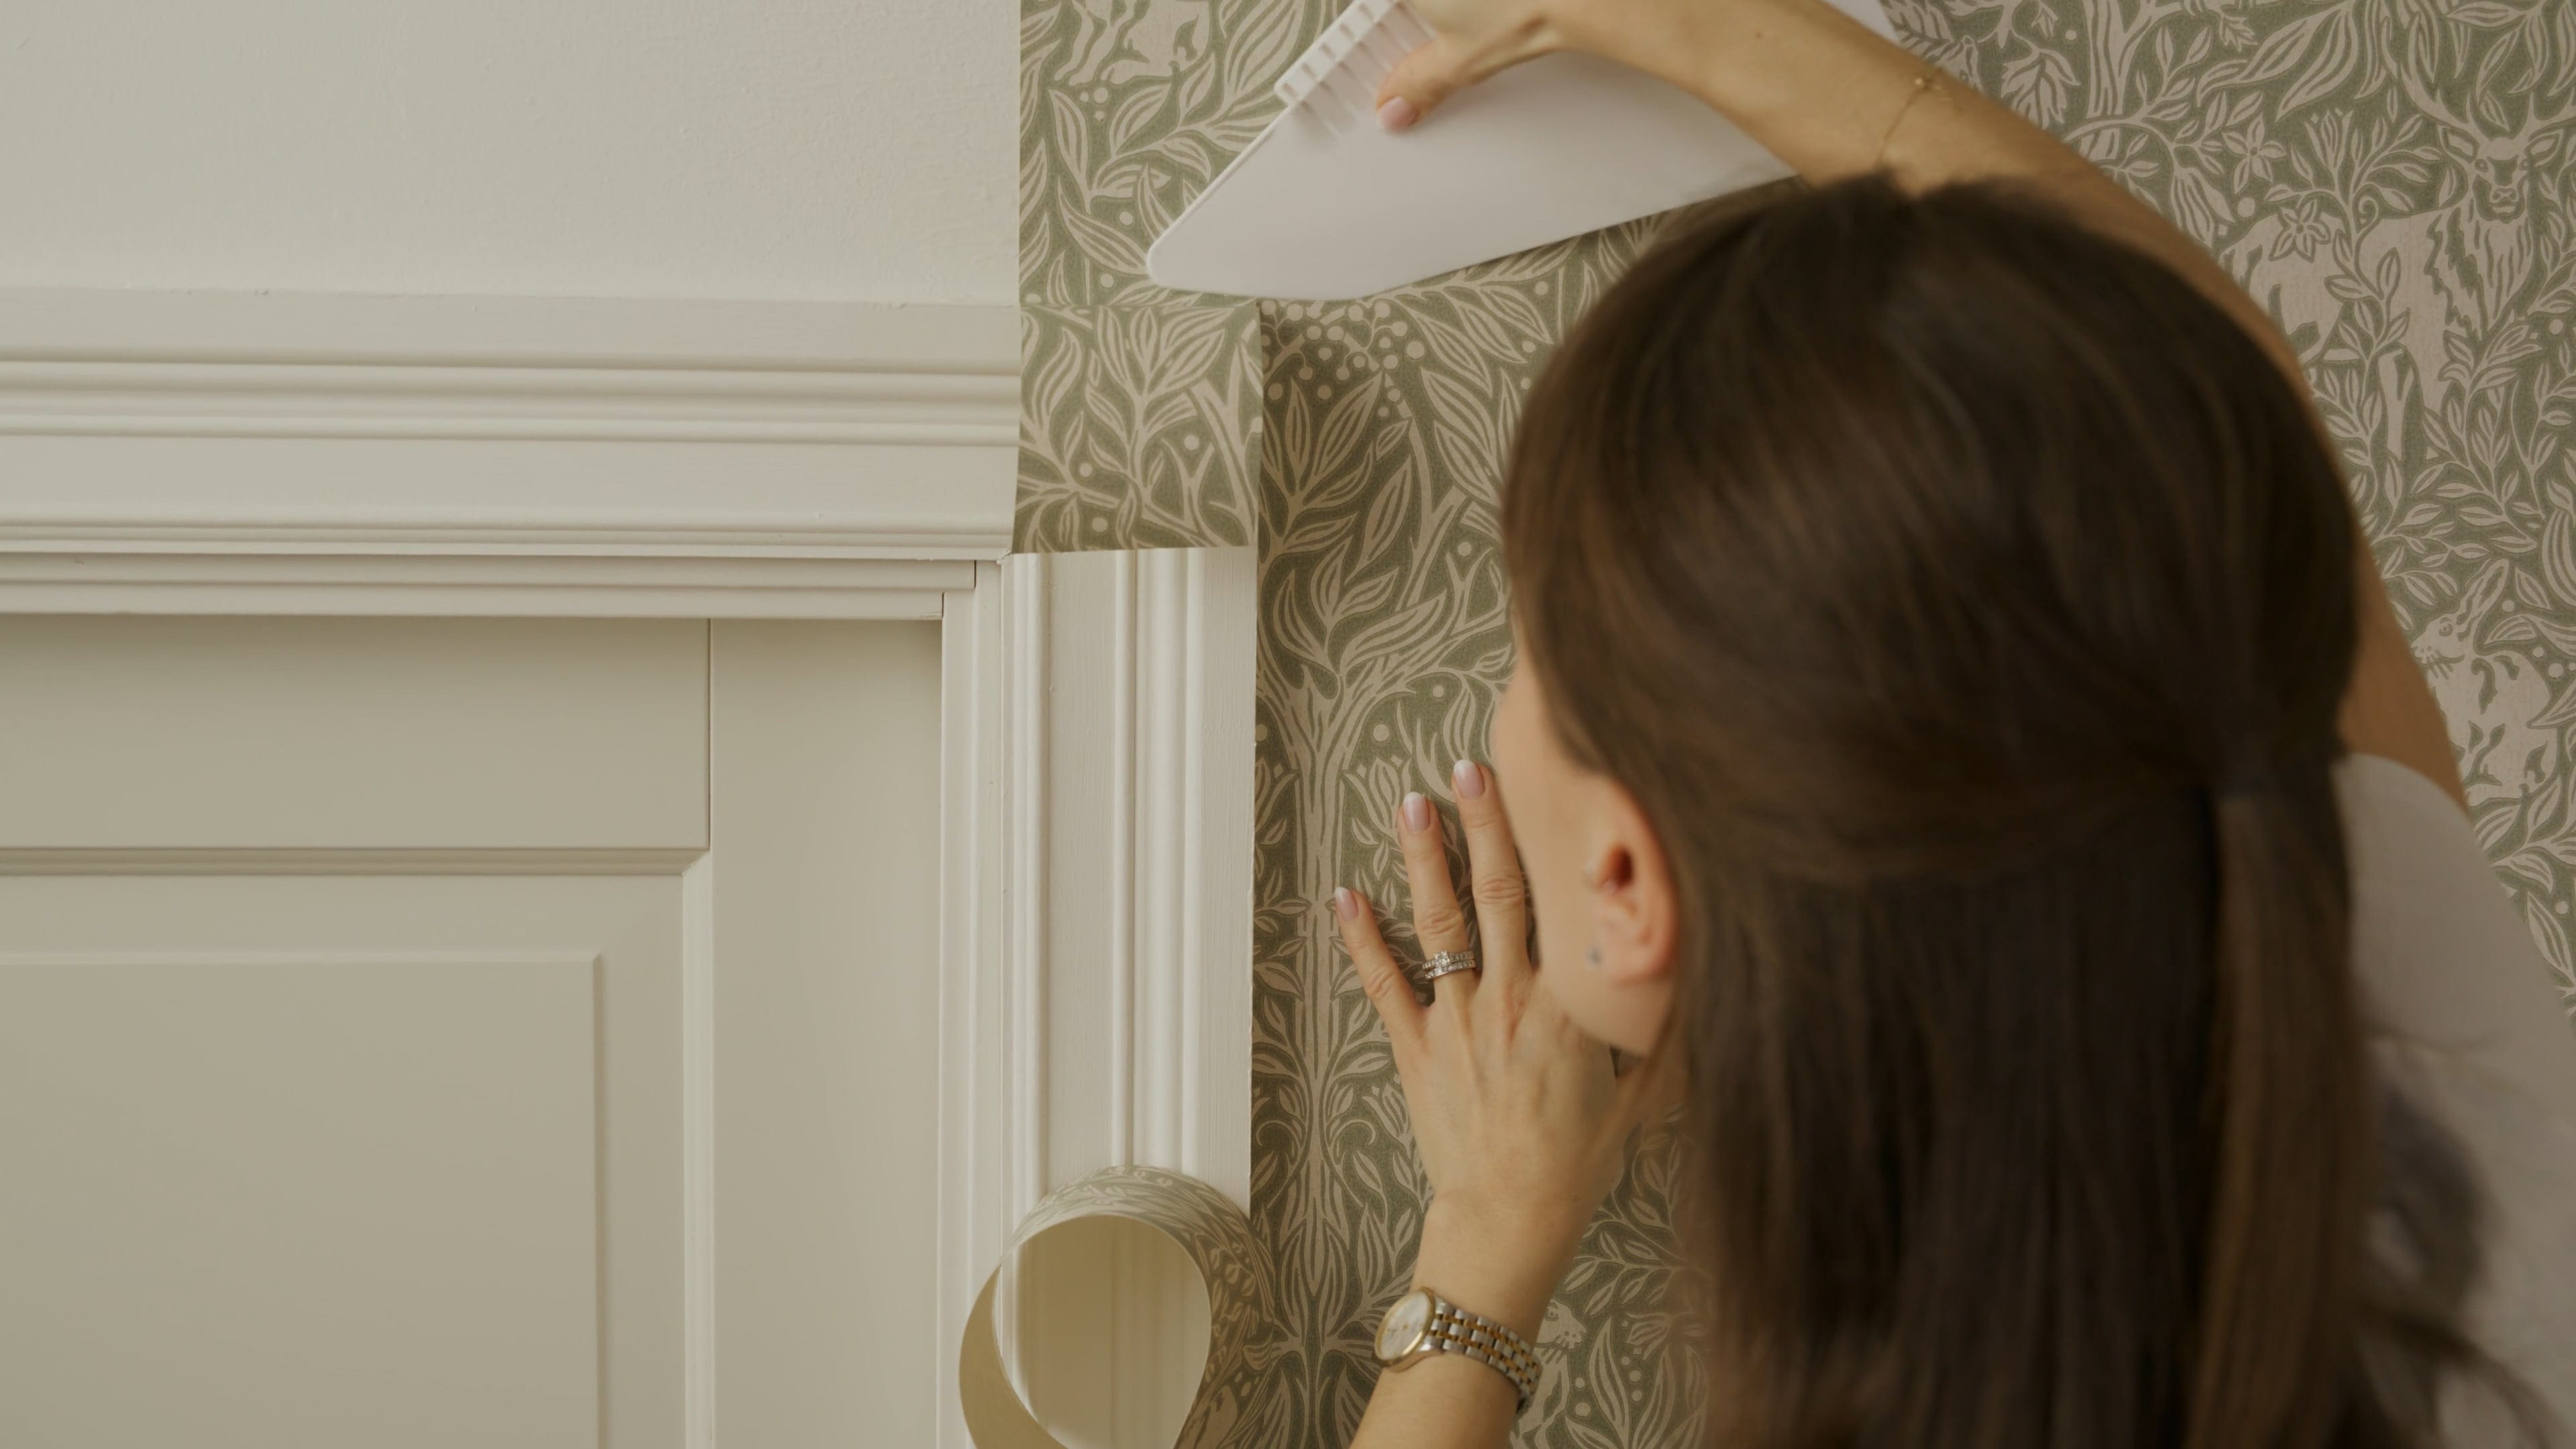
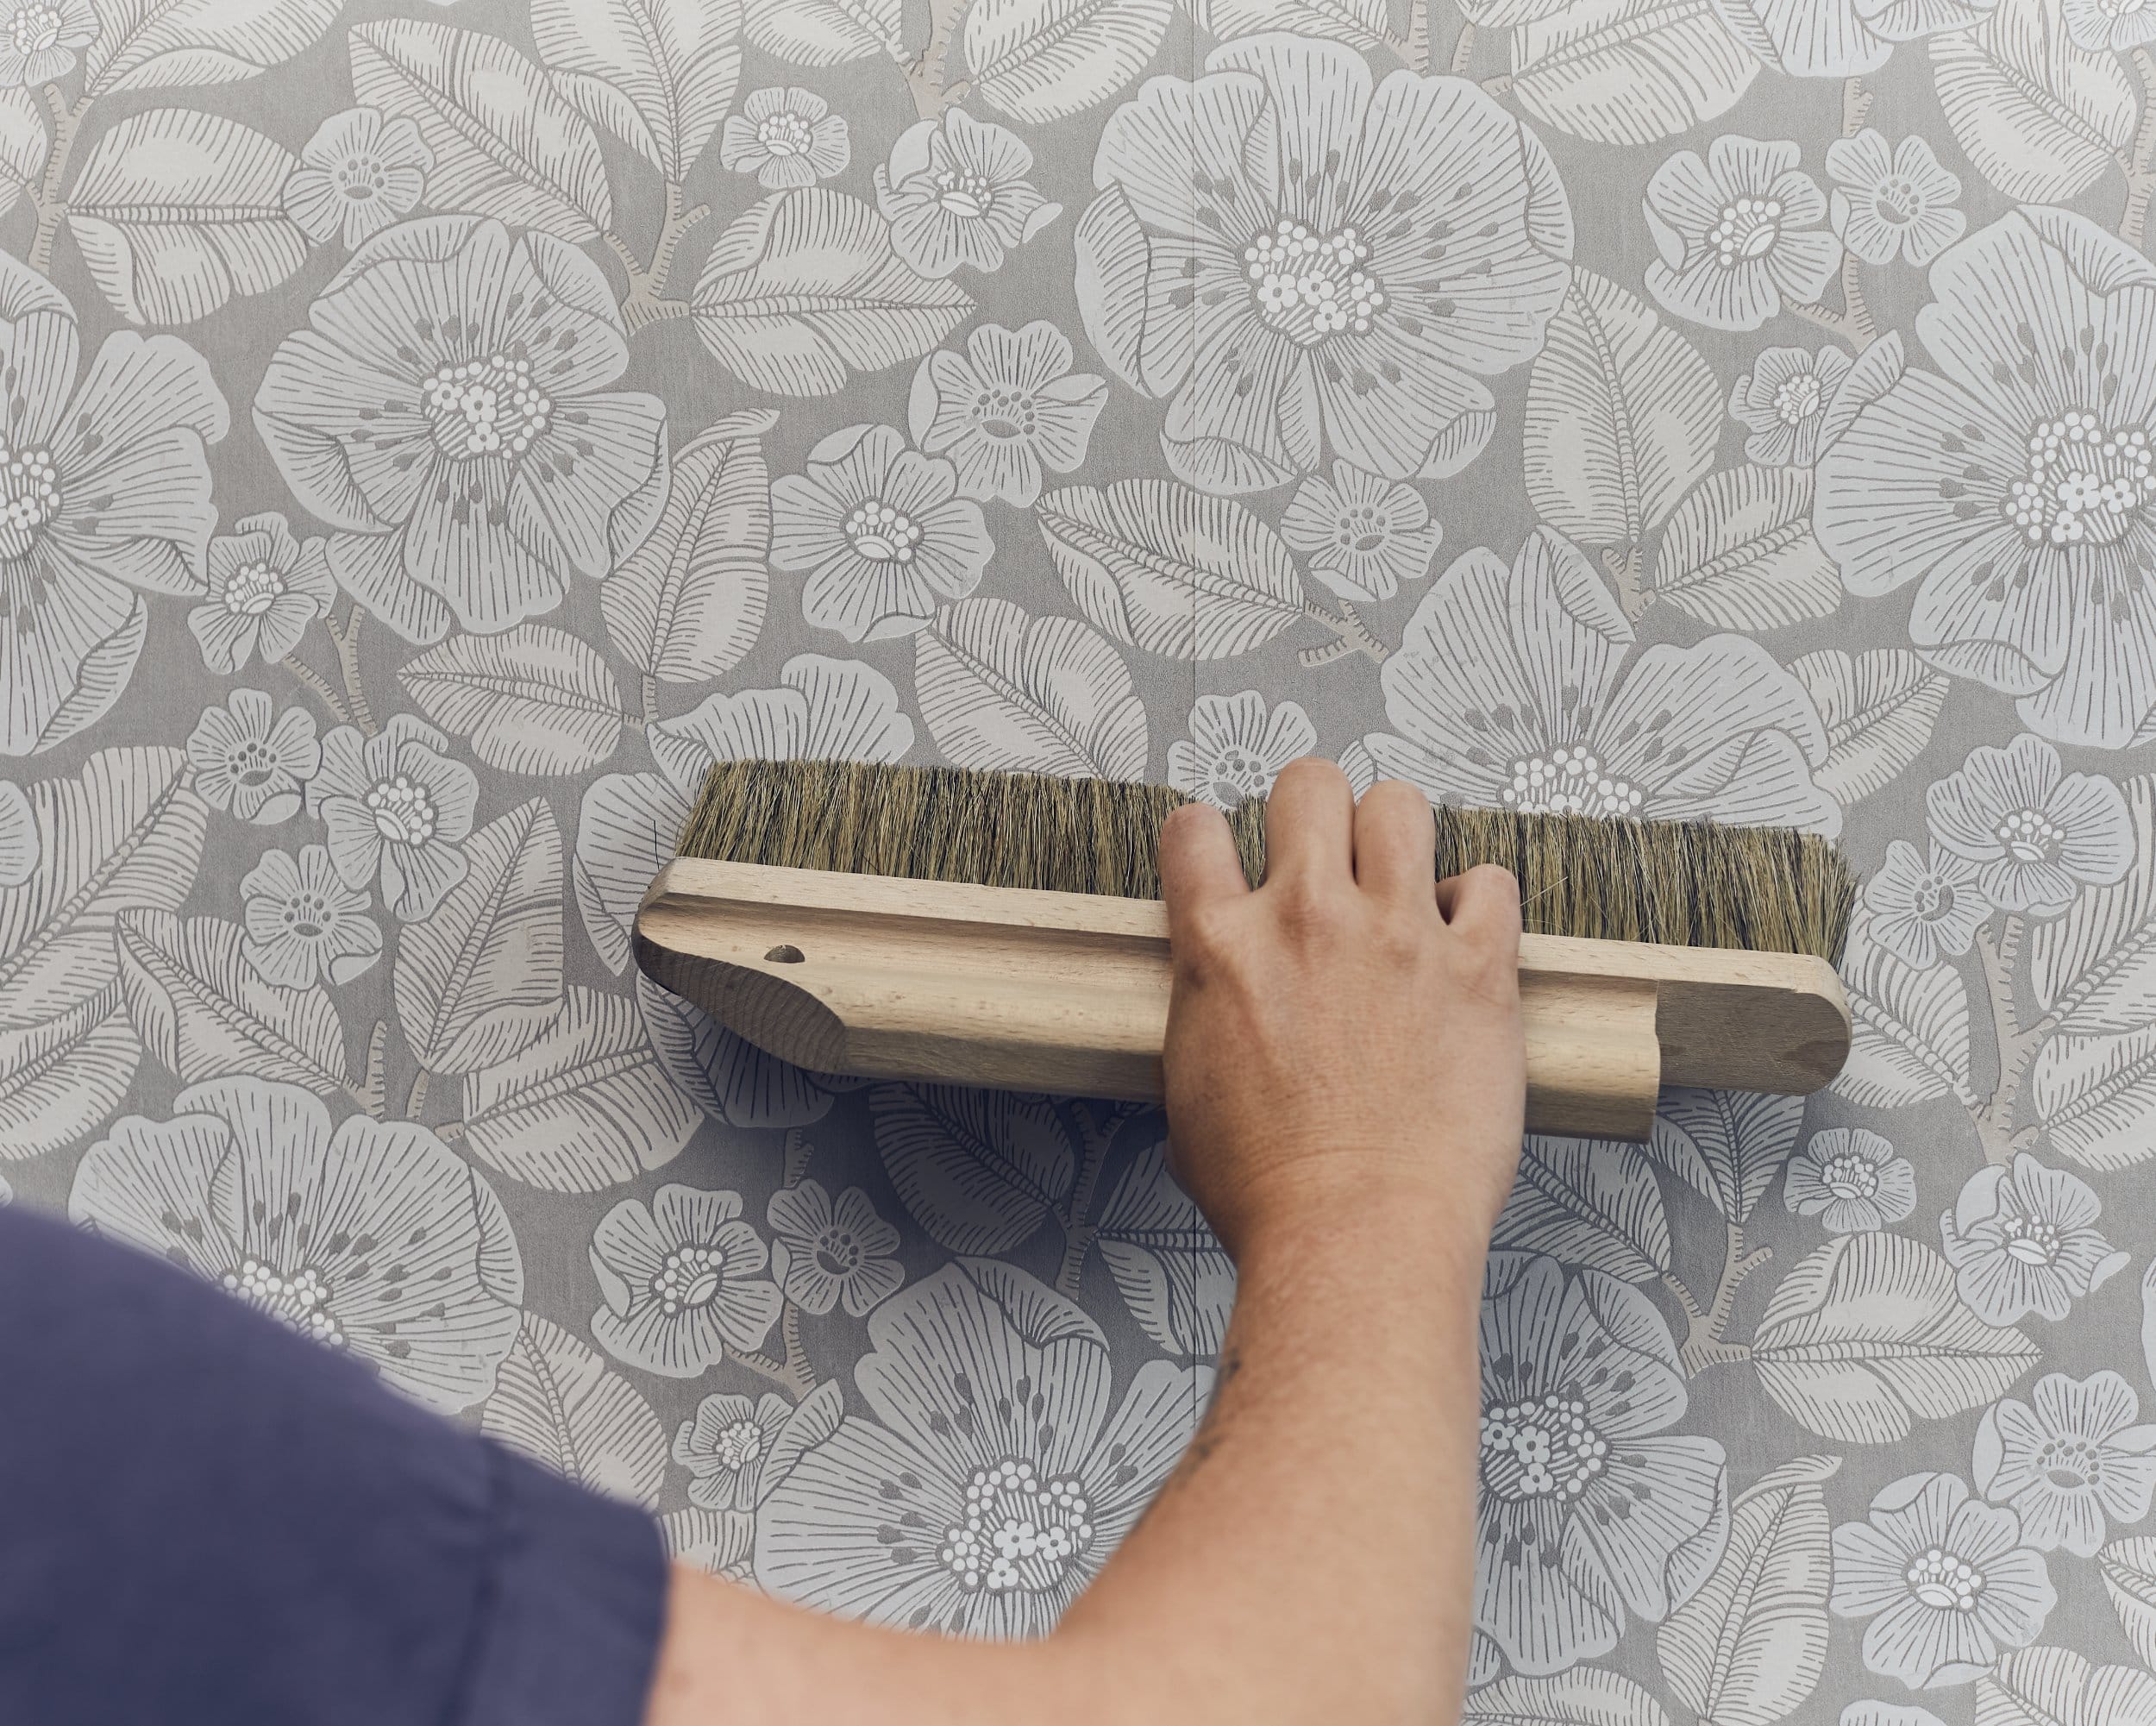
Use your wallpaper tool to smooth the length from top to bottom to remove any air bubbles trapped underneath.

8. Trim neatly
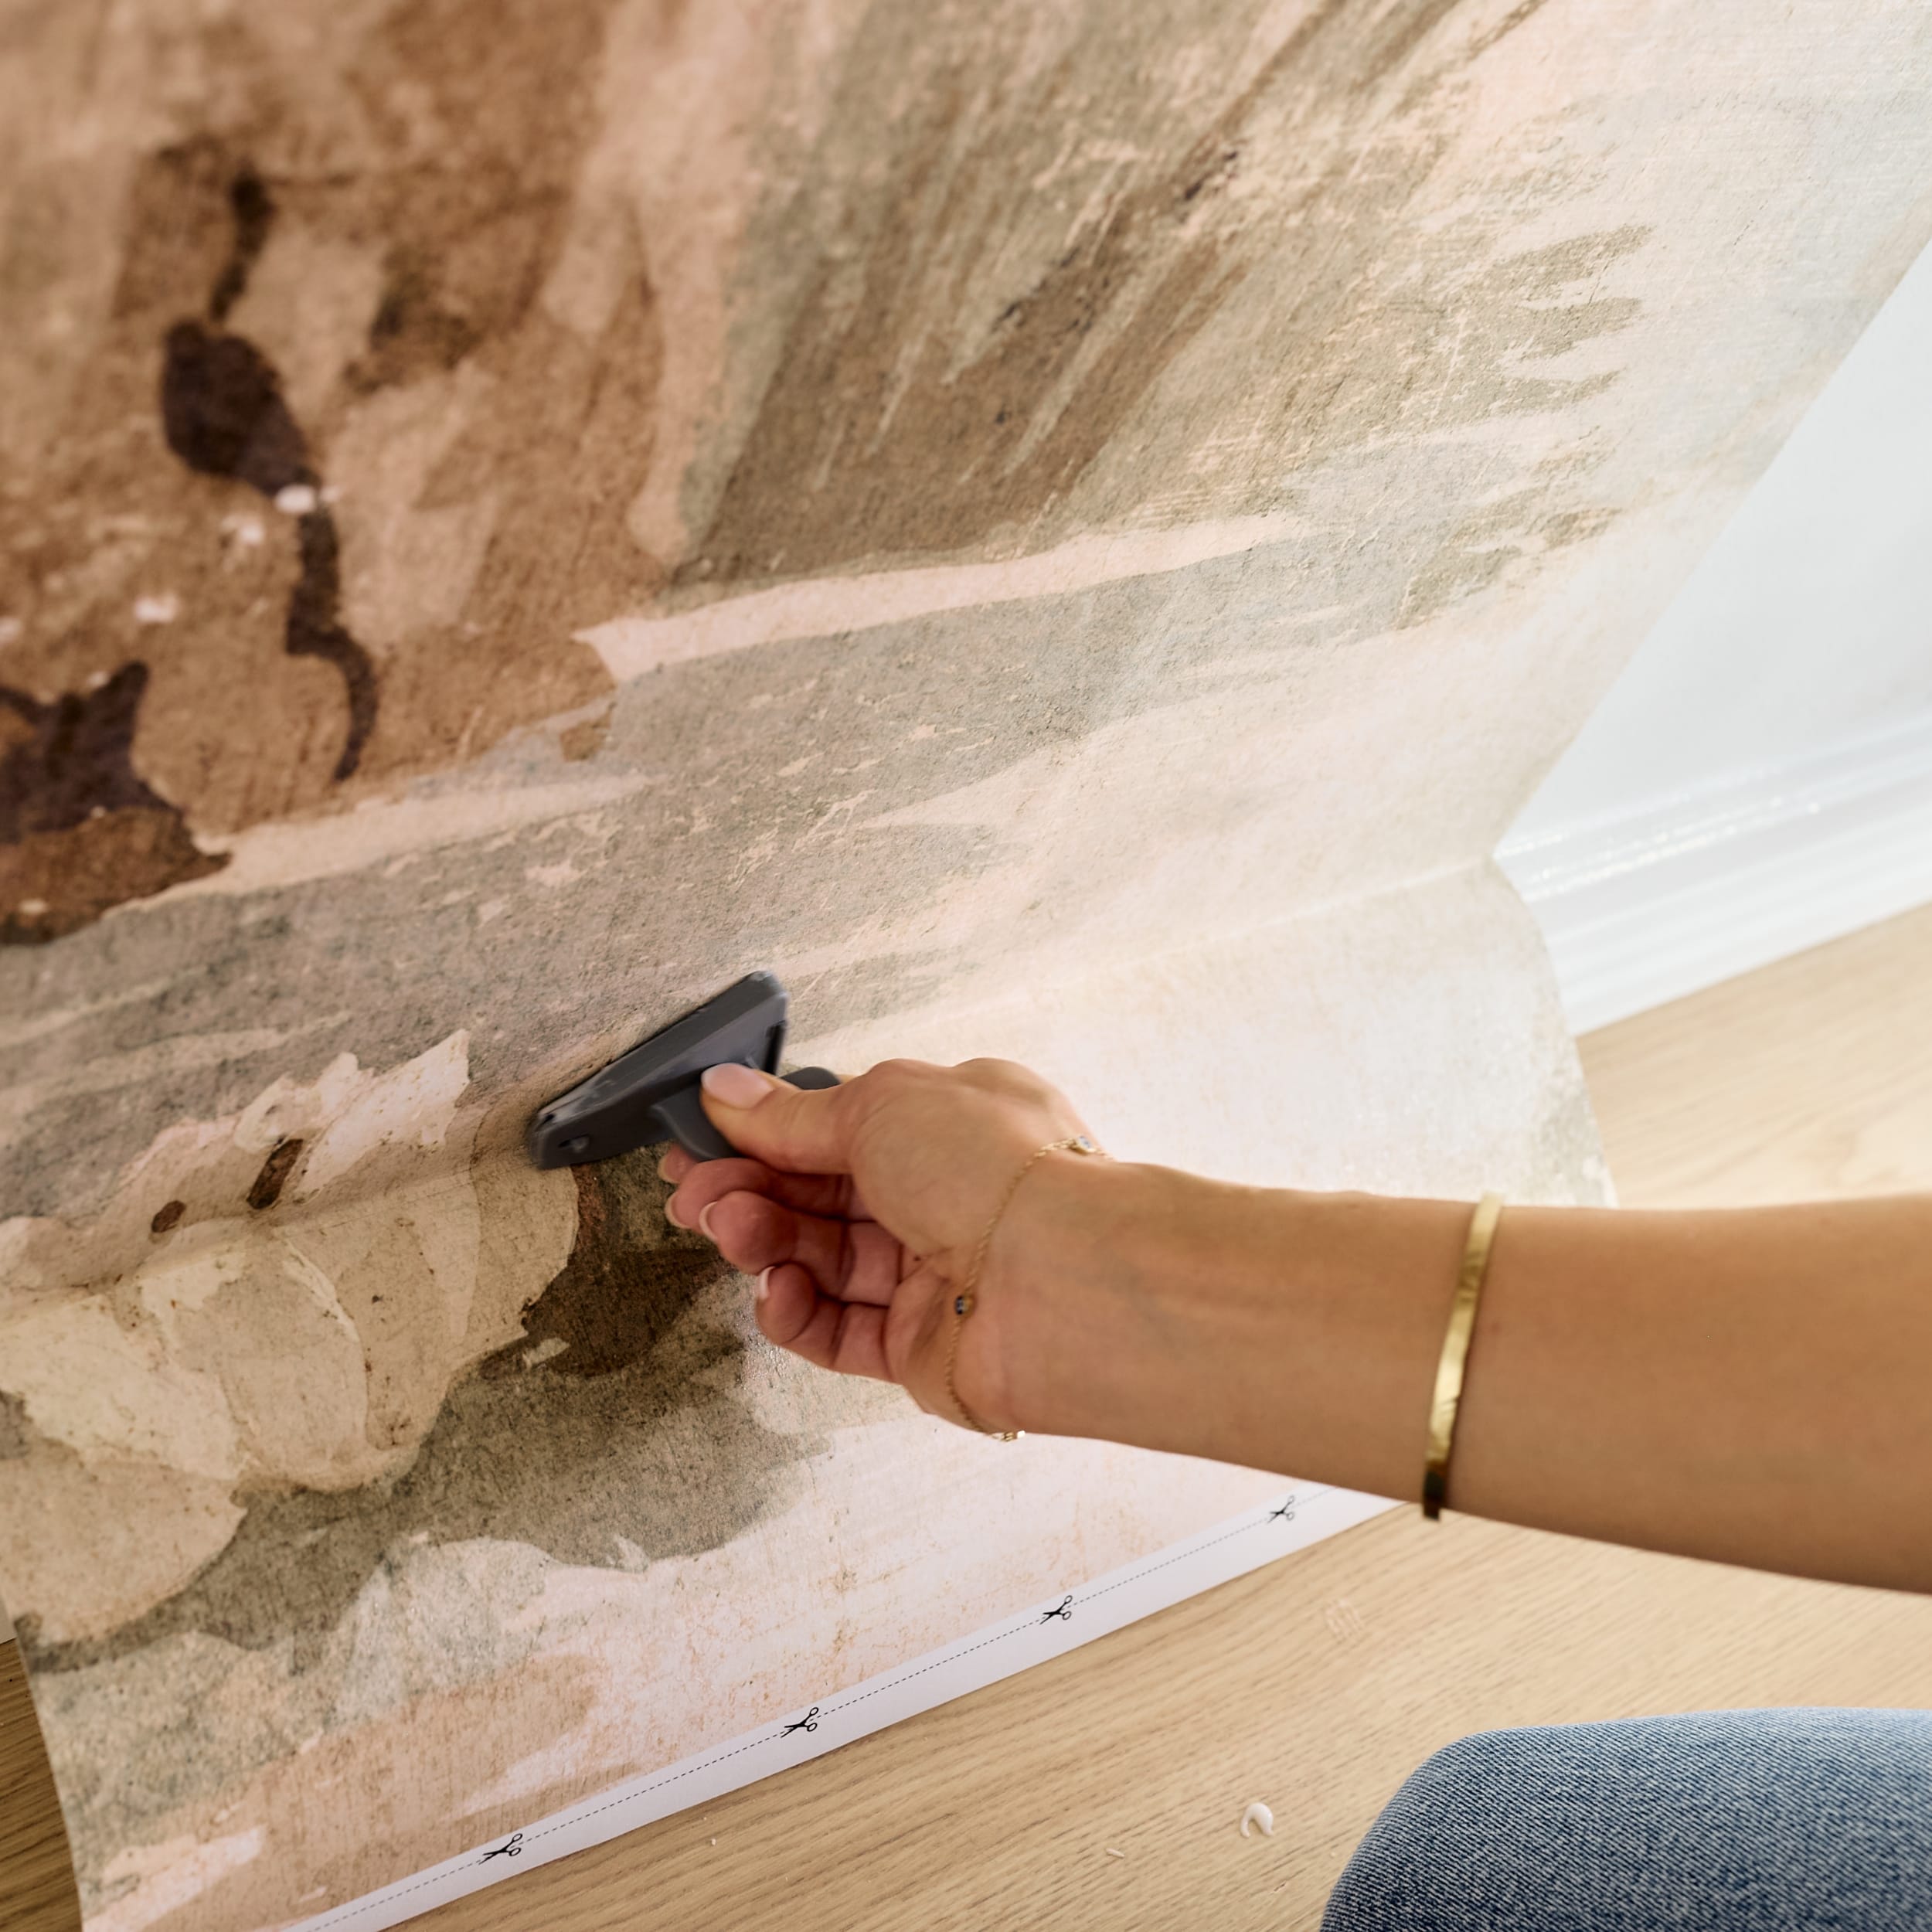
Trim away the excess wallpaper at the ceiling and along the skirting board with a trimming knife.

9. Wipe away adhesive
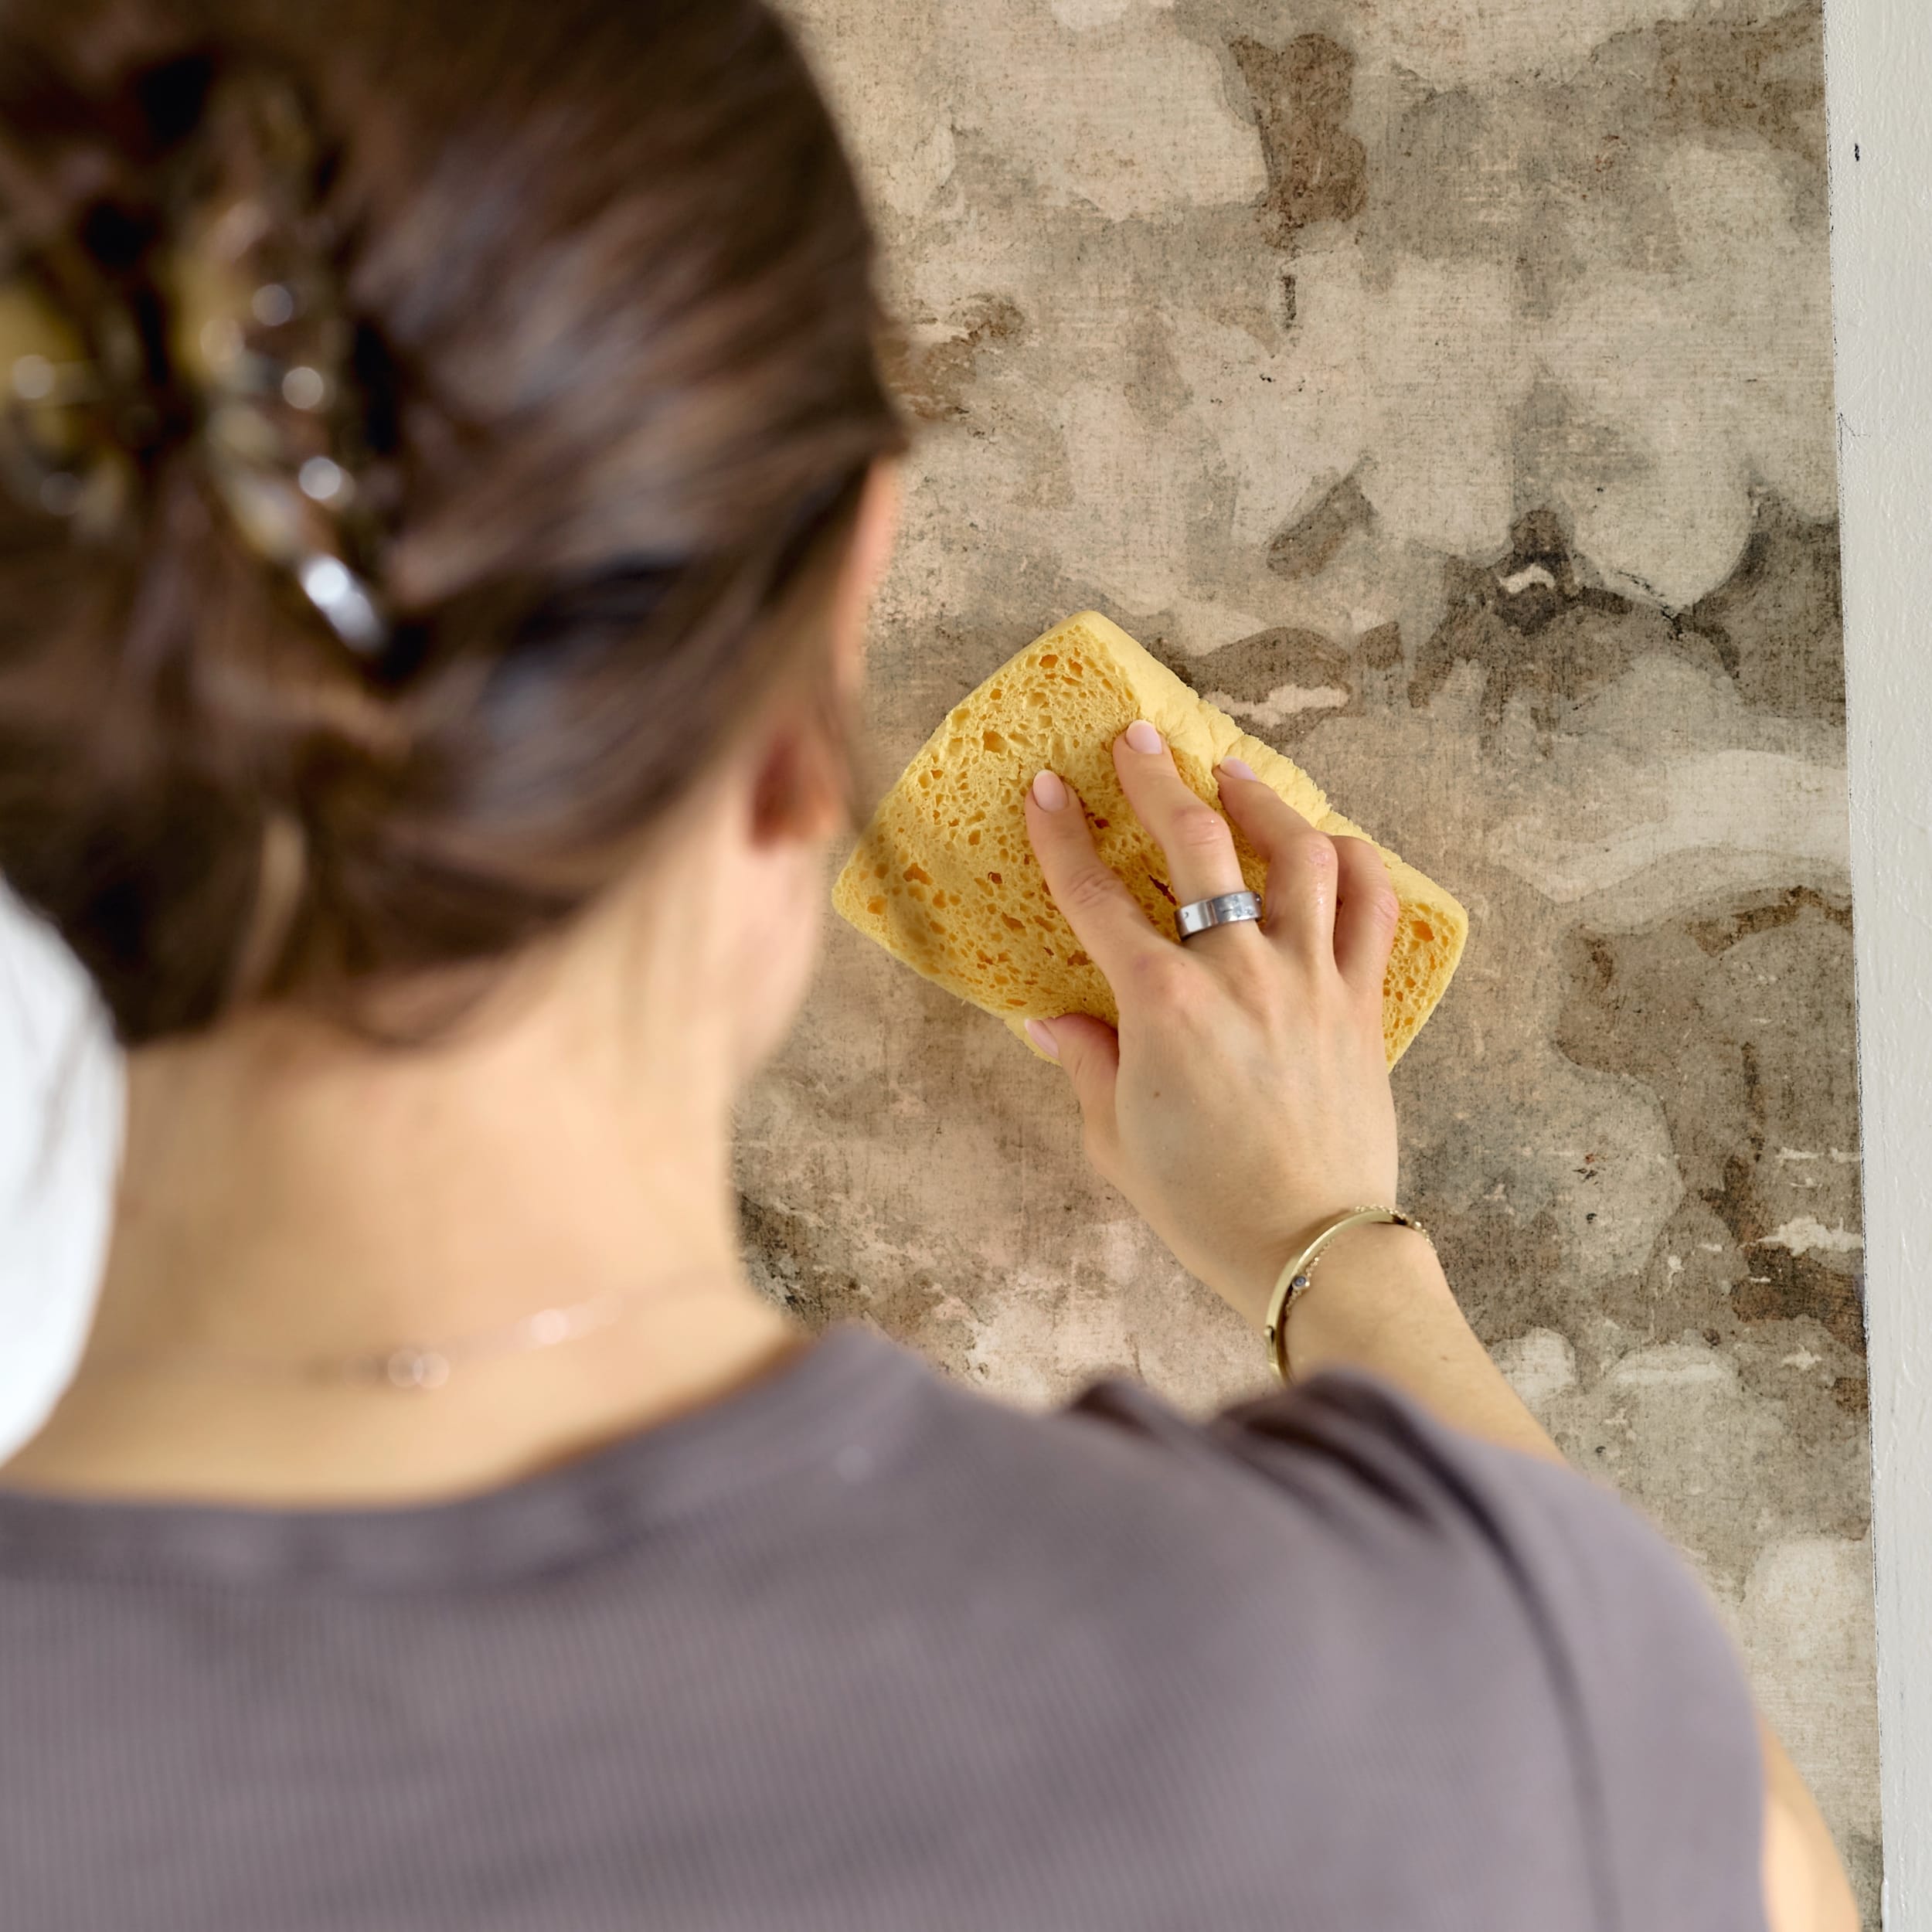
If any adhesive gets on the wallpaper or the mouldings, simply wipe it away with a damp sponge. Just be careful not to rub the wallpaper with it.

10. Put up the next length
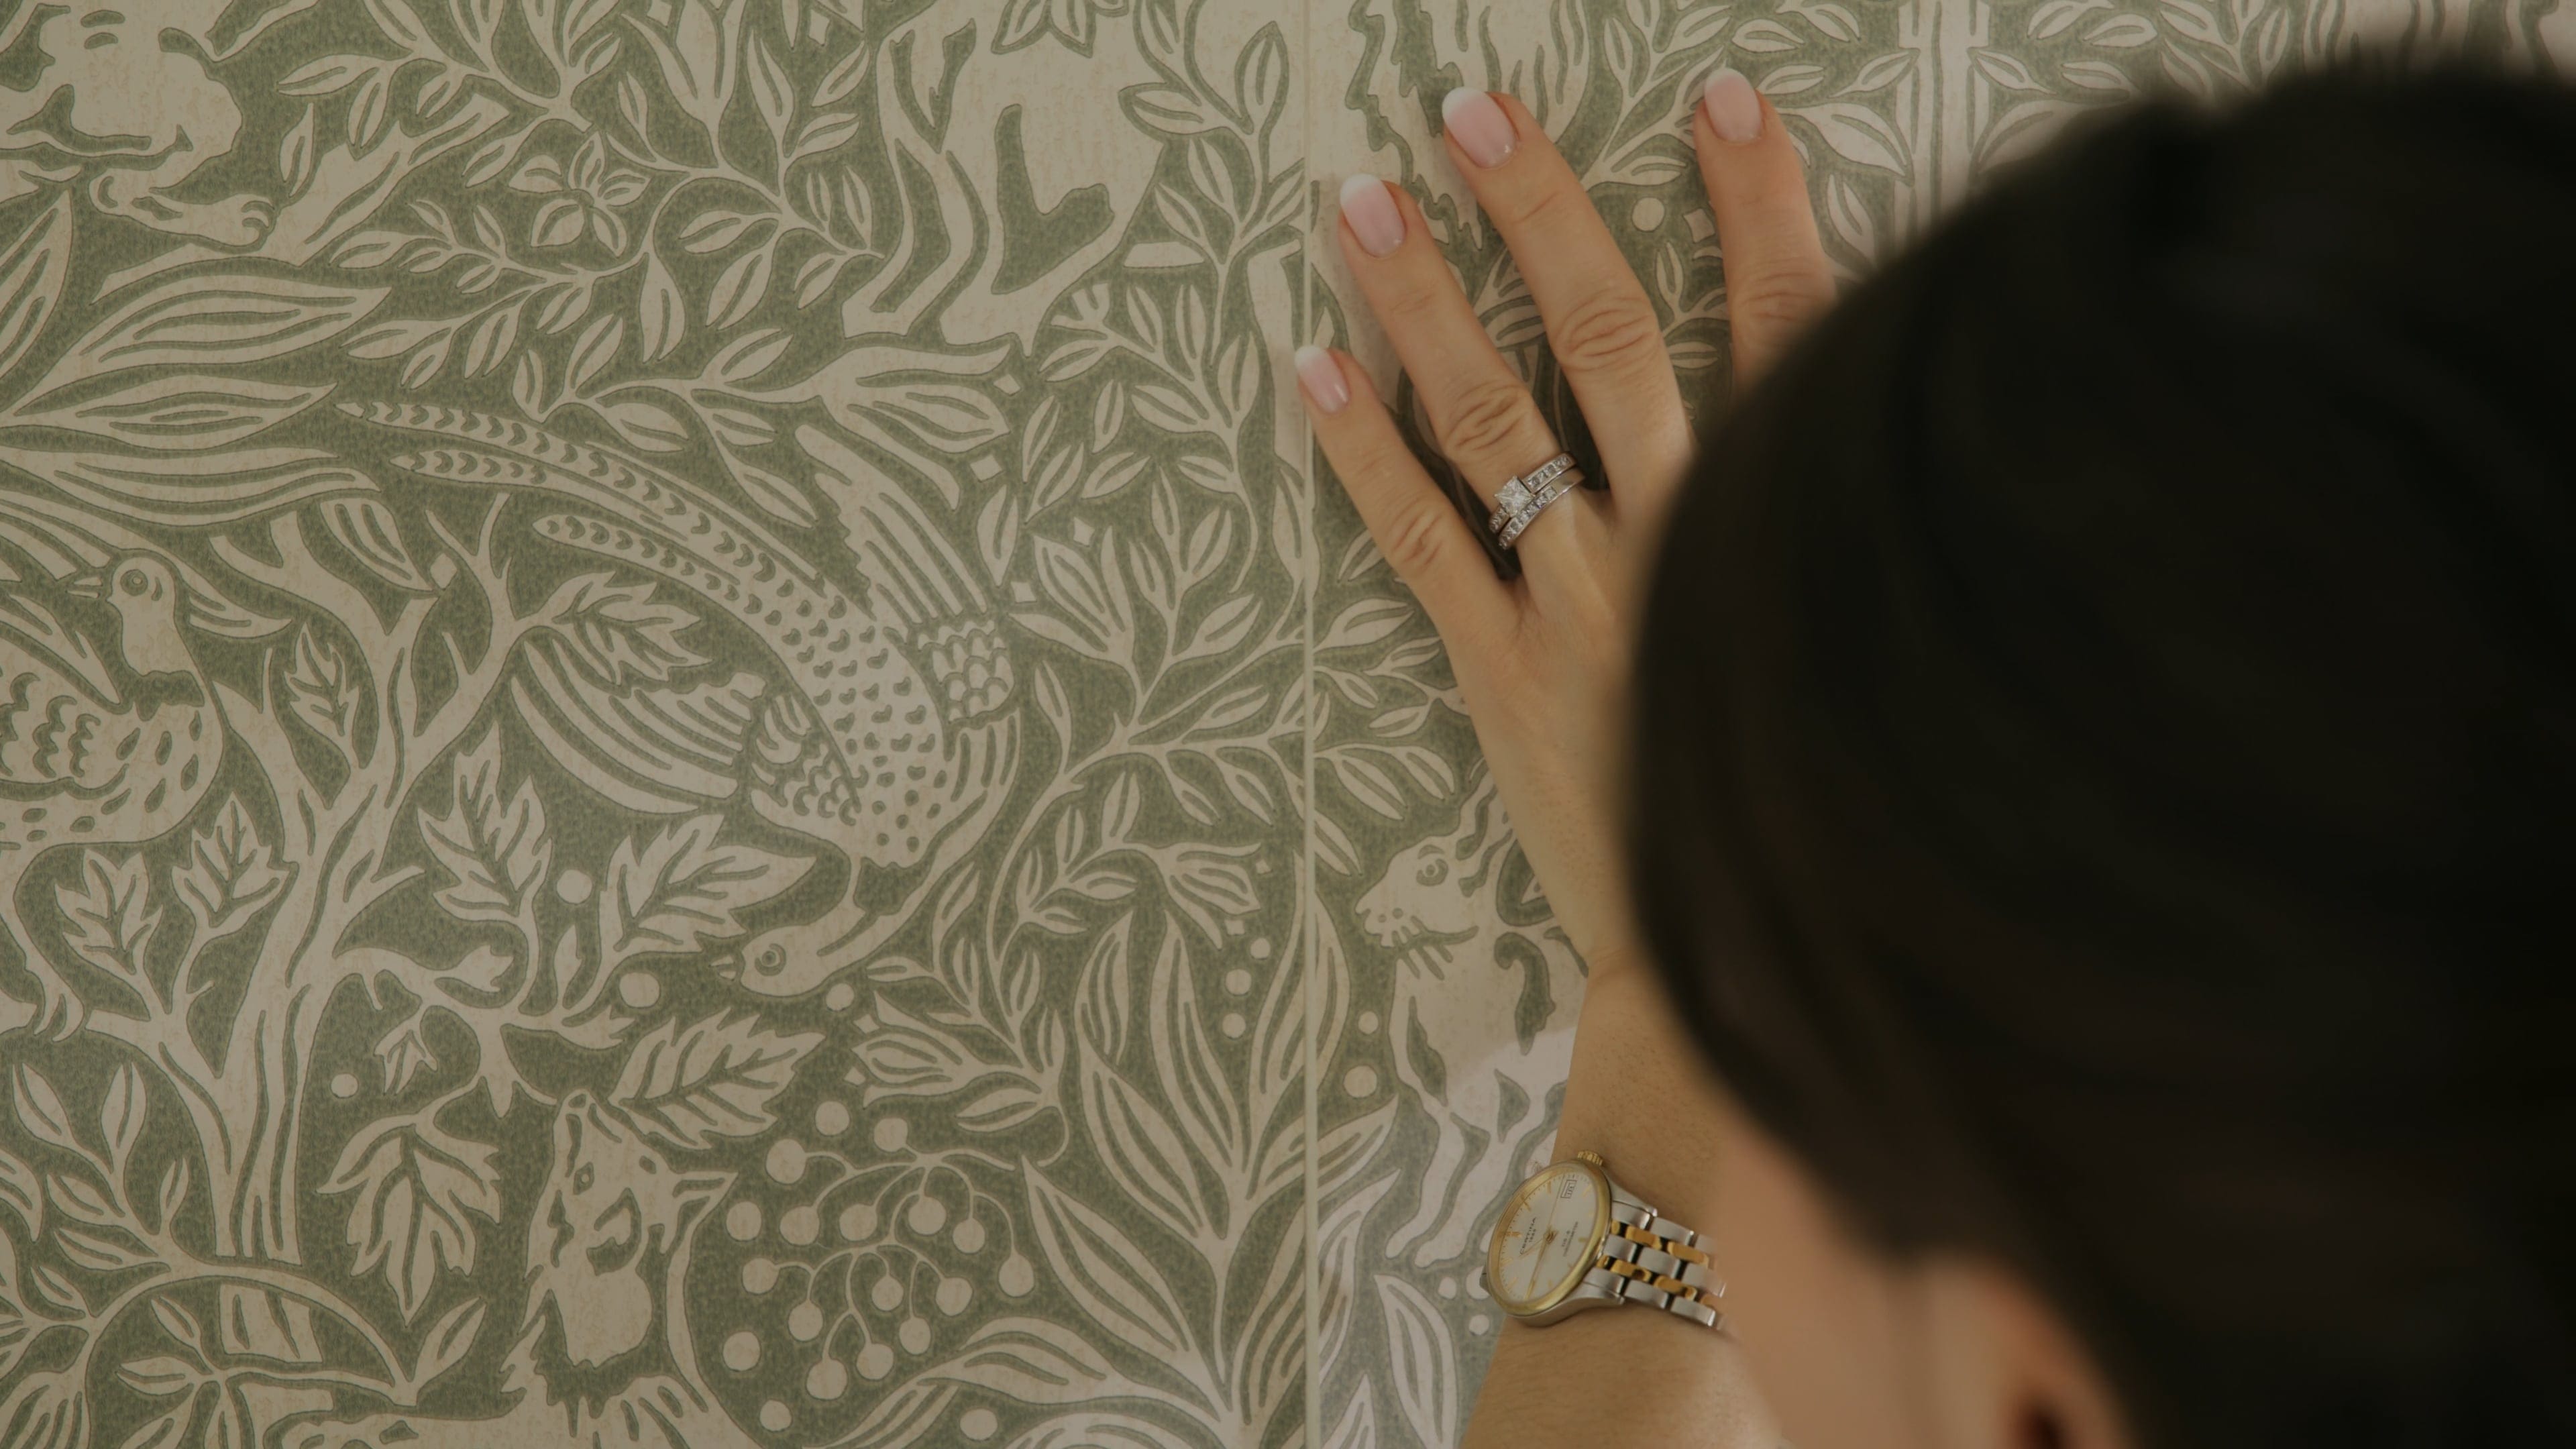
Once you have hung the first length, simply continue with the second one in numerical order. Position it as close to the first length as possible, without overlapping. Also make sure the pattern matches; if it does not, simply slide the length up or down until it aligns. Smooth the wallpaper with the wallpaper tool as before, trim neatly at the ceiling and floor, and wipe away any adhesive to avoid leaving residue on the wallpaper.

11. Continue with the remaining lengths
Now continue hanging the lengths in the same way until the entire wall is fully wallpapered.

Our guides

Tools & preparation

Prepare properly before wallpapering with the right tools and careful prep work. Here, you’ll get the basics for a neat and long-lasting result.

View guideView the guide

How to get started

Get off to the right start and achieve perfectly straight drops from the very beginning. Here, we show you how to start wallpapering step by step.

View the guide

Wallpaper paste

How to use wallpaper paste correctly for the best adhesion and finish. Here we show you how much paste is needed.

View the guide

Pattern matching

Get the pattern to align perfectly between the wallpaper lengths. We guide you to easy and precise pattern matching.

View the guide

Wallpapering inside corners

Wallpaper inside corners without any problems. Achieve a neat finish and straight lines even at tricky angles.

View the guide

Wallpapering outside corners

Learn how to wallpaper outside corners in a simple and durable way. Easy tricks that make a big difference.

View the guide

Windows & Doors

How to wallpaper around windows and doors with precision. Here are the tips for neat finishes.

View the guide

Wall outlets & switches

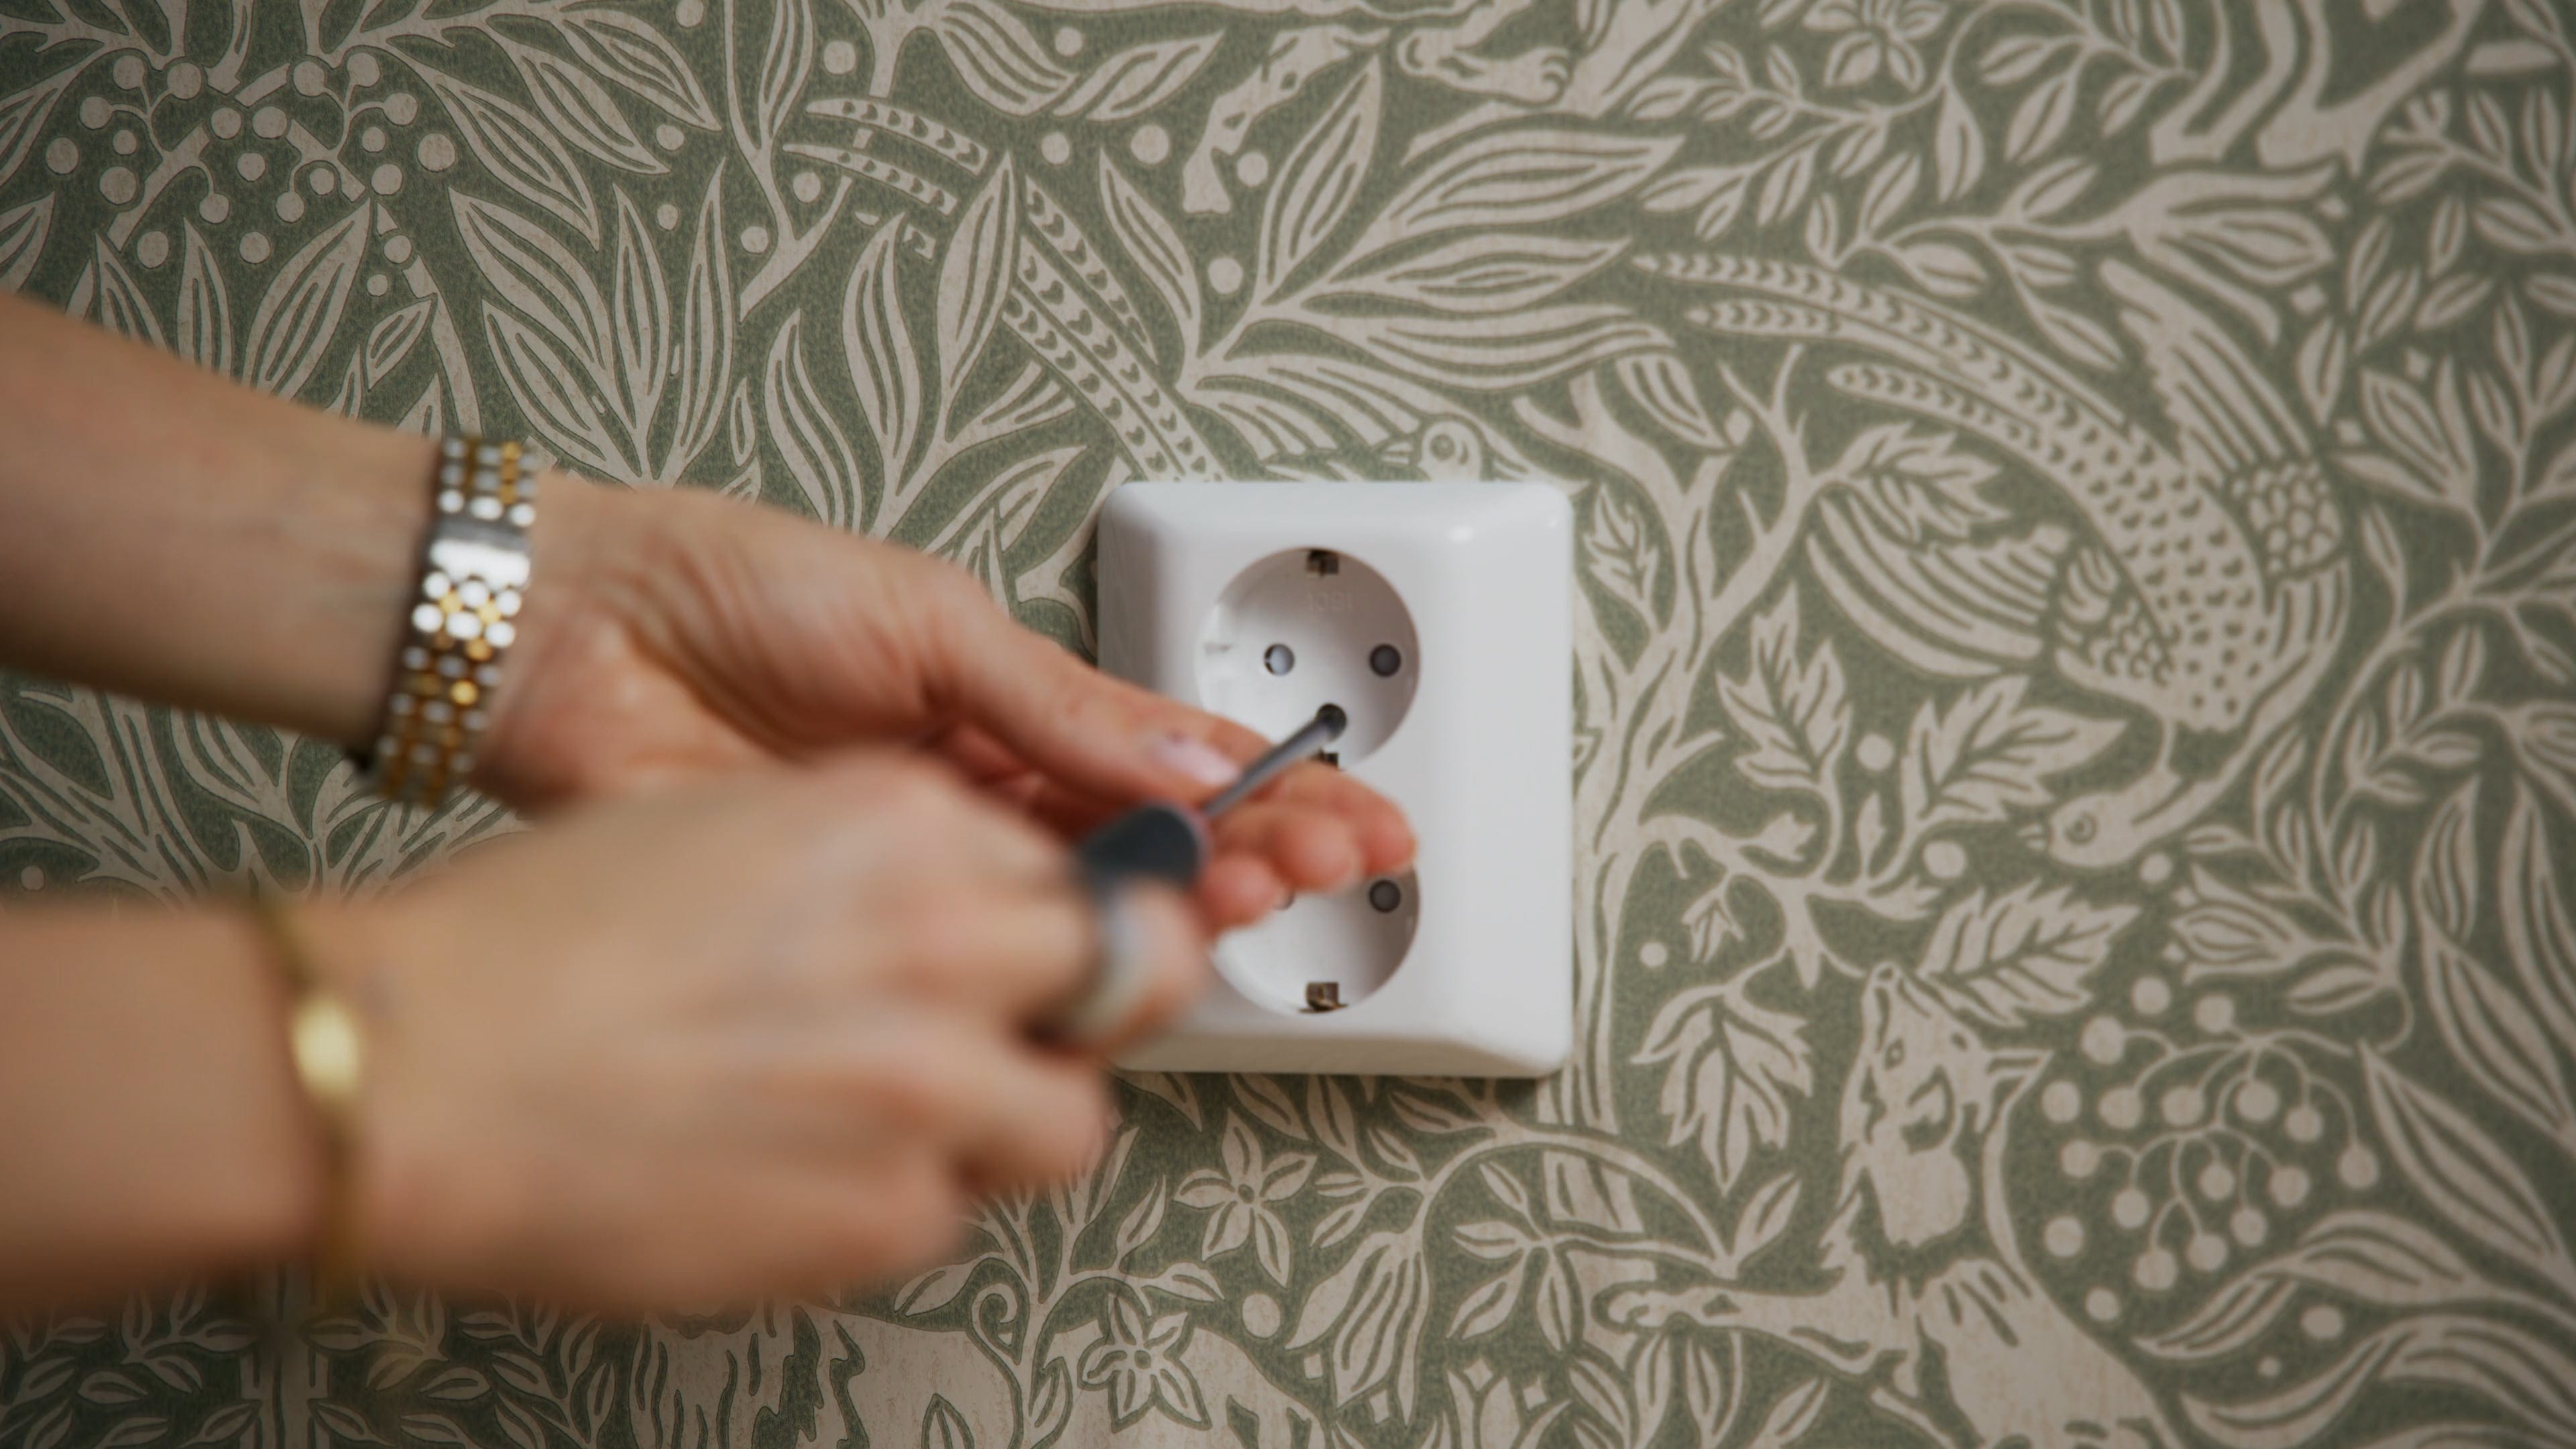
Achieve clean, neat details around wall sockets and light switches. With the right technique, it becomes easier.

View the guide

Wallpapering - step by step

Many people feel unsure about how to hang wallpaper, but in fact it’s both easy and a lot of fun. Here, we show you how to do it, step by step.

View the guide