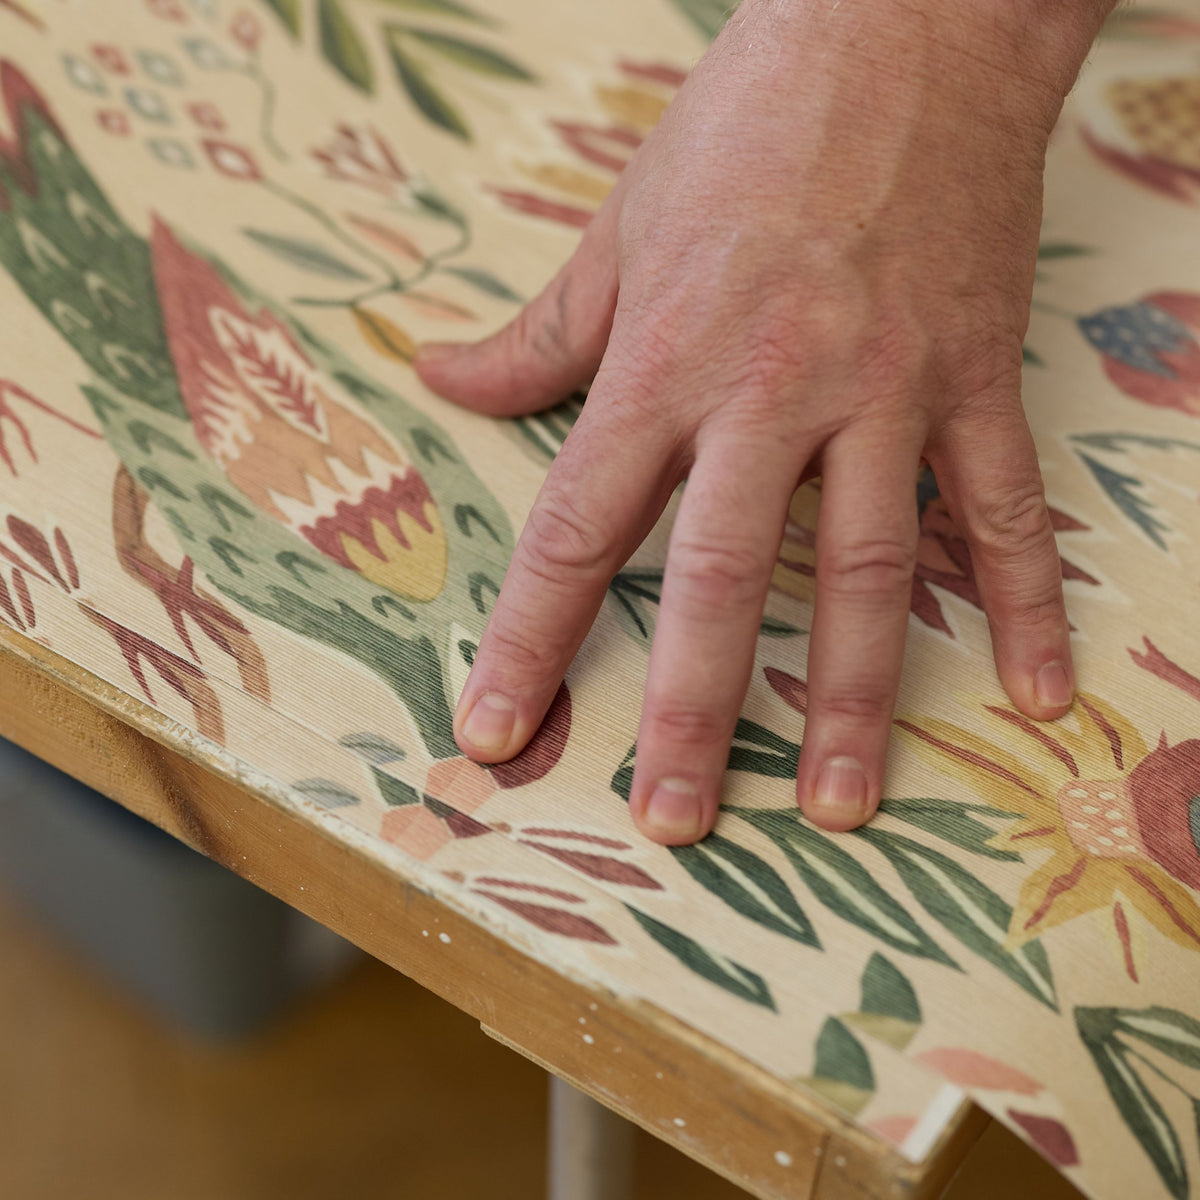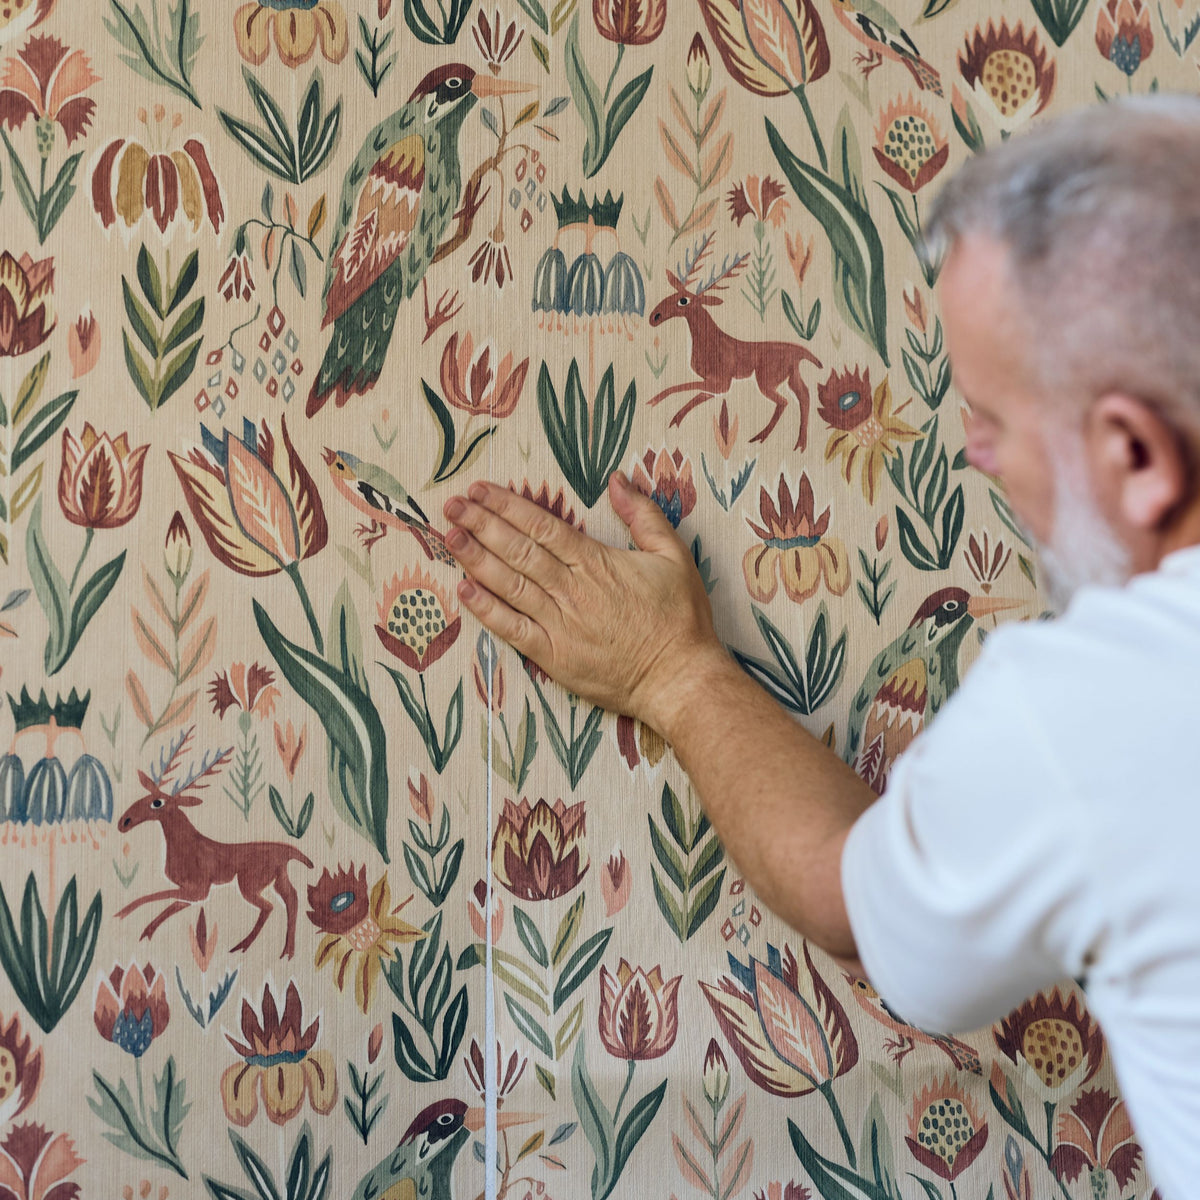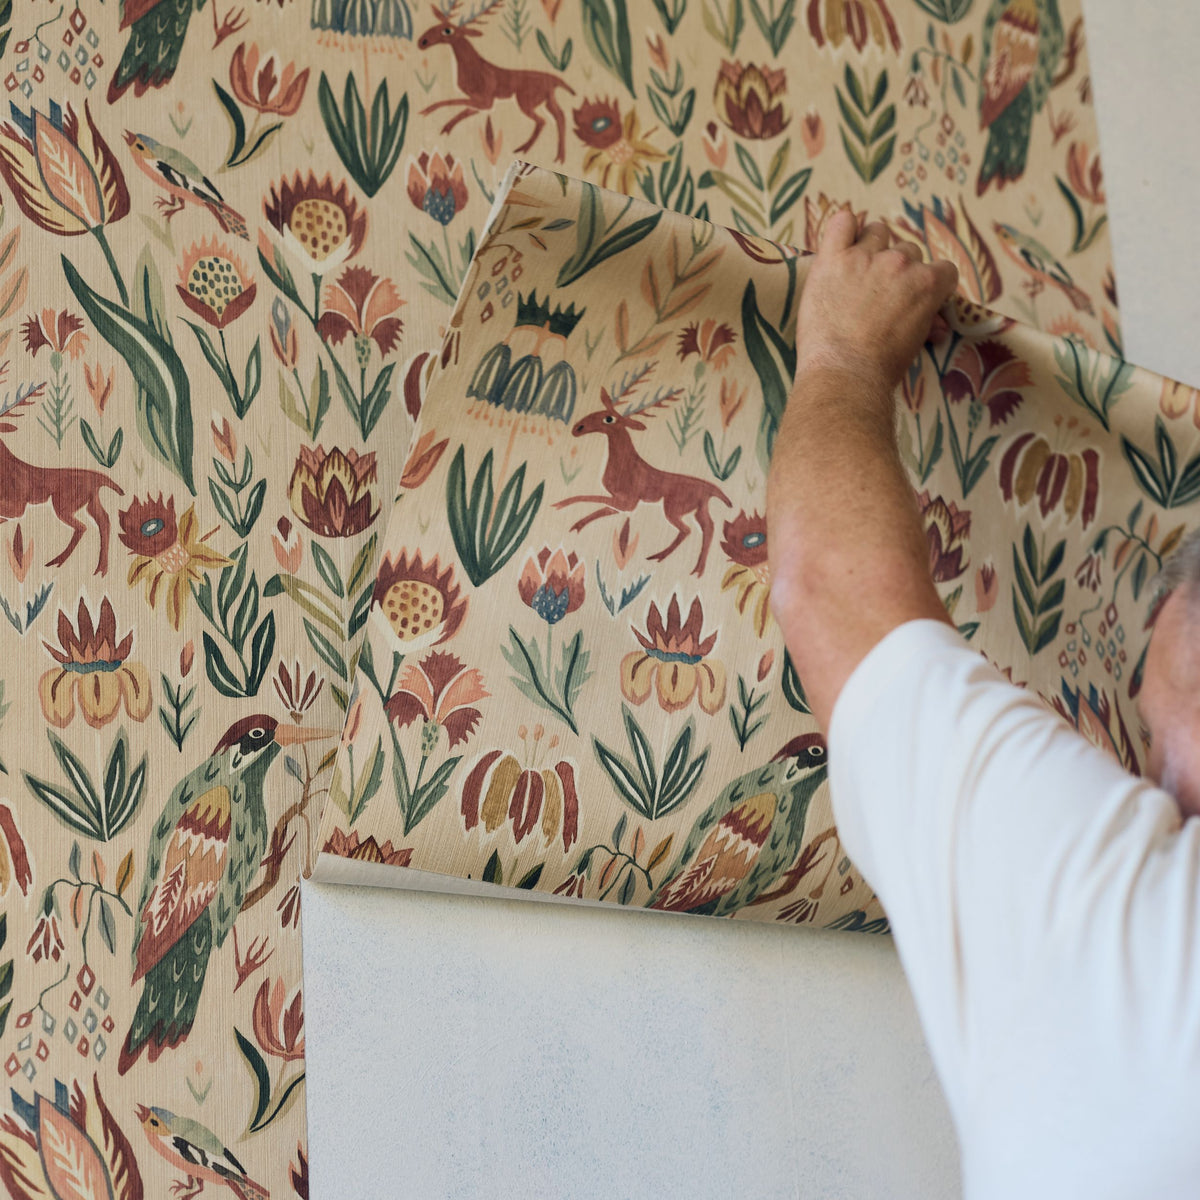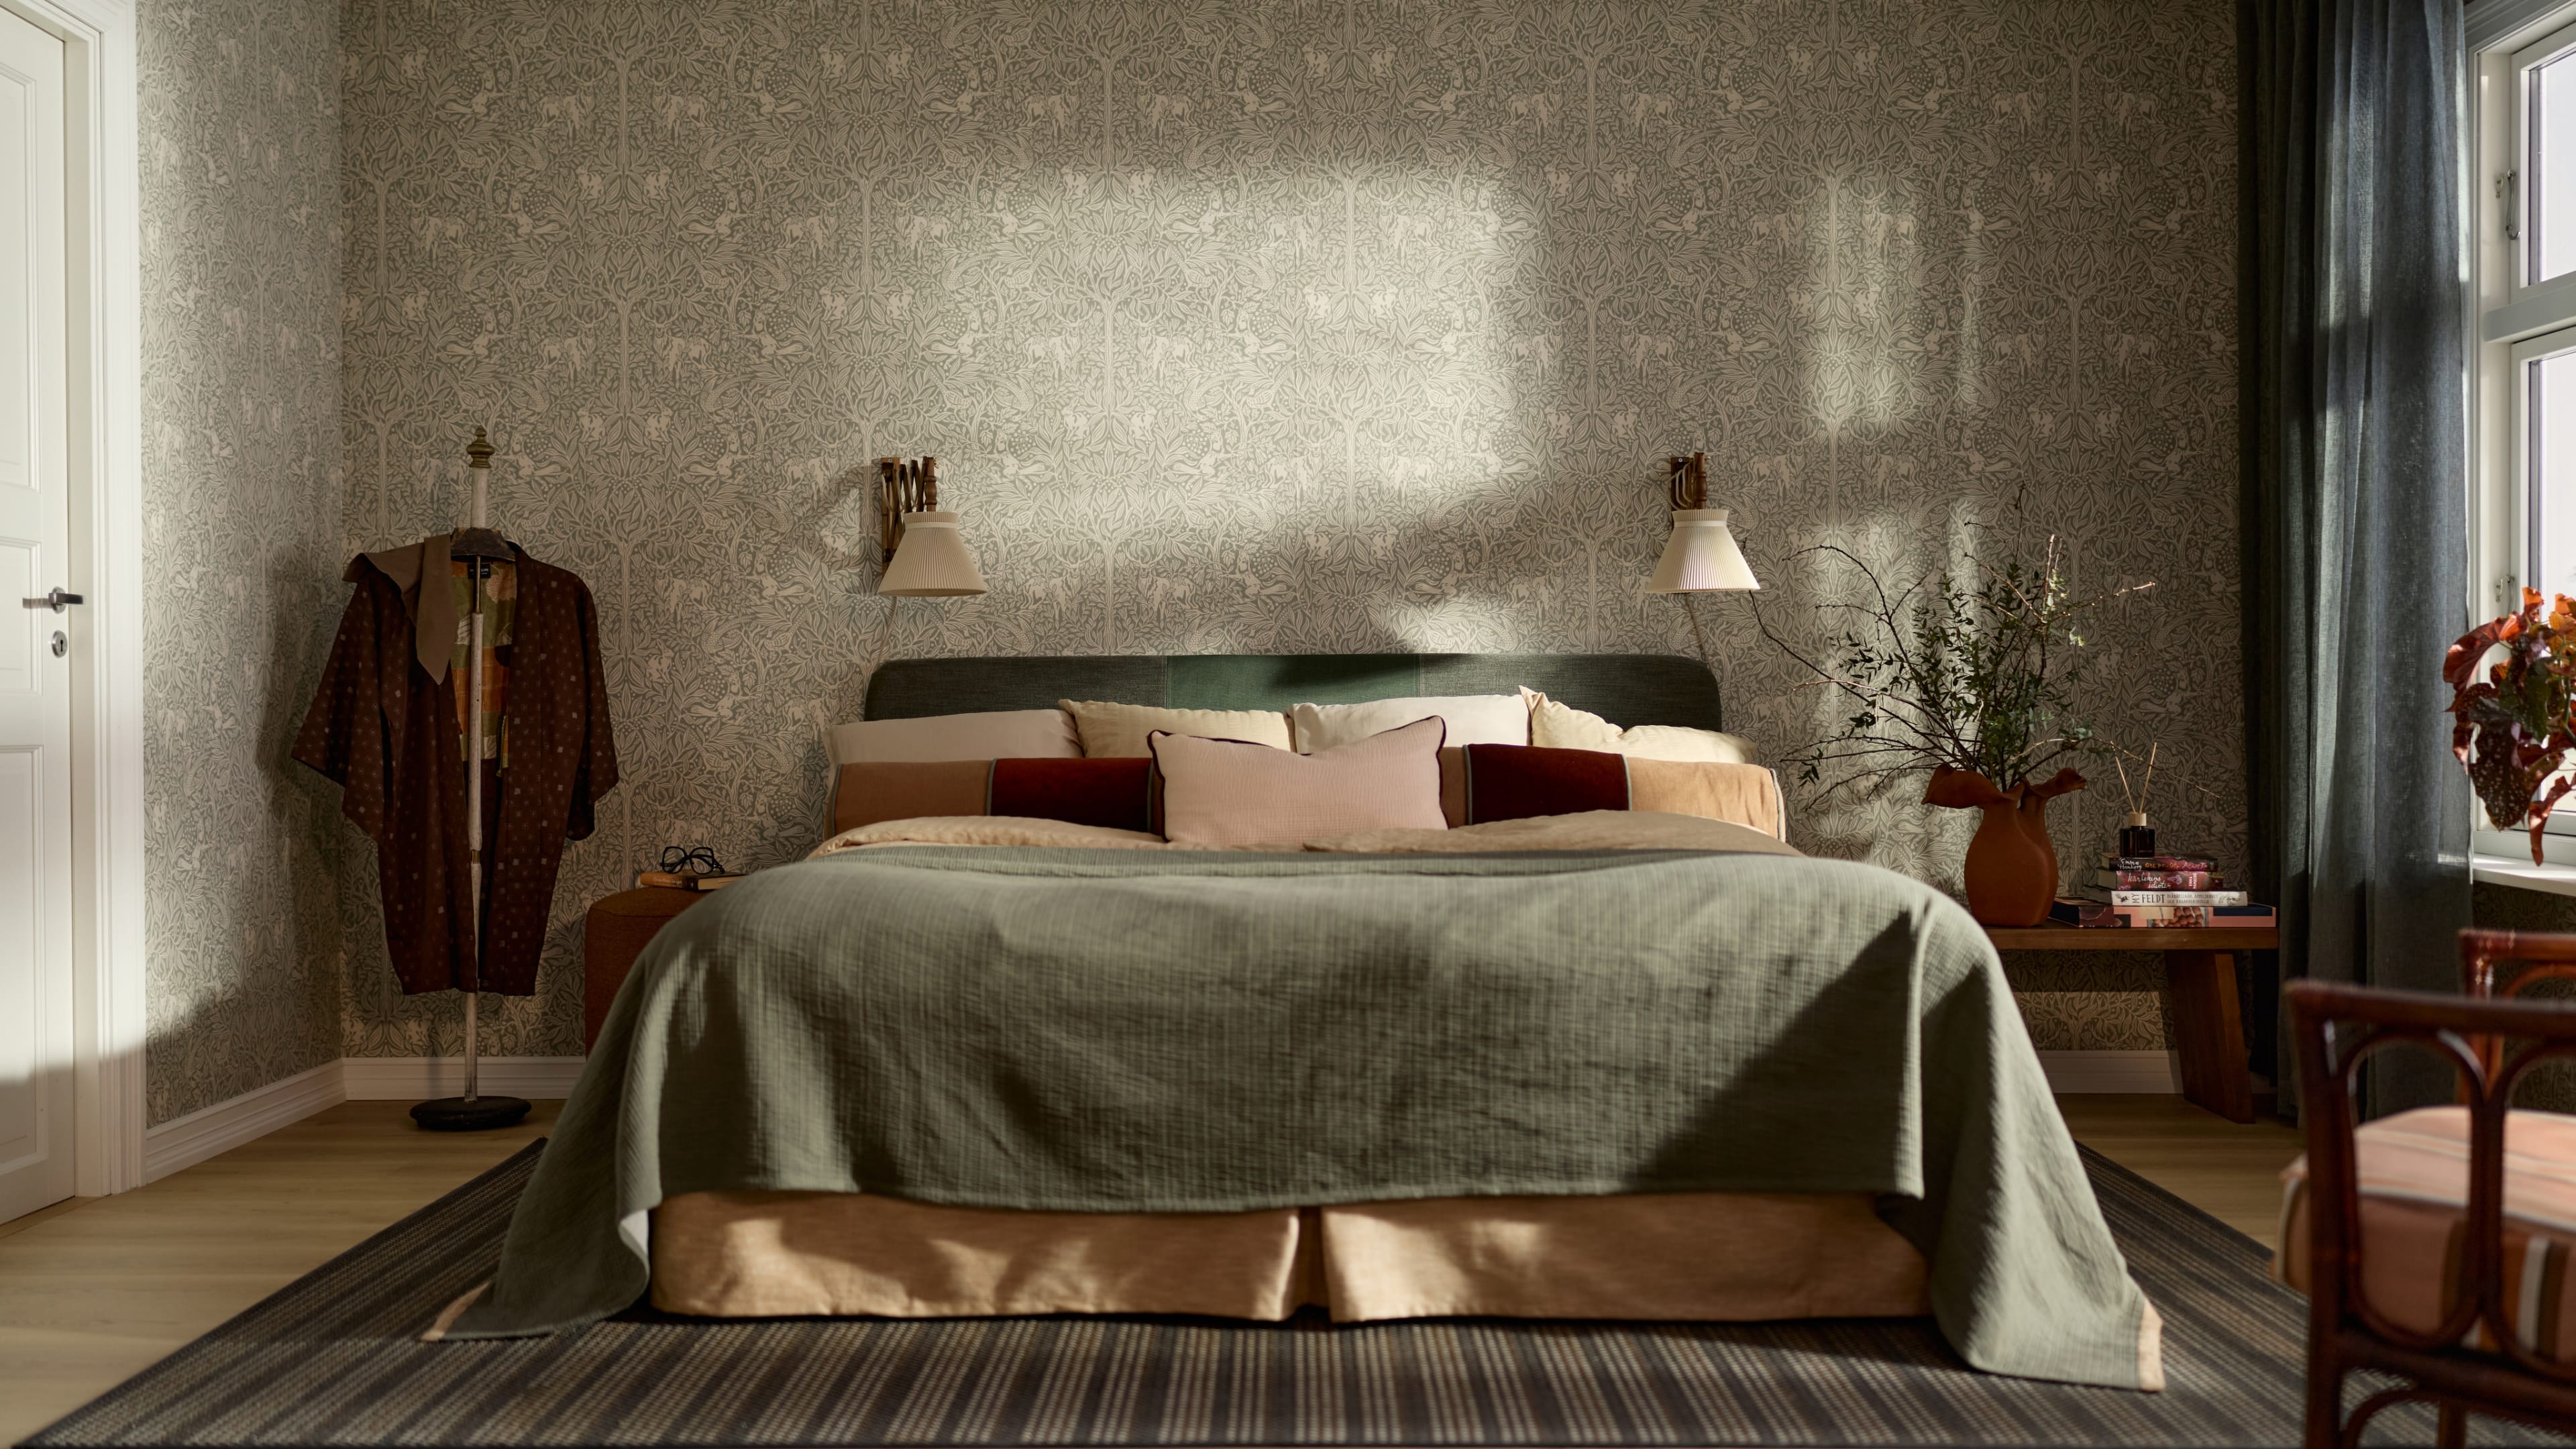
With our wallpaper quality featuring genuine linen threads, you can create beautiful rooms with a warm, natural feel. Linen wallpaper requires a special hanging method and a different adhesive than our regular wallpapers. Here, we show you how to do it, step by step.

 
Load video: Wallpapering school - learn how to hang wallpaper, step by step./* MLU 20260921 - Added style="height:85%" */
How to hang linen wallpaper

1. Tools and preparations
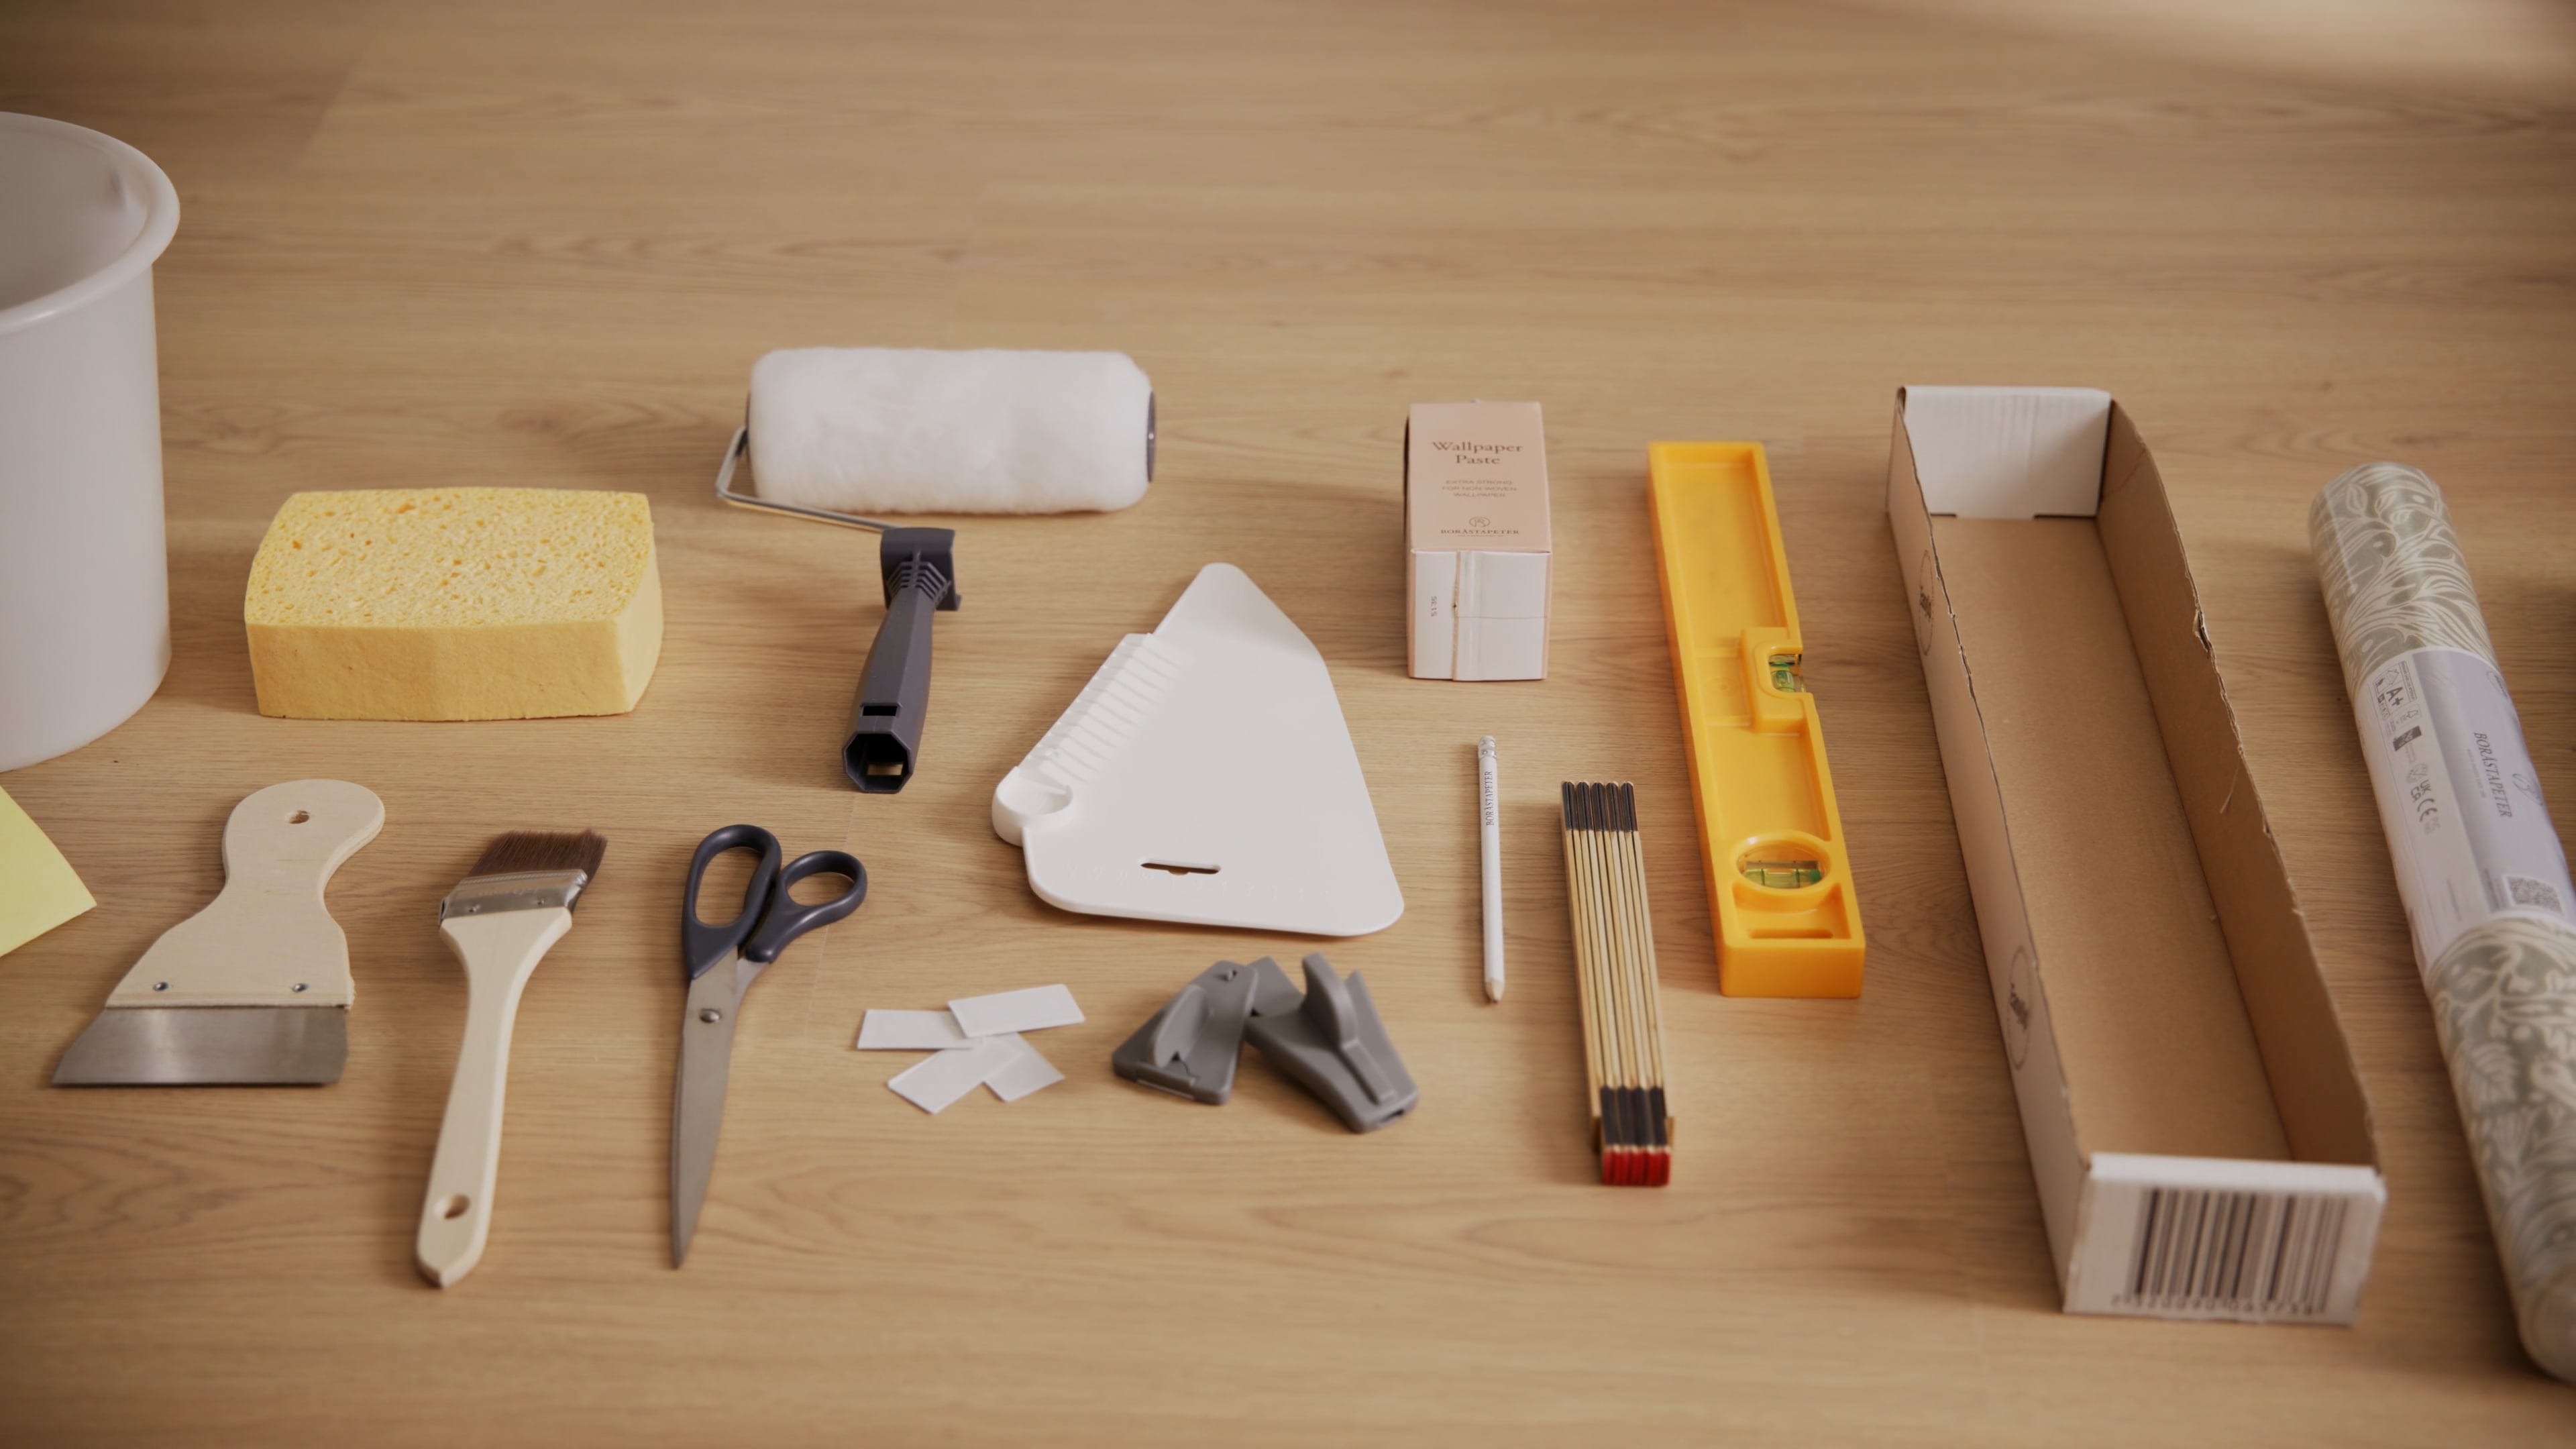
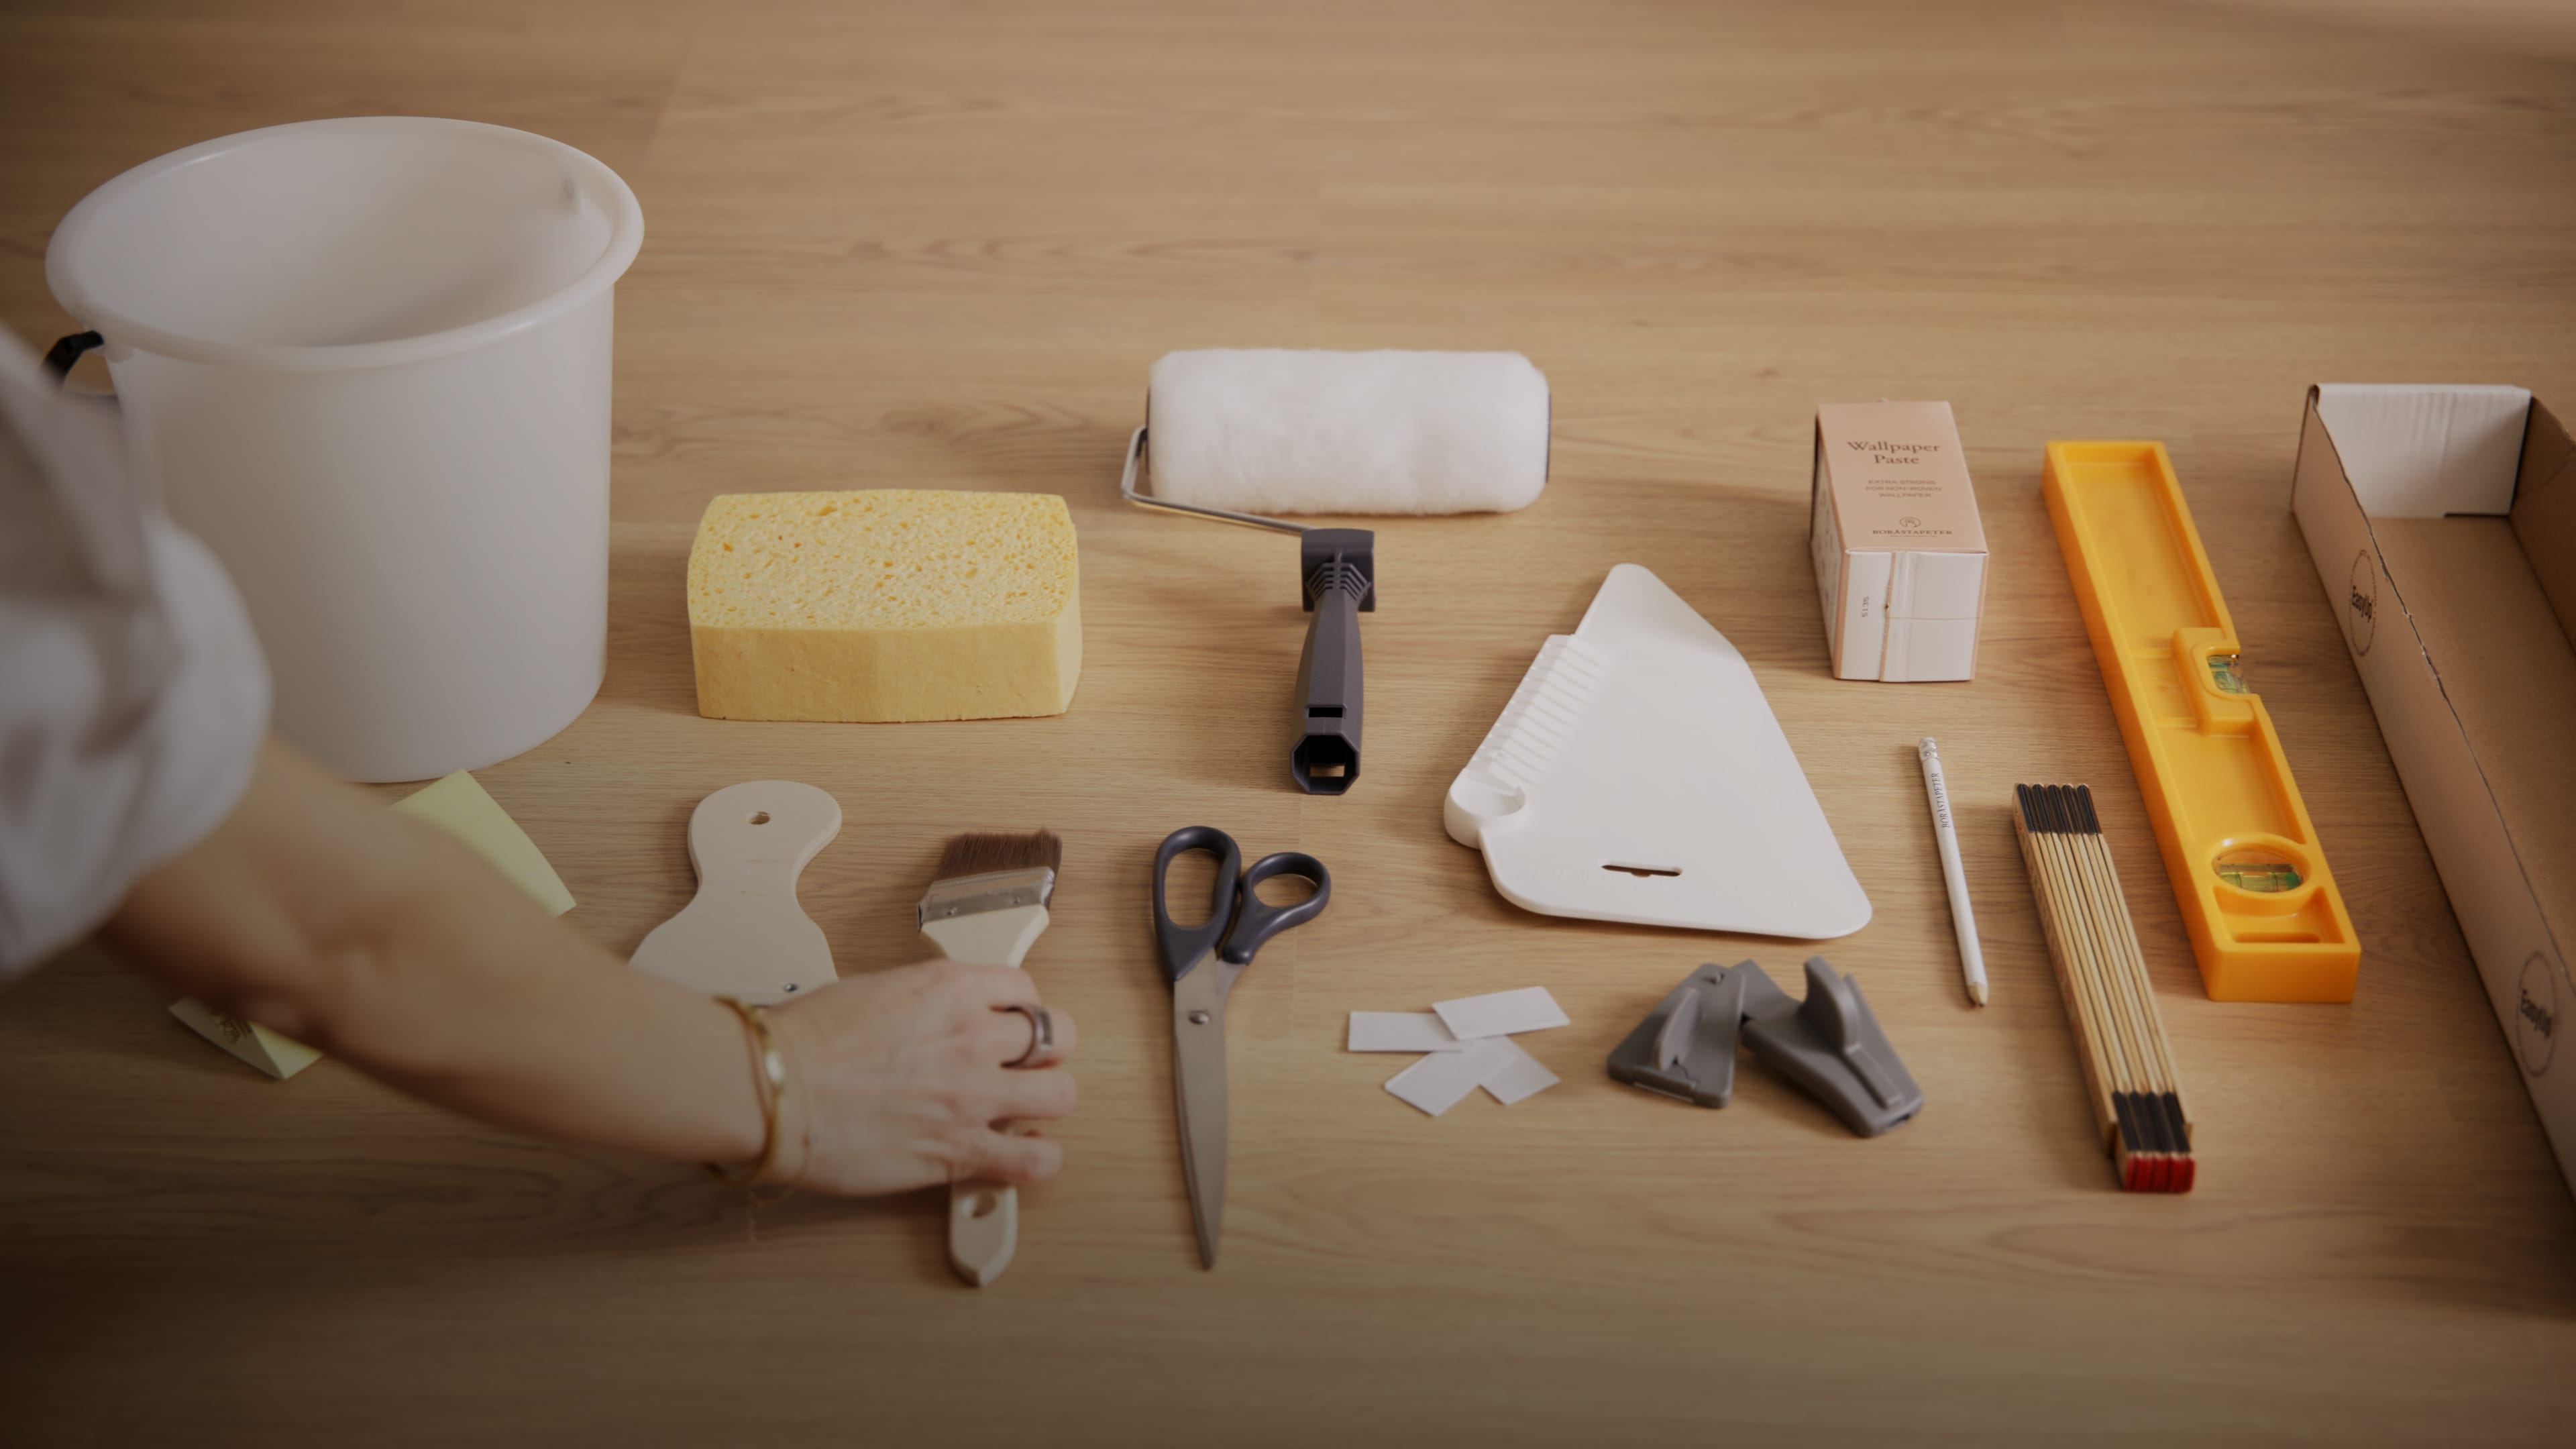
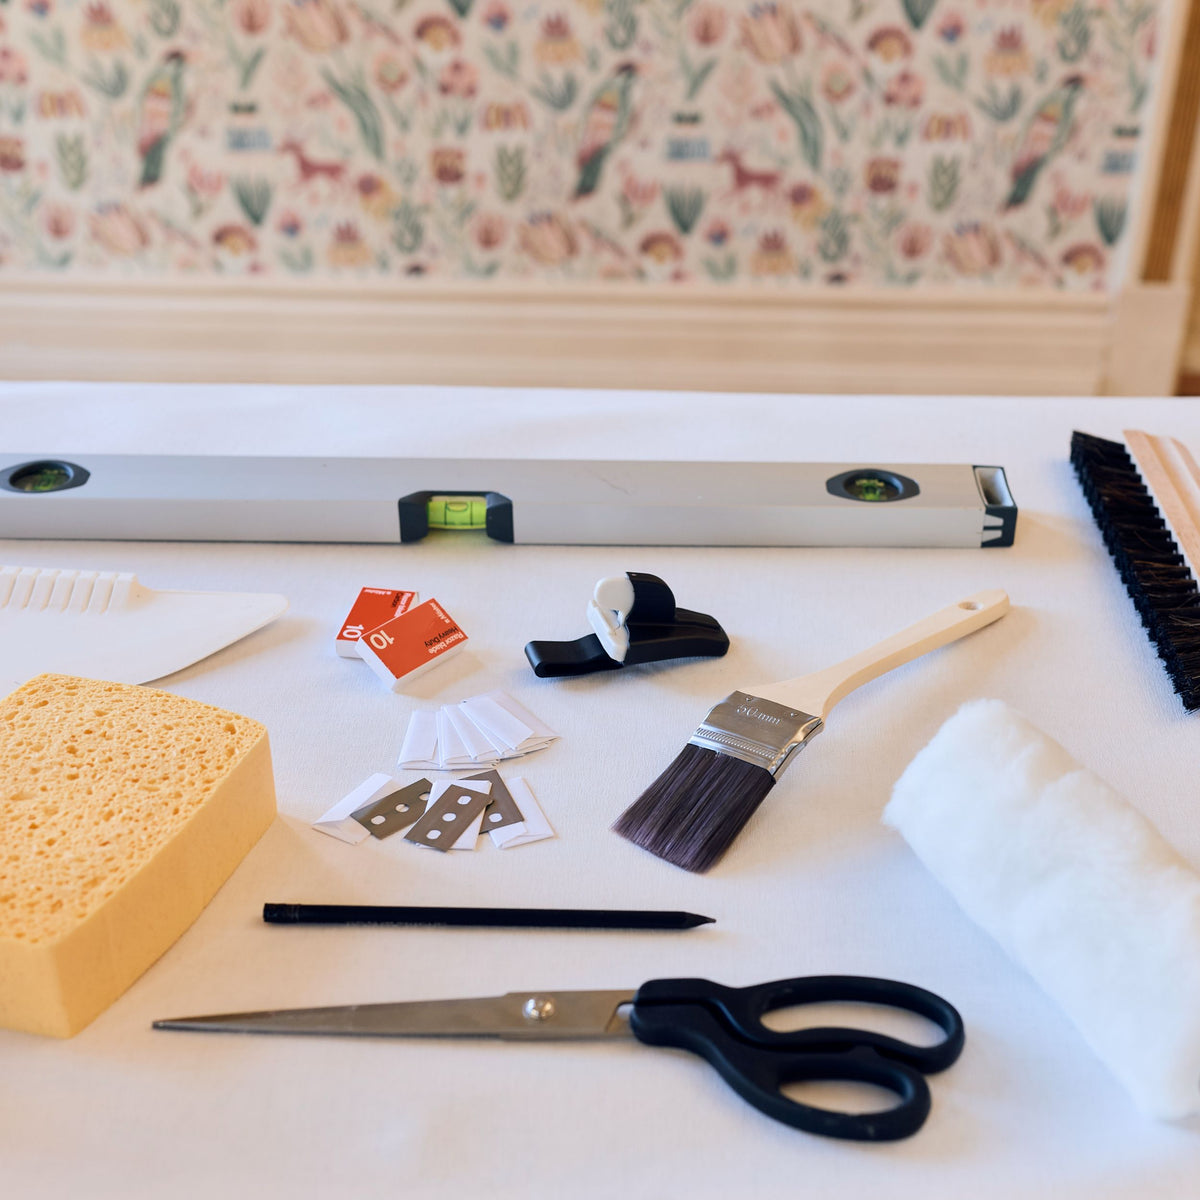
To get started, you will need a few simple tools: pasting table, wallpaper adhesive, brush, roller, wallpaper knife, scissors, folding rule, bucket of water, wallpaper brush, and a clean sponge.

2. Measure and cut the lengths
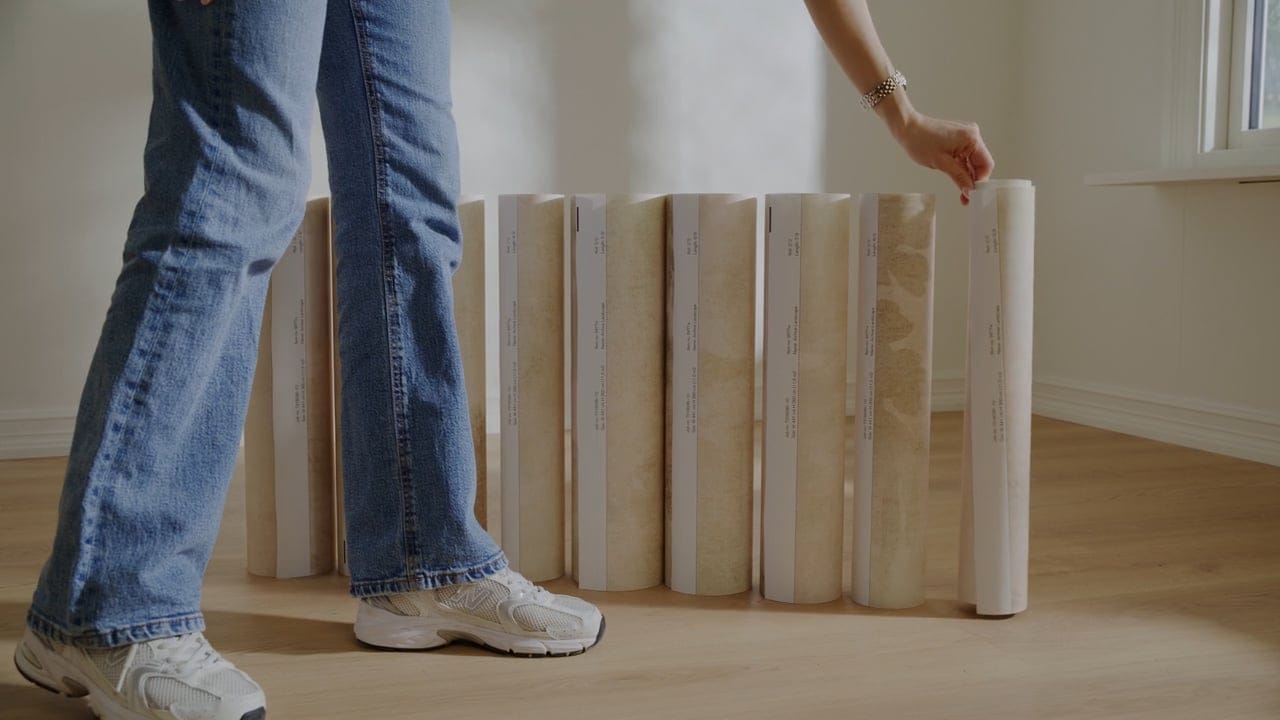
The wallpaper rolls are 68 cm wide and 8.5 metres long. Measure the wall height and check the pattern match before cutting the lengths to the correct size.

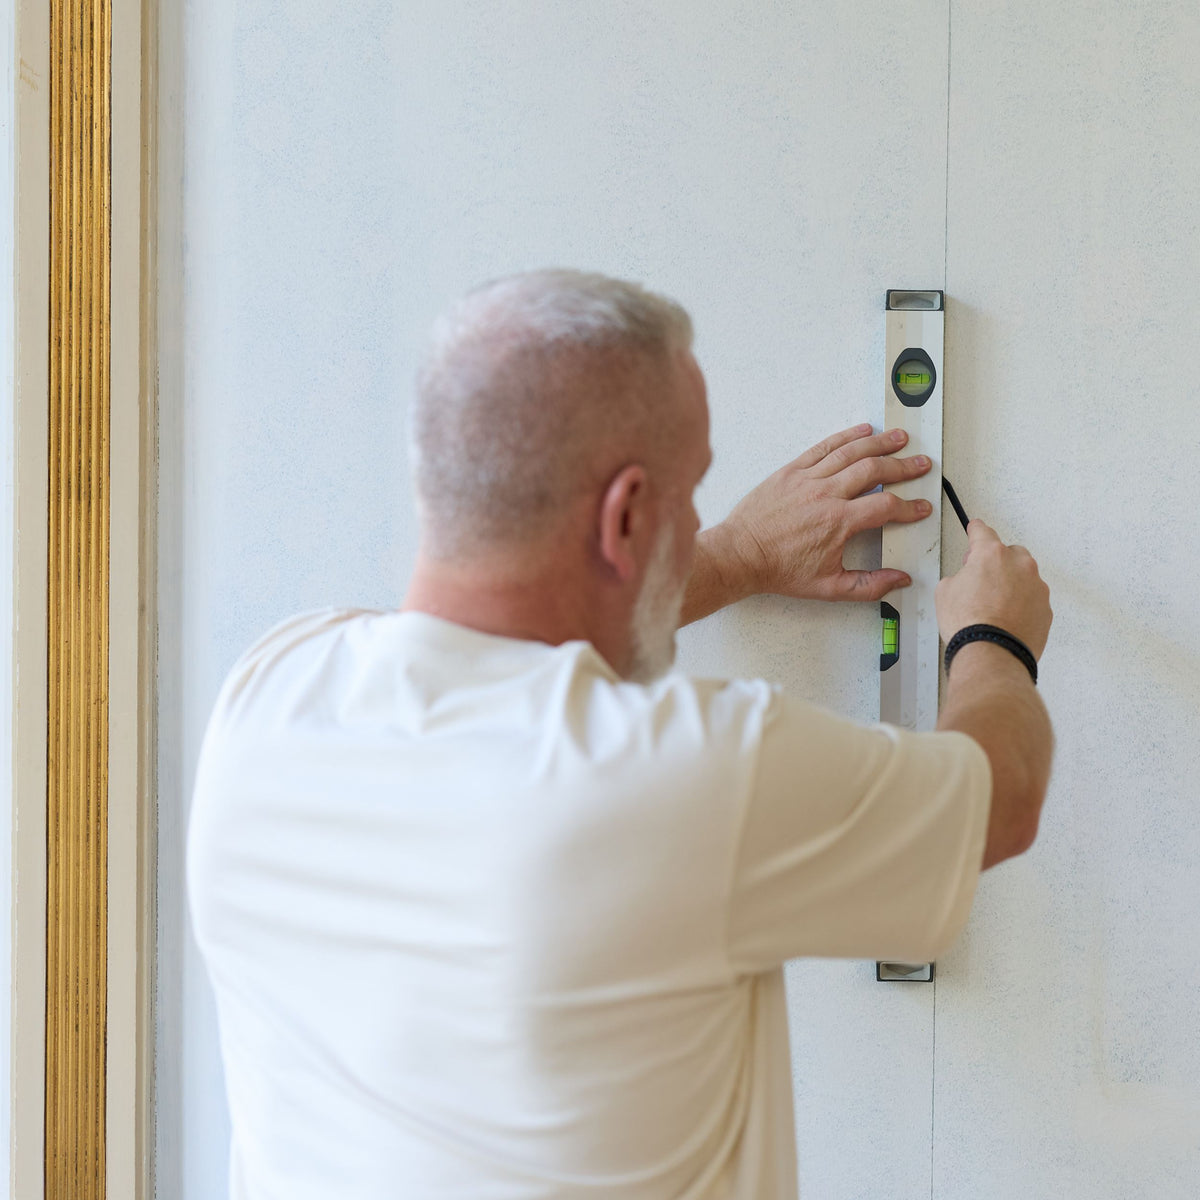
3. Draw a guideline
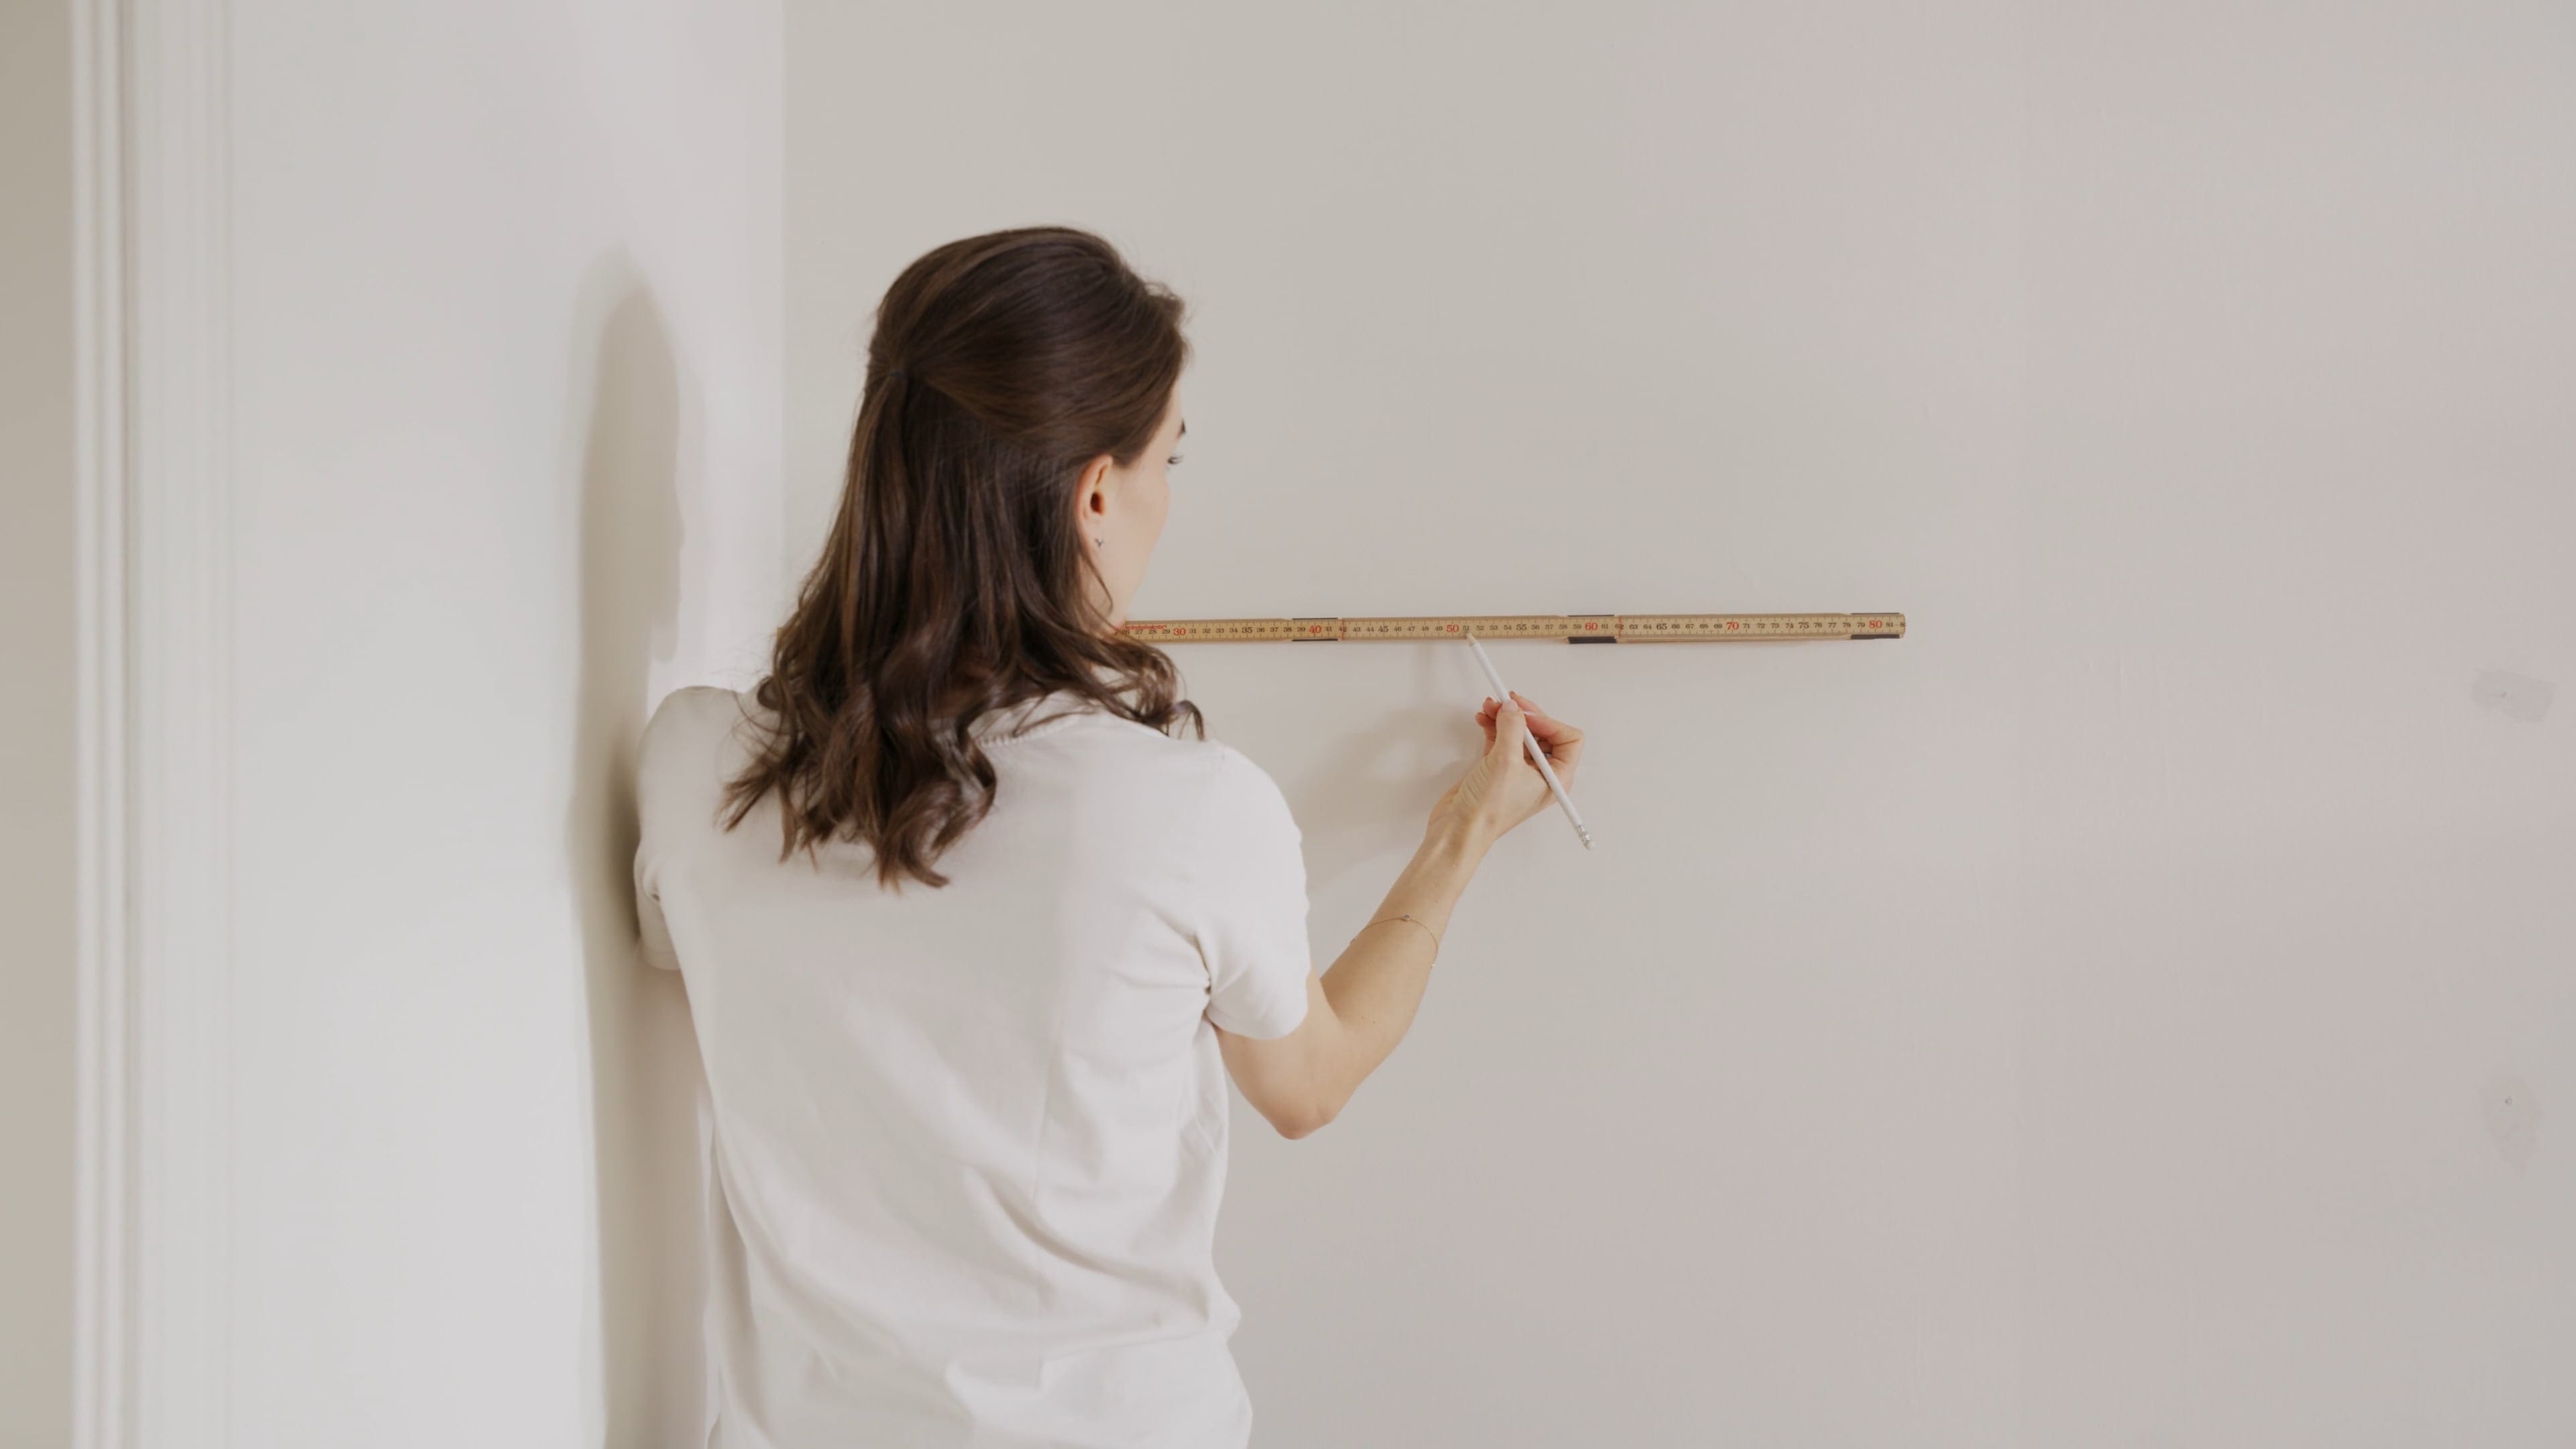
To make sure the first length hangs straight, start by drawing a vertical guideline using a spirit level. Begin from a corner or another clear starting point, such as a door or window.

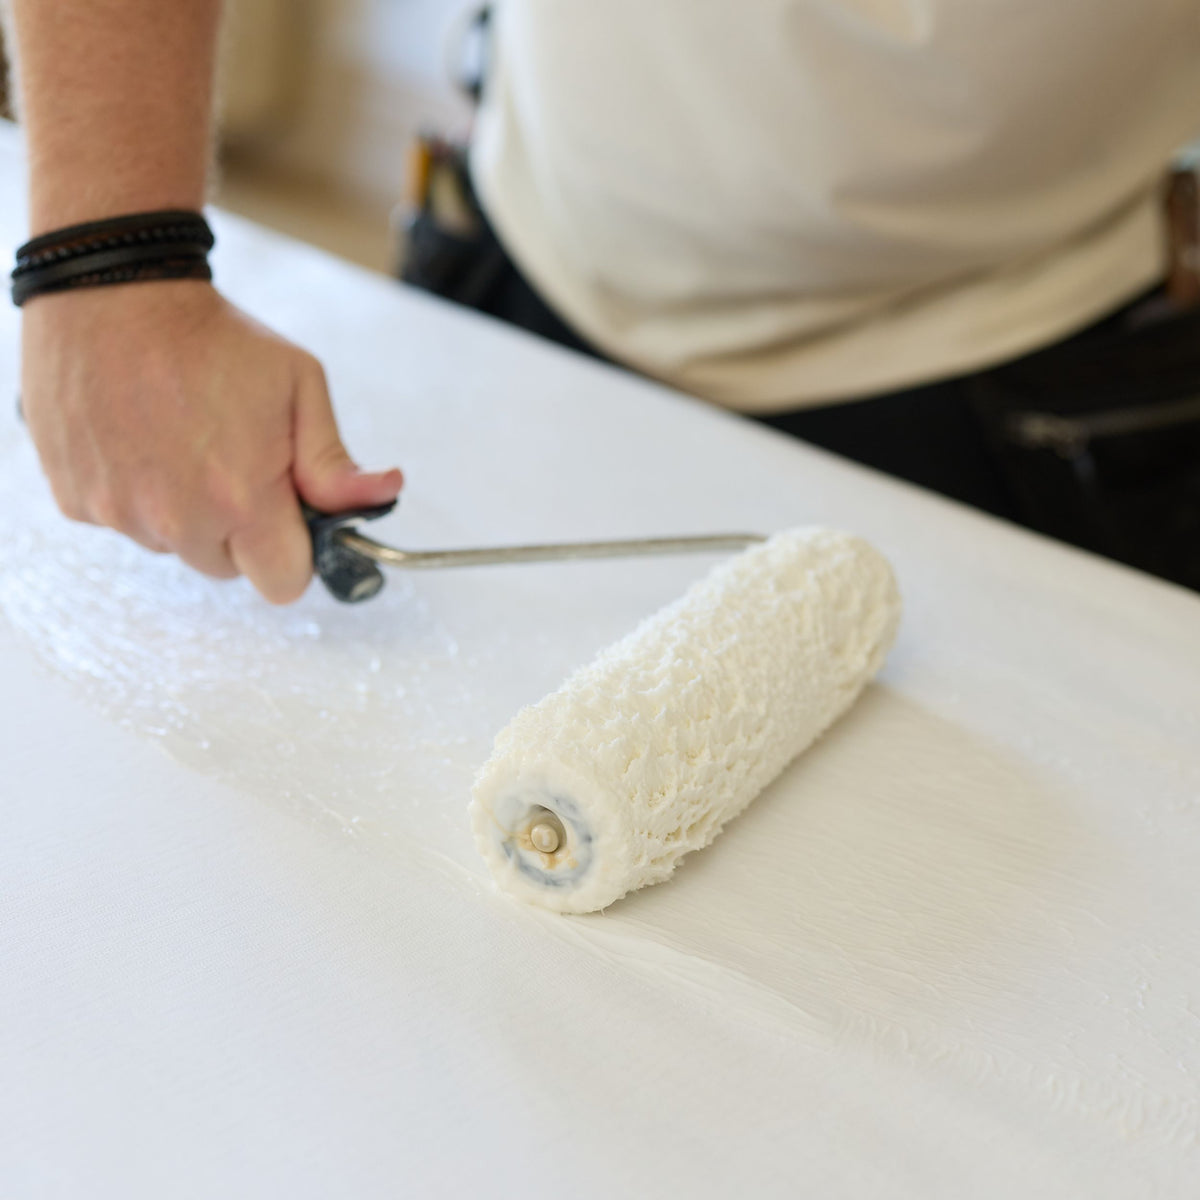
3. Apply wallpaper adhesive
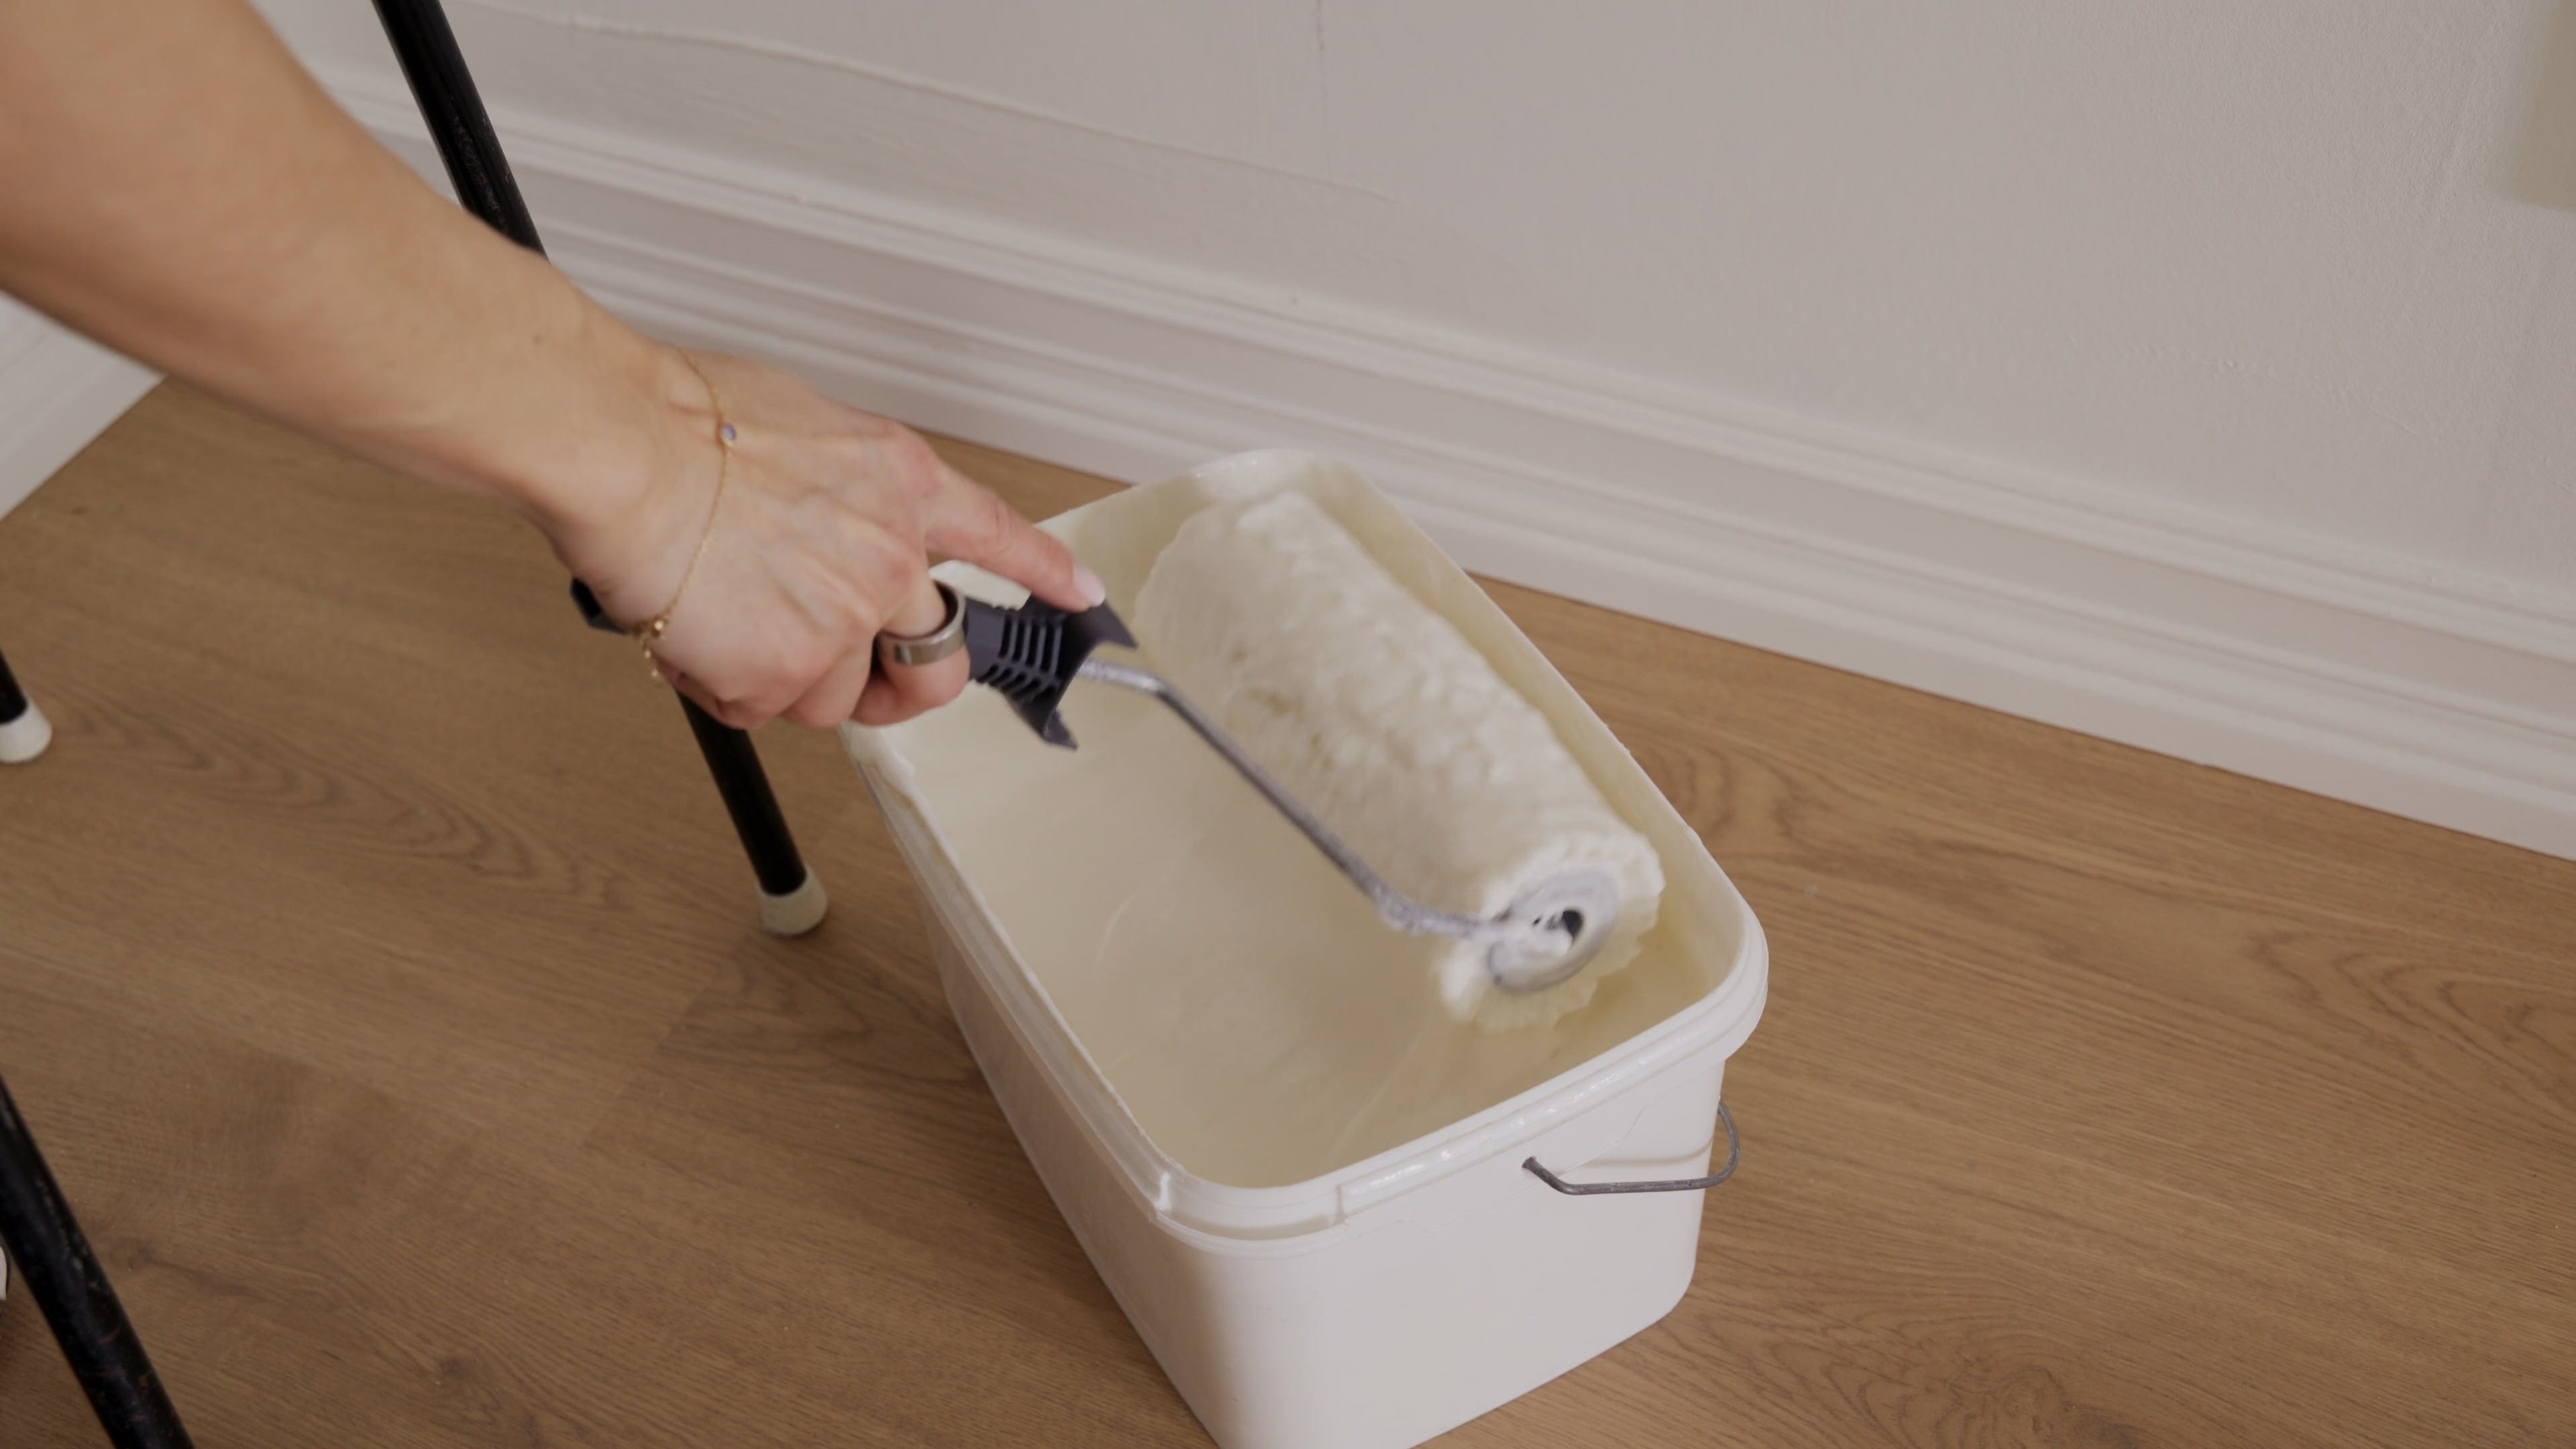
Unlike our EasyUp wallpapers, linen wallpapers require a different kind of adhesive. Use a ready-mixed wallcovering adhesive intended for textile wallpapers. Apply the adhesive evenly over the back of the length, making sure to use enough adhesive.

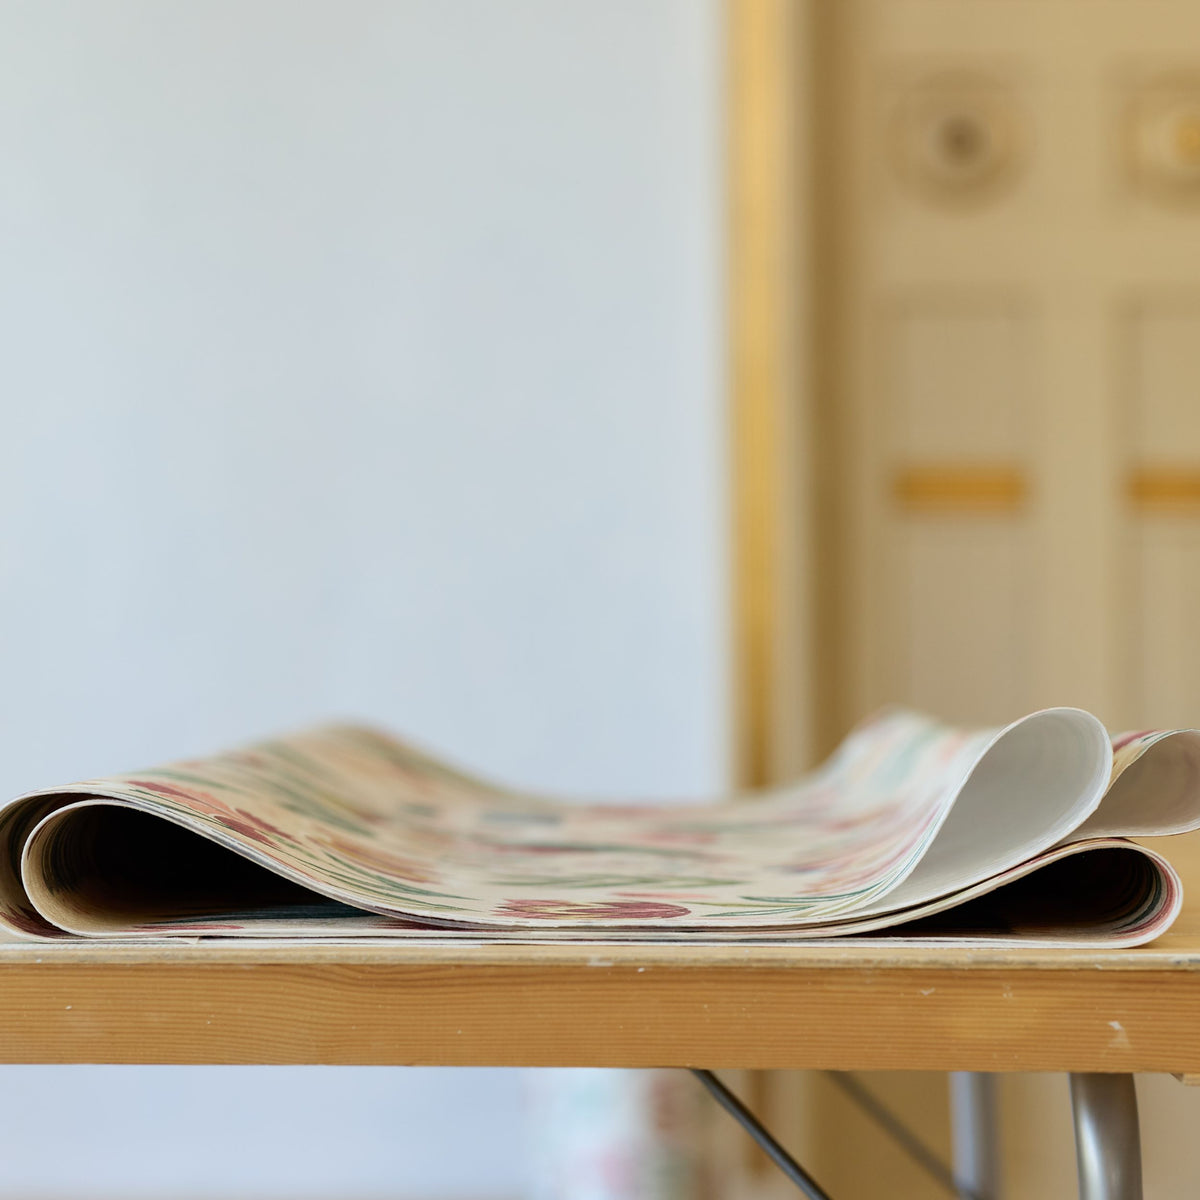
5. Let the wallpaper expand
Let the wallpaper expand for four to five minutes before hanging it. The wallpaper expands by approximately one and a half to two centimetres.

6. Hang the first length
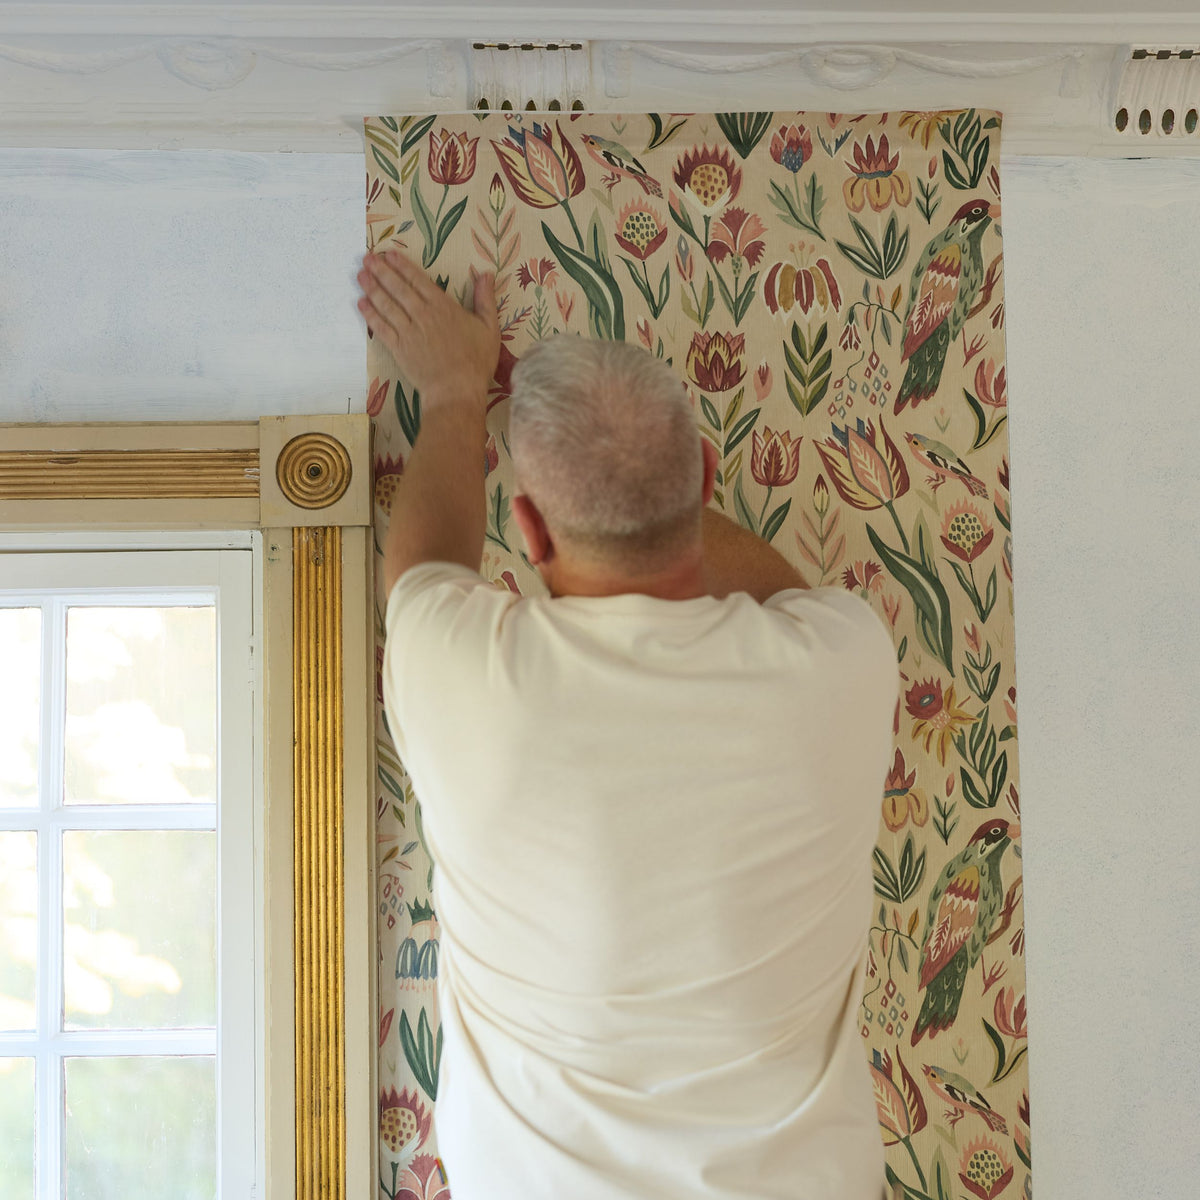
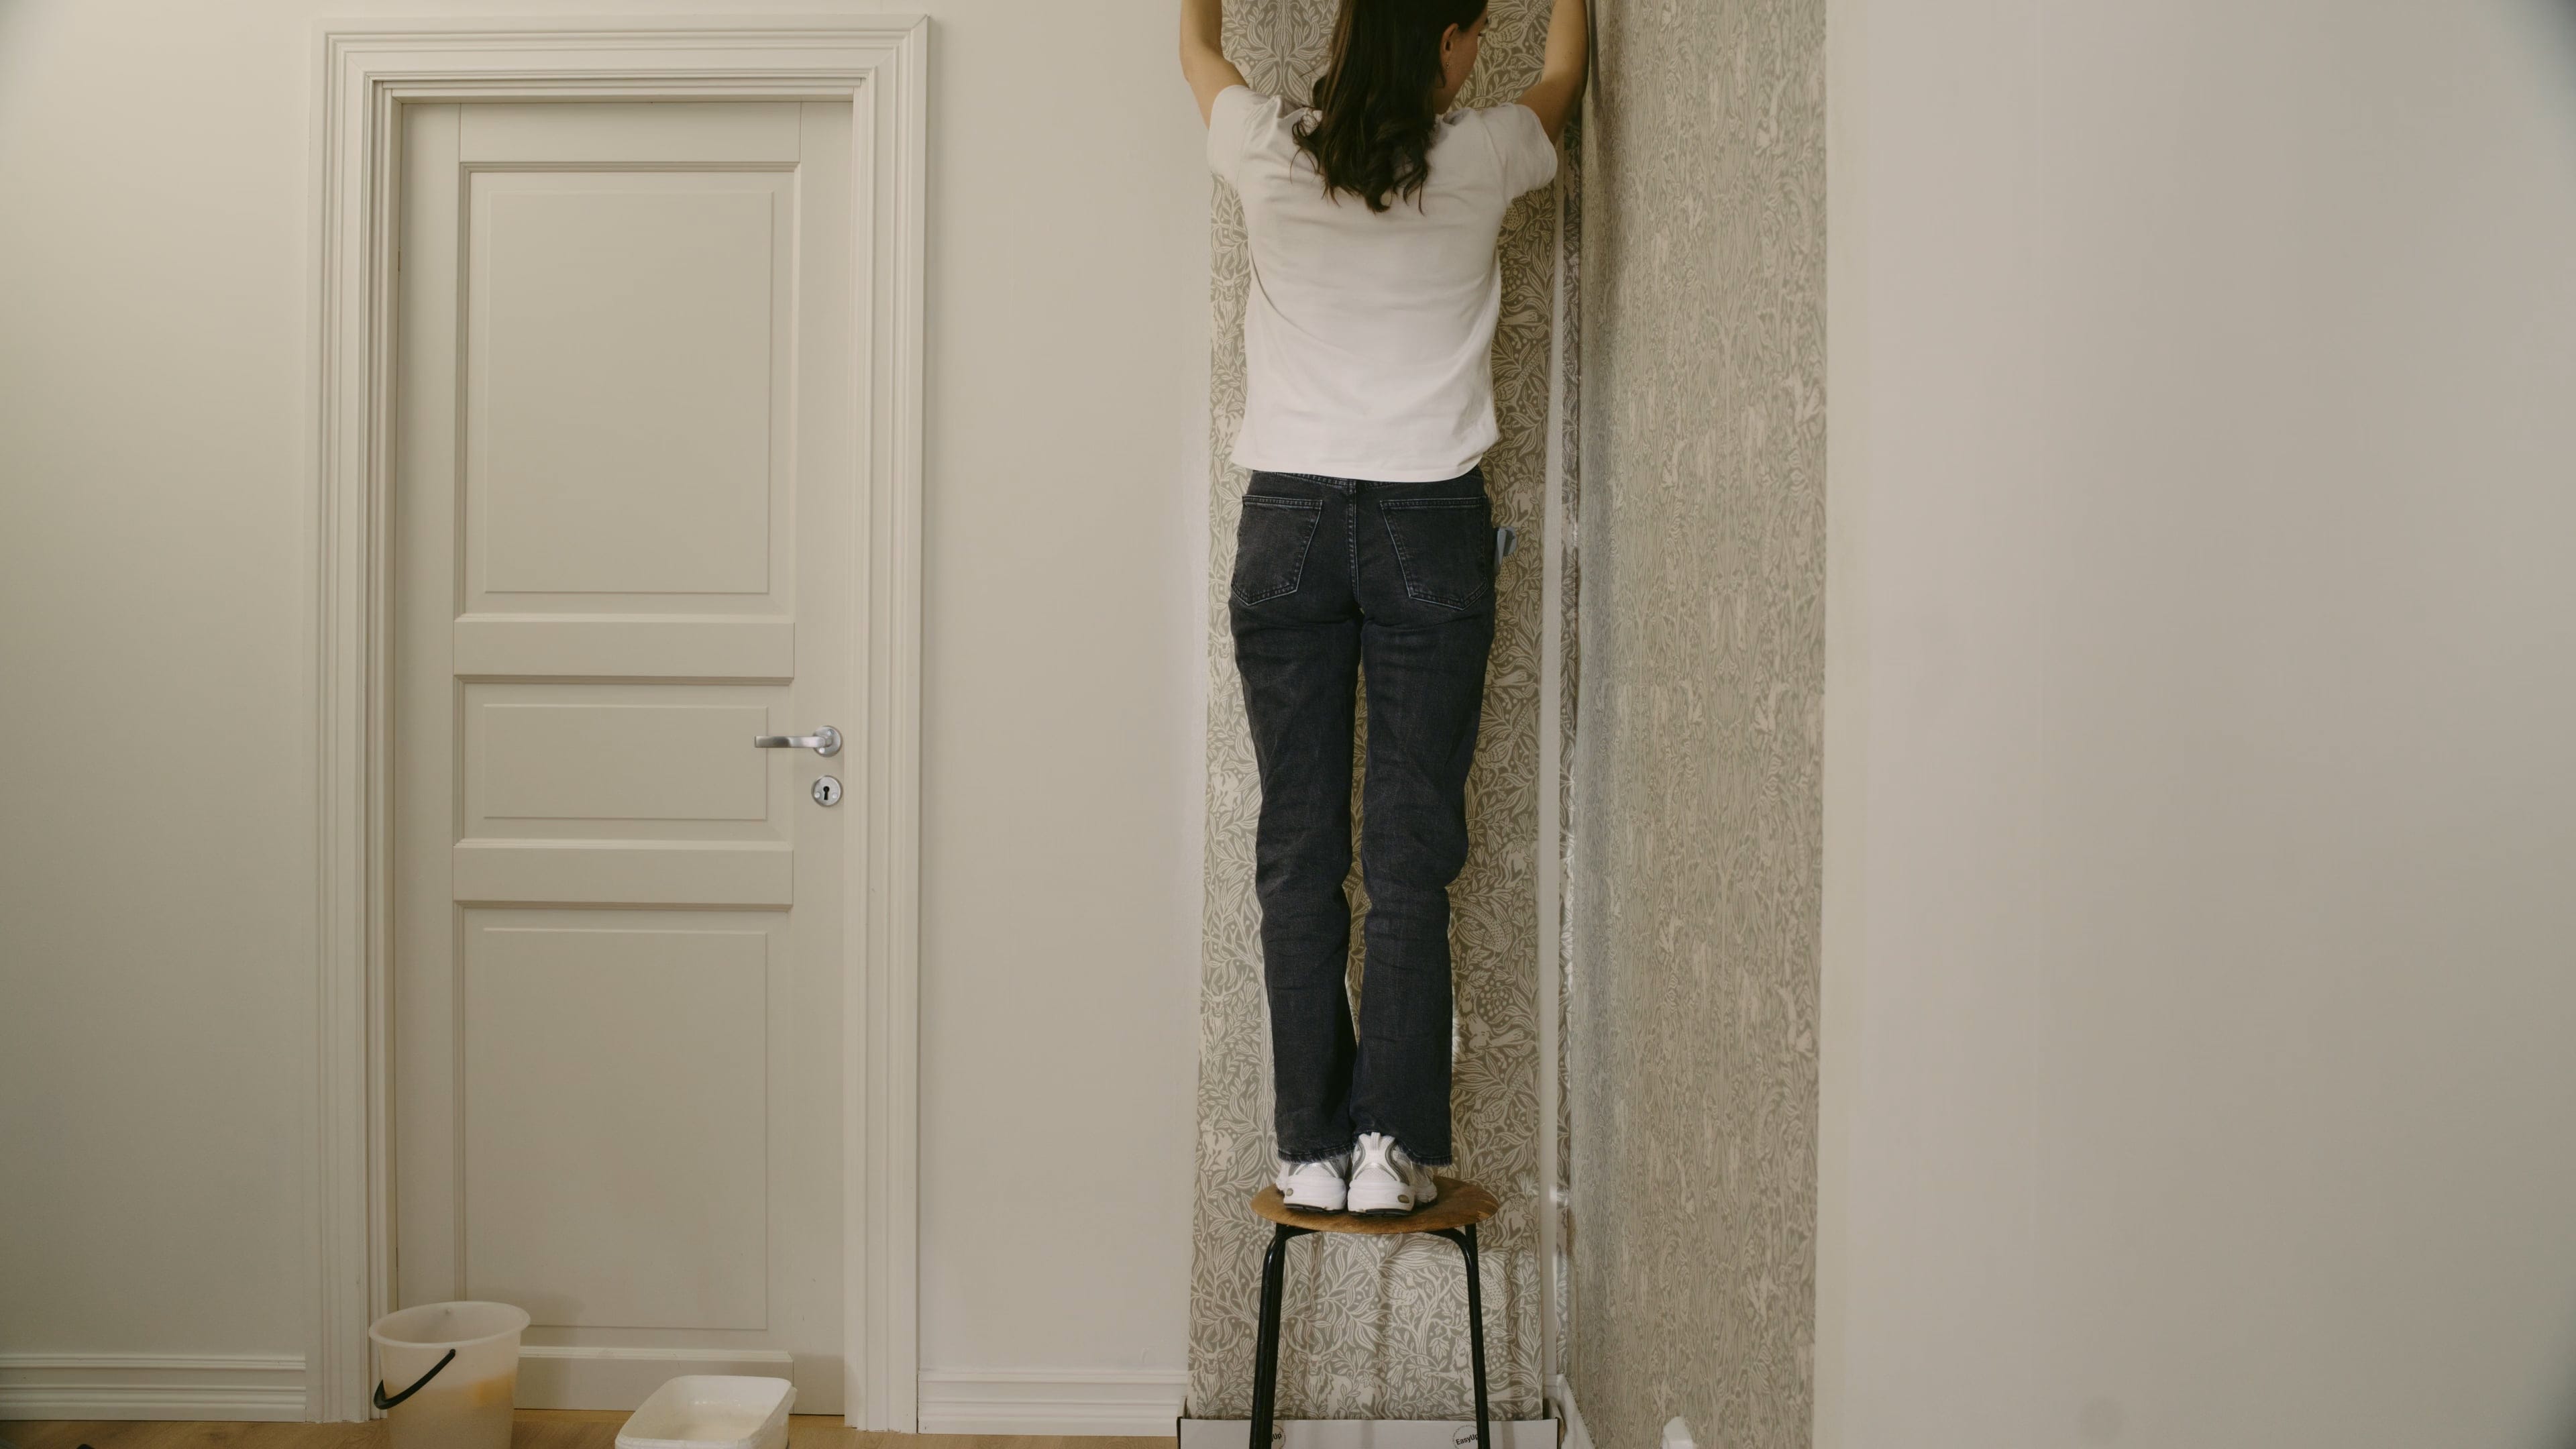
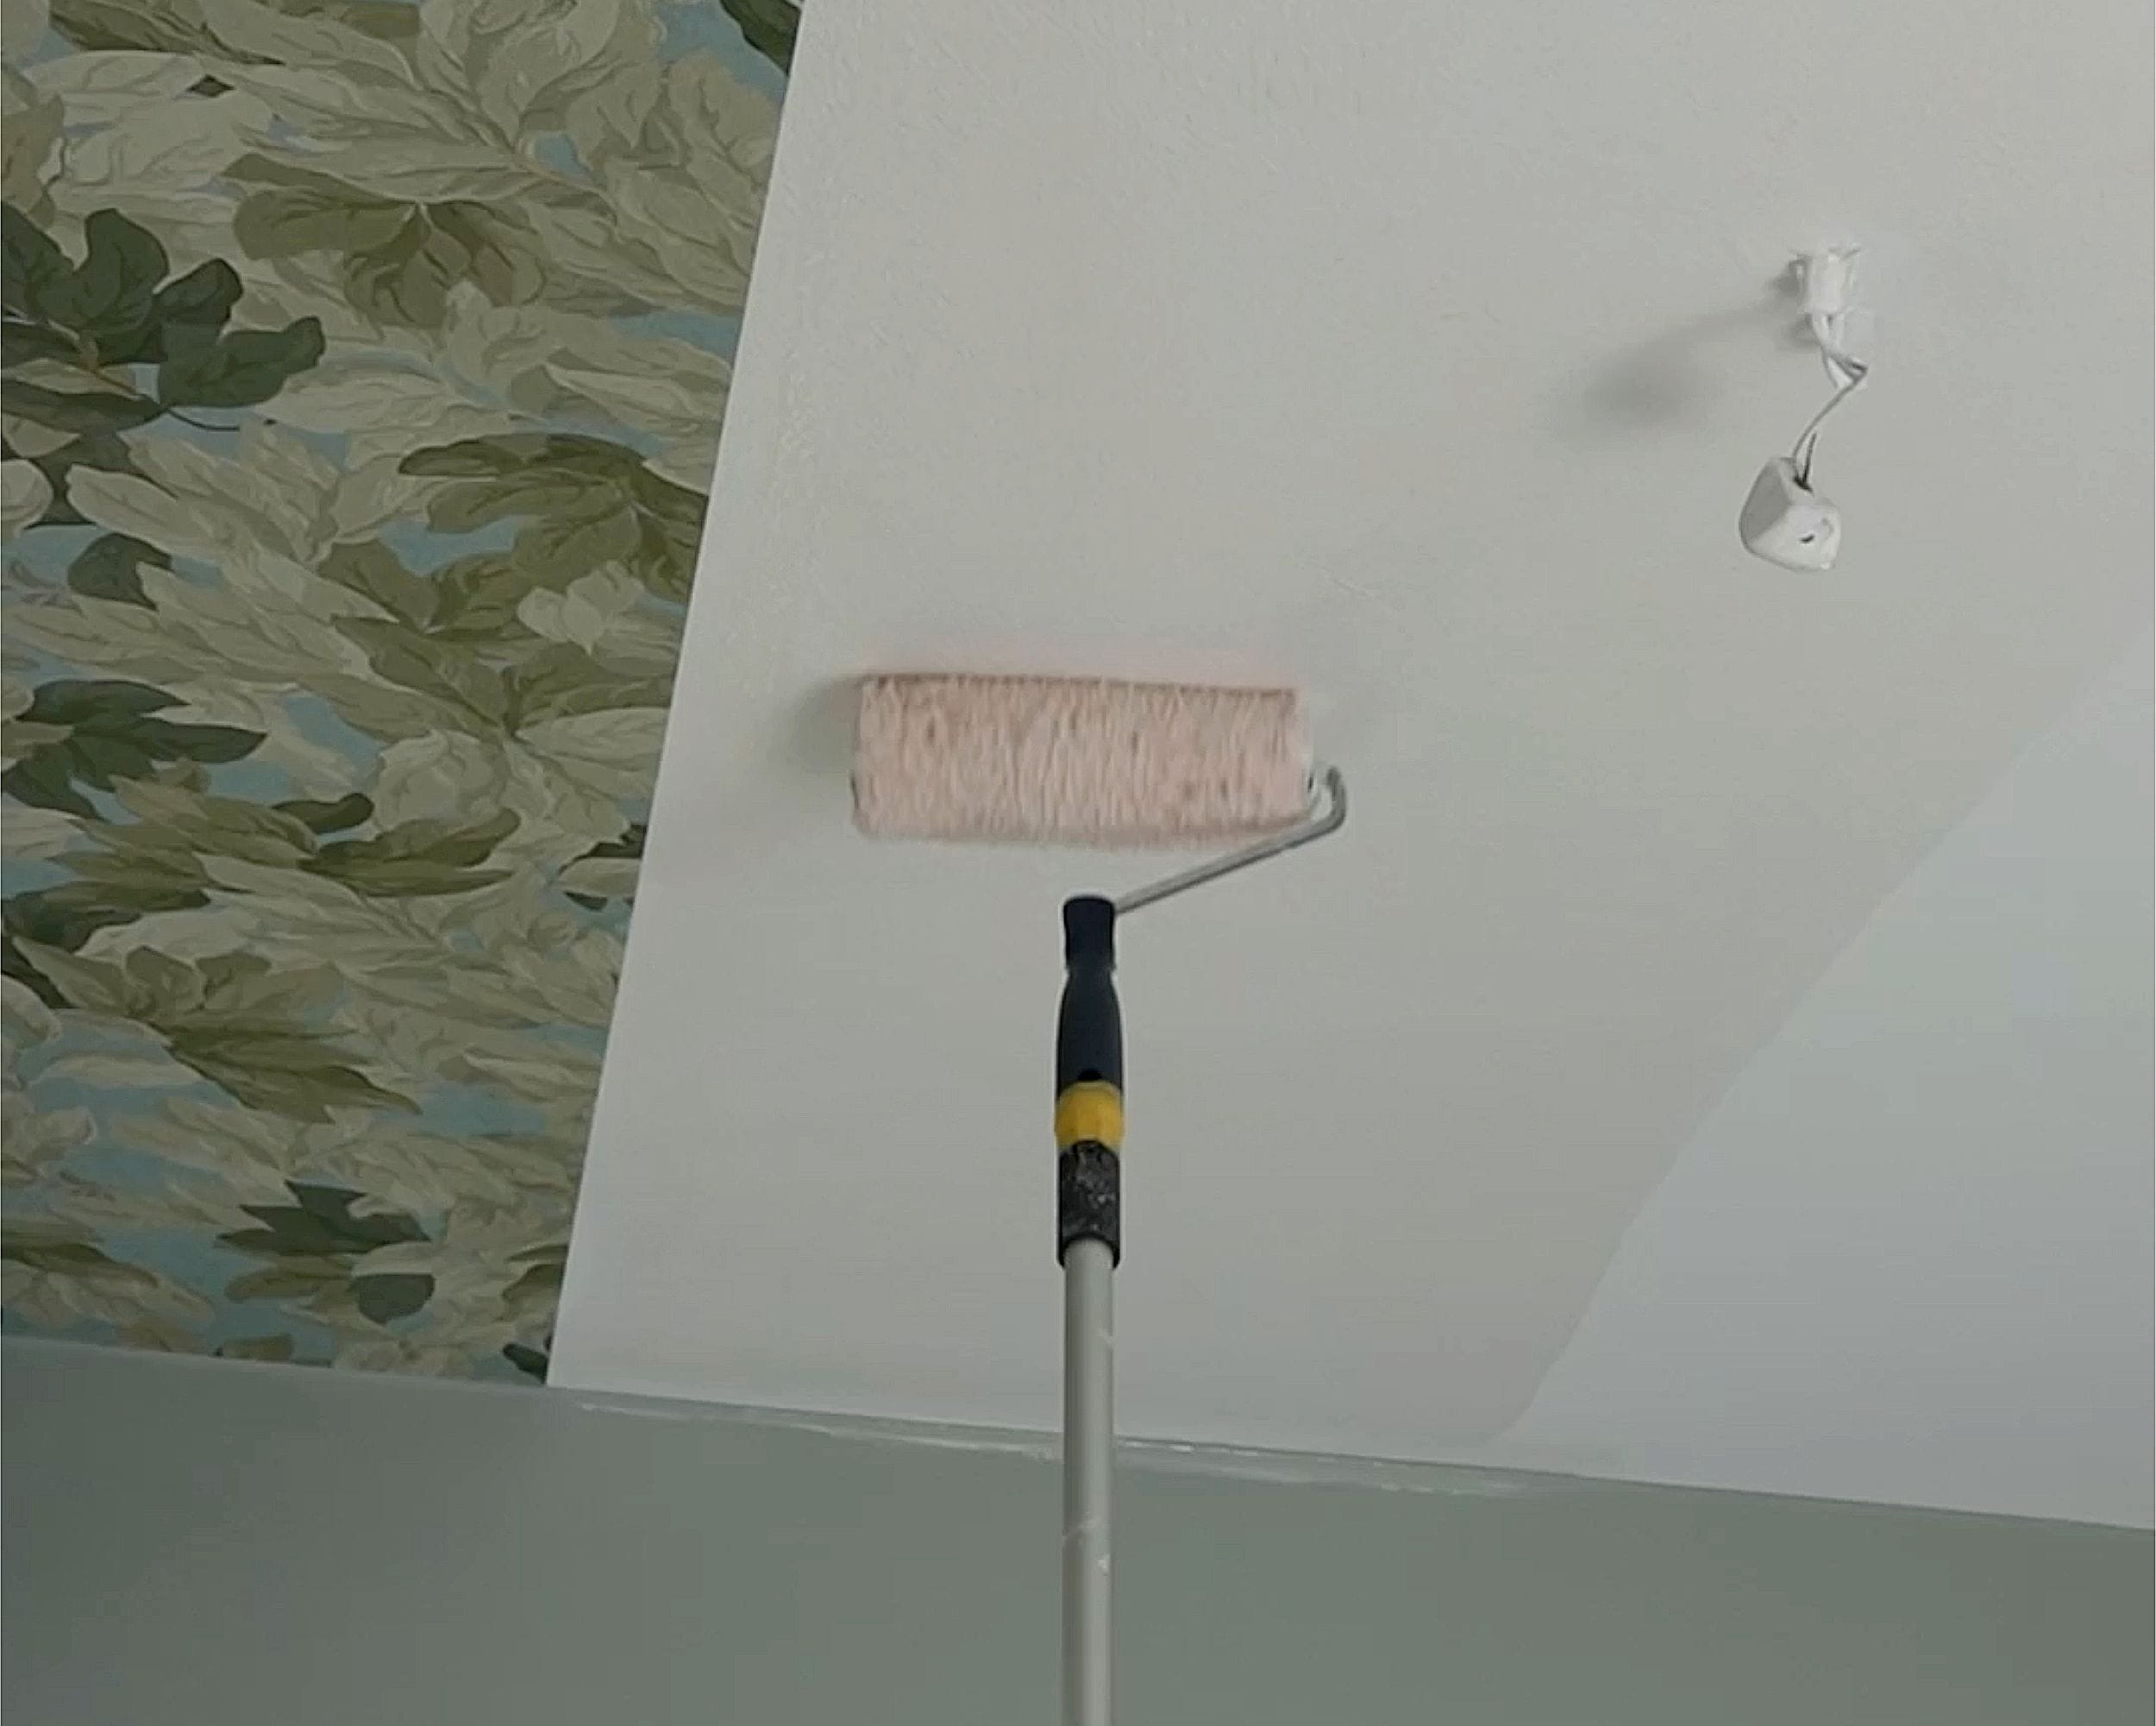
Start at the ceiling and hang the first length. Make sure the length follows the guideline so that it hangs straight.

7. Smooth out the wallpaper
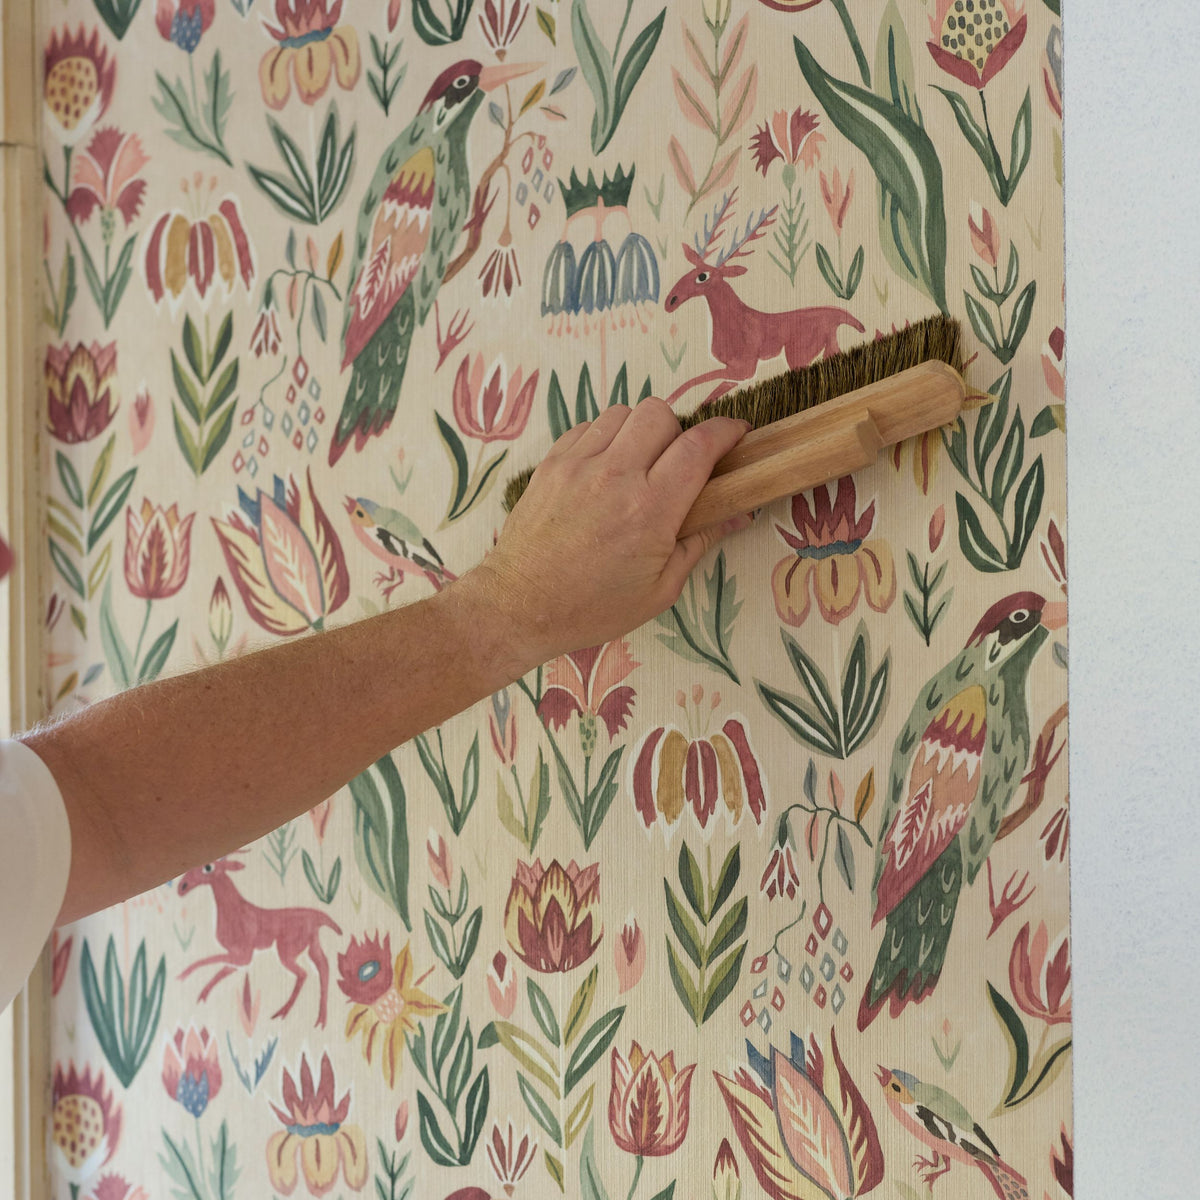
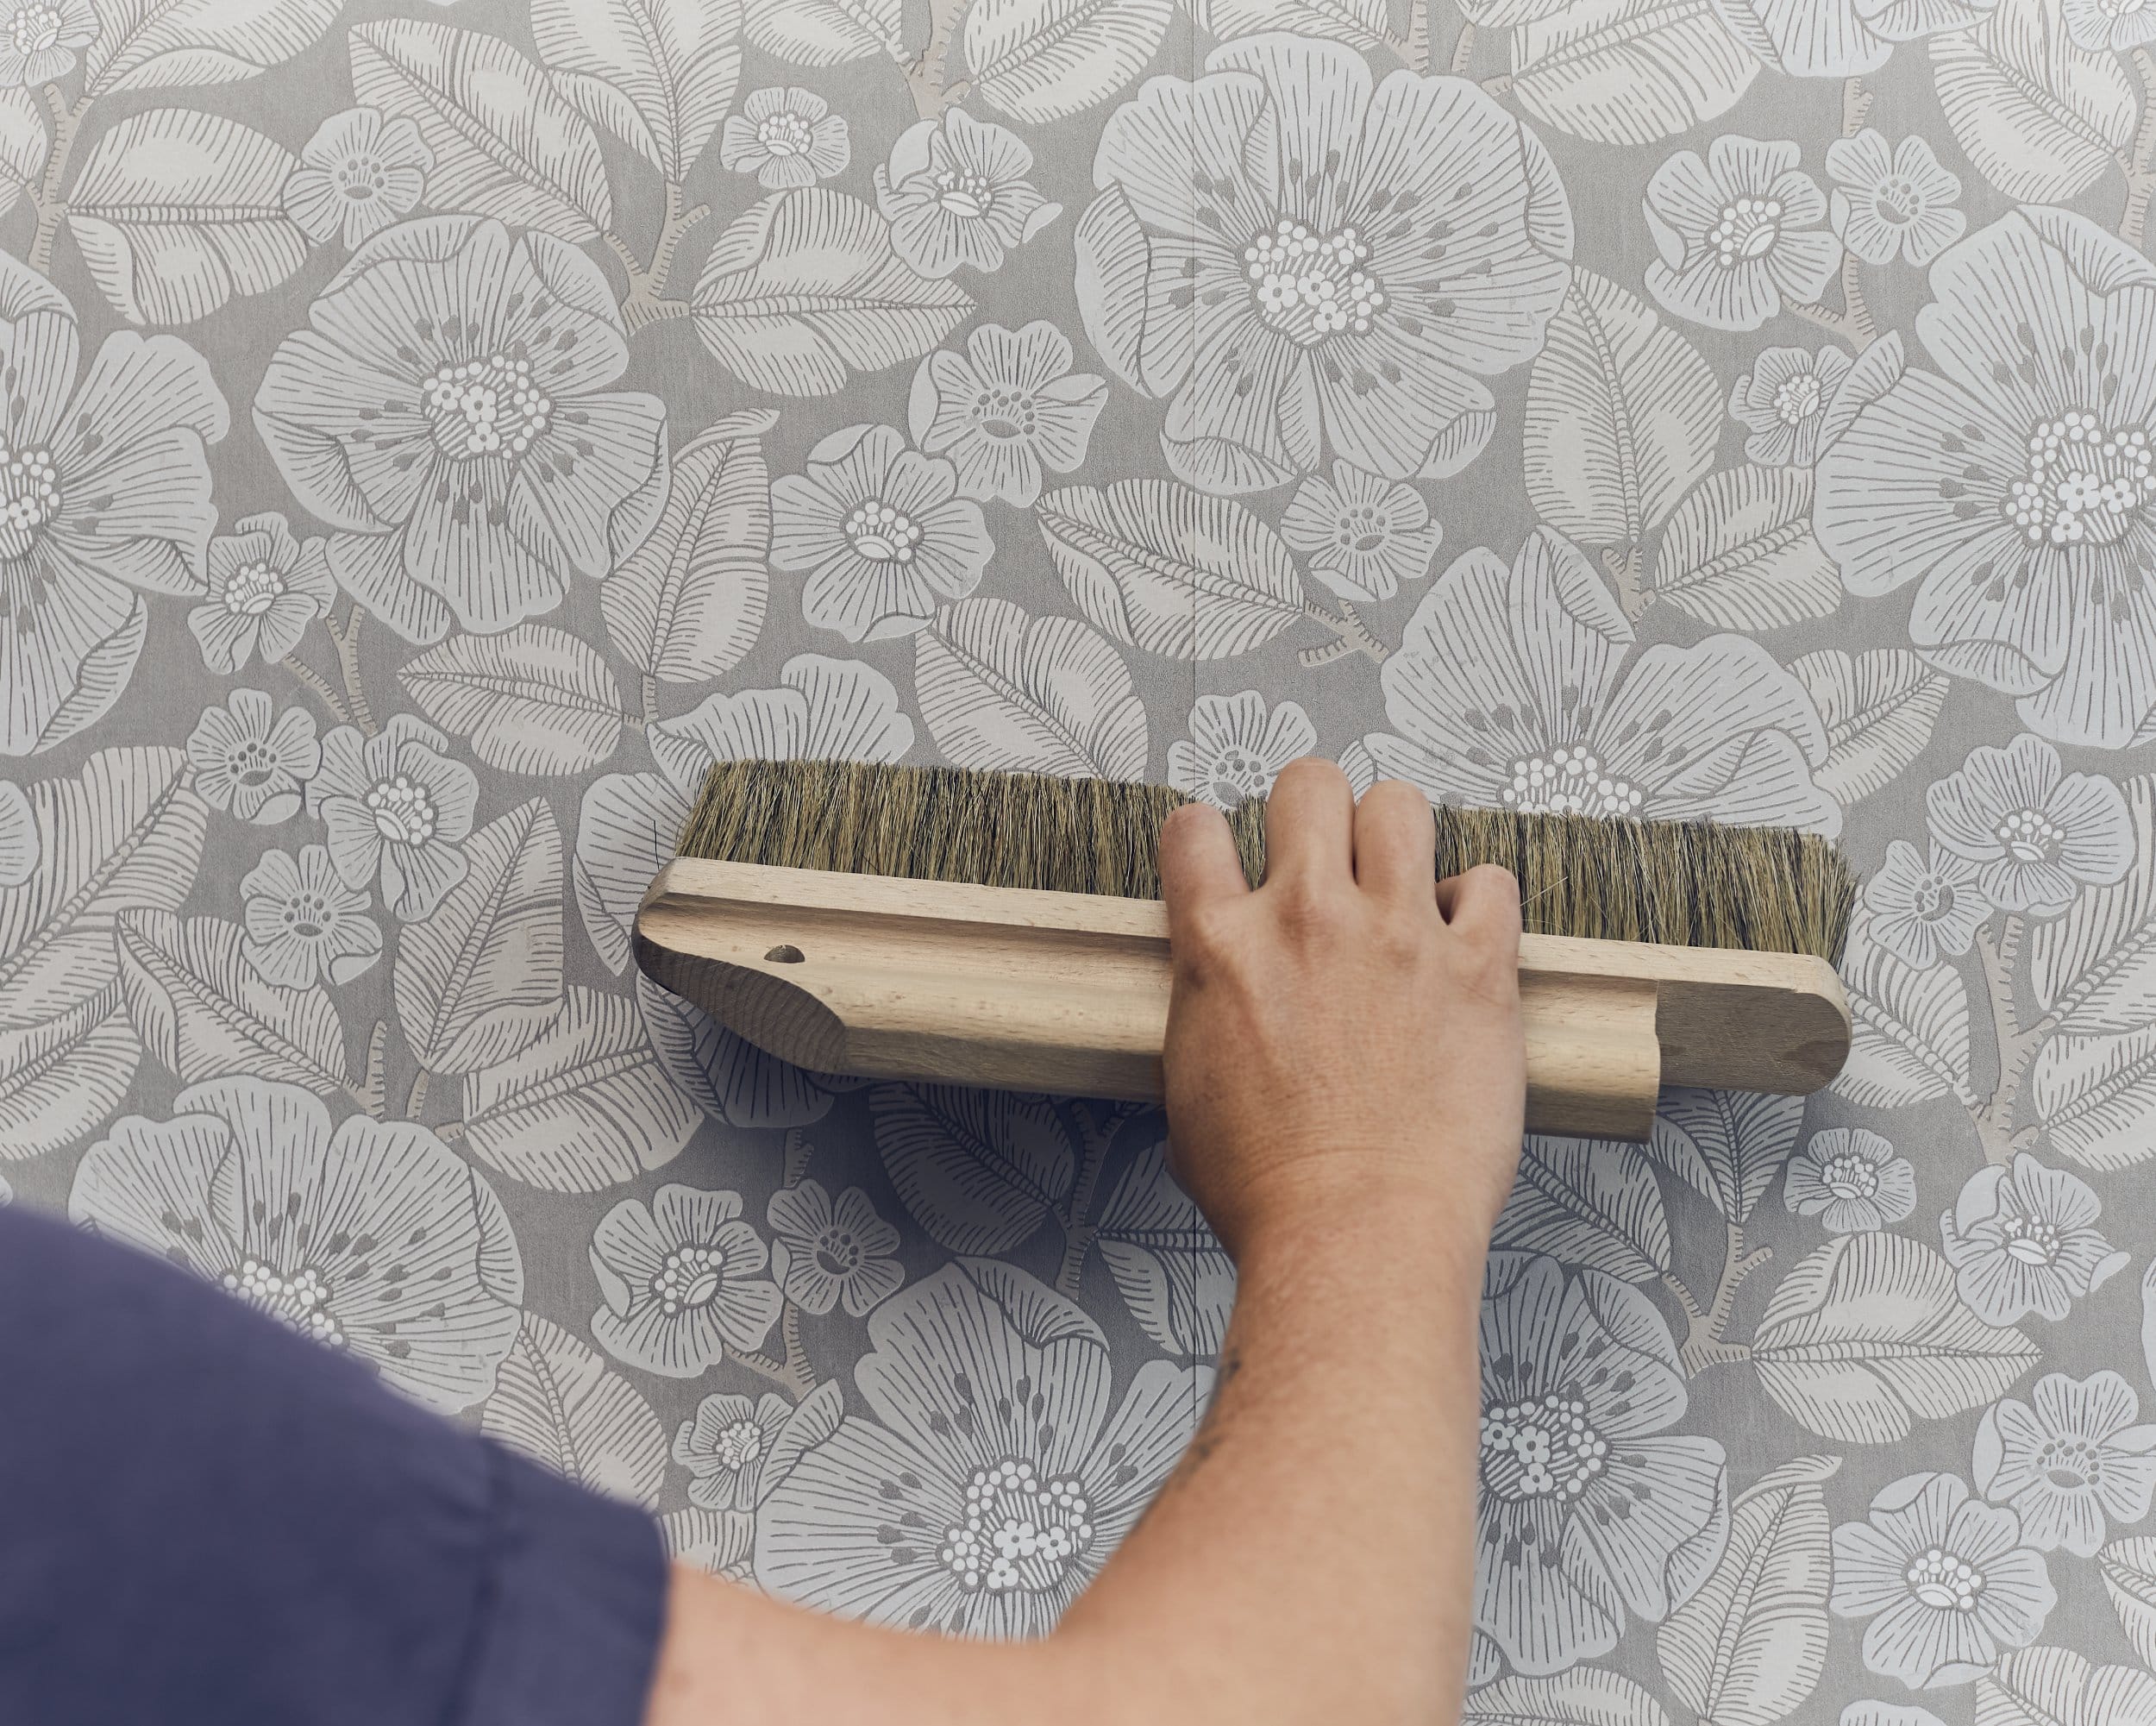
Use a wallpaper brush and gently smooth from top to bottom to even out the wallpaper and remove any air bubbles. Work only with vertical movements.

8. Trim
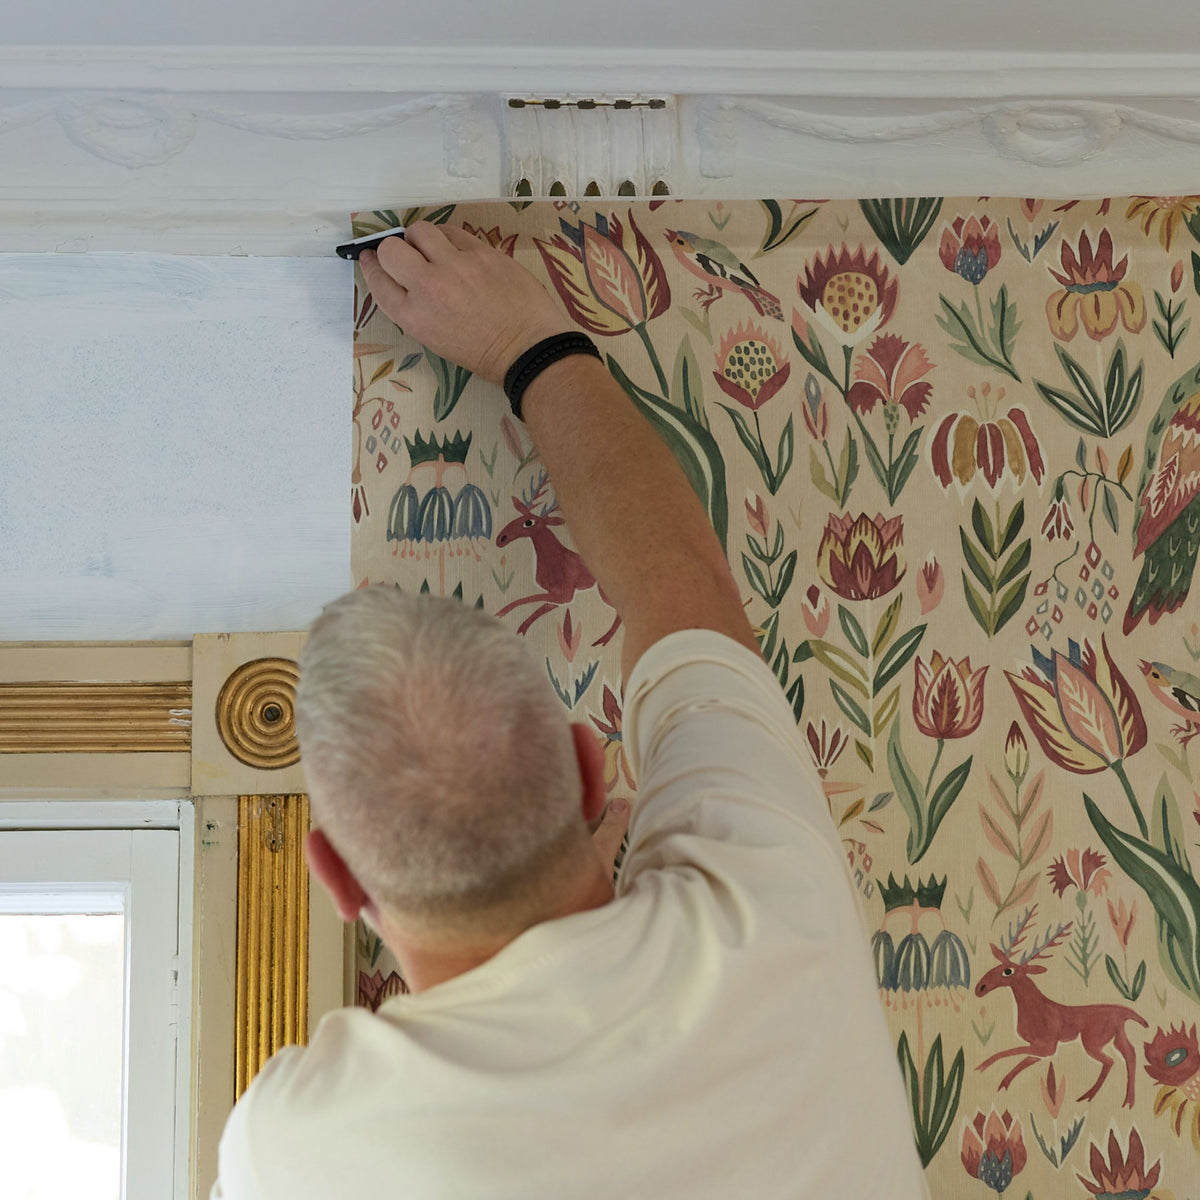
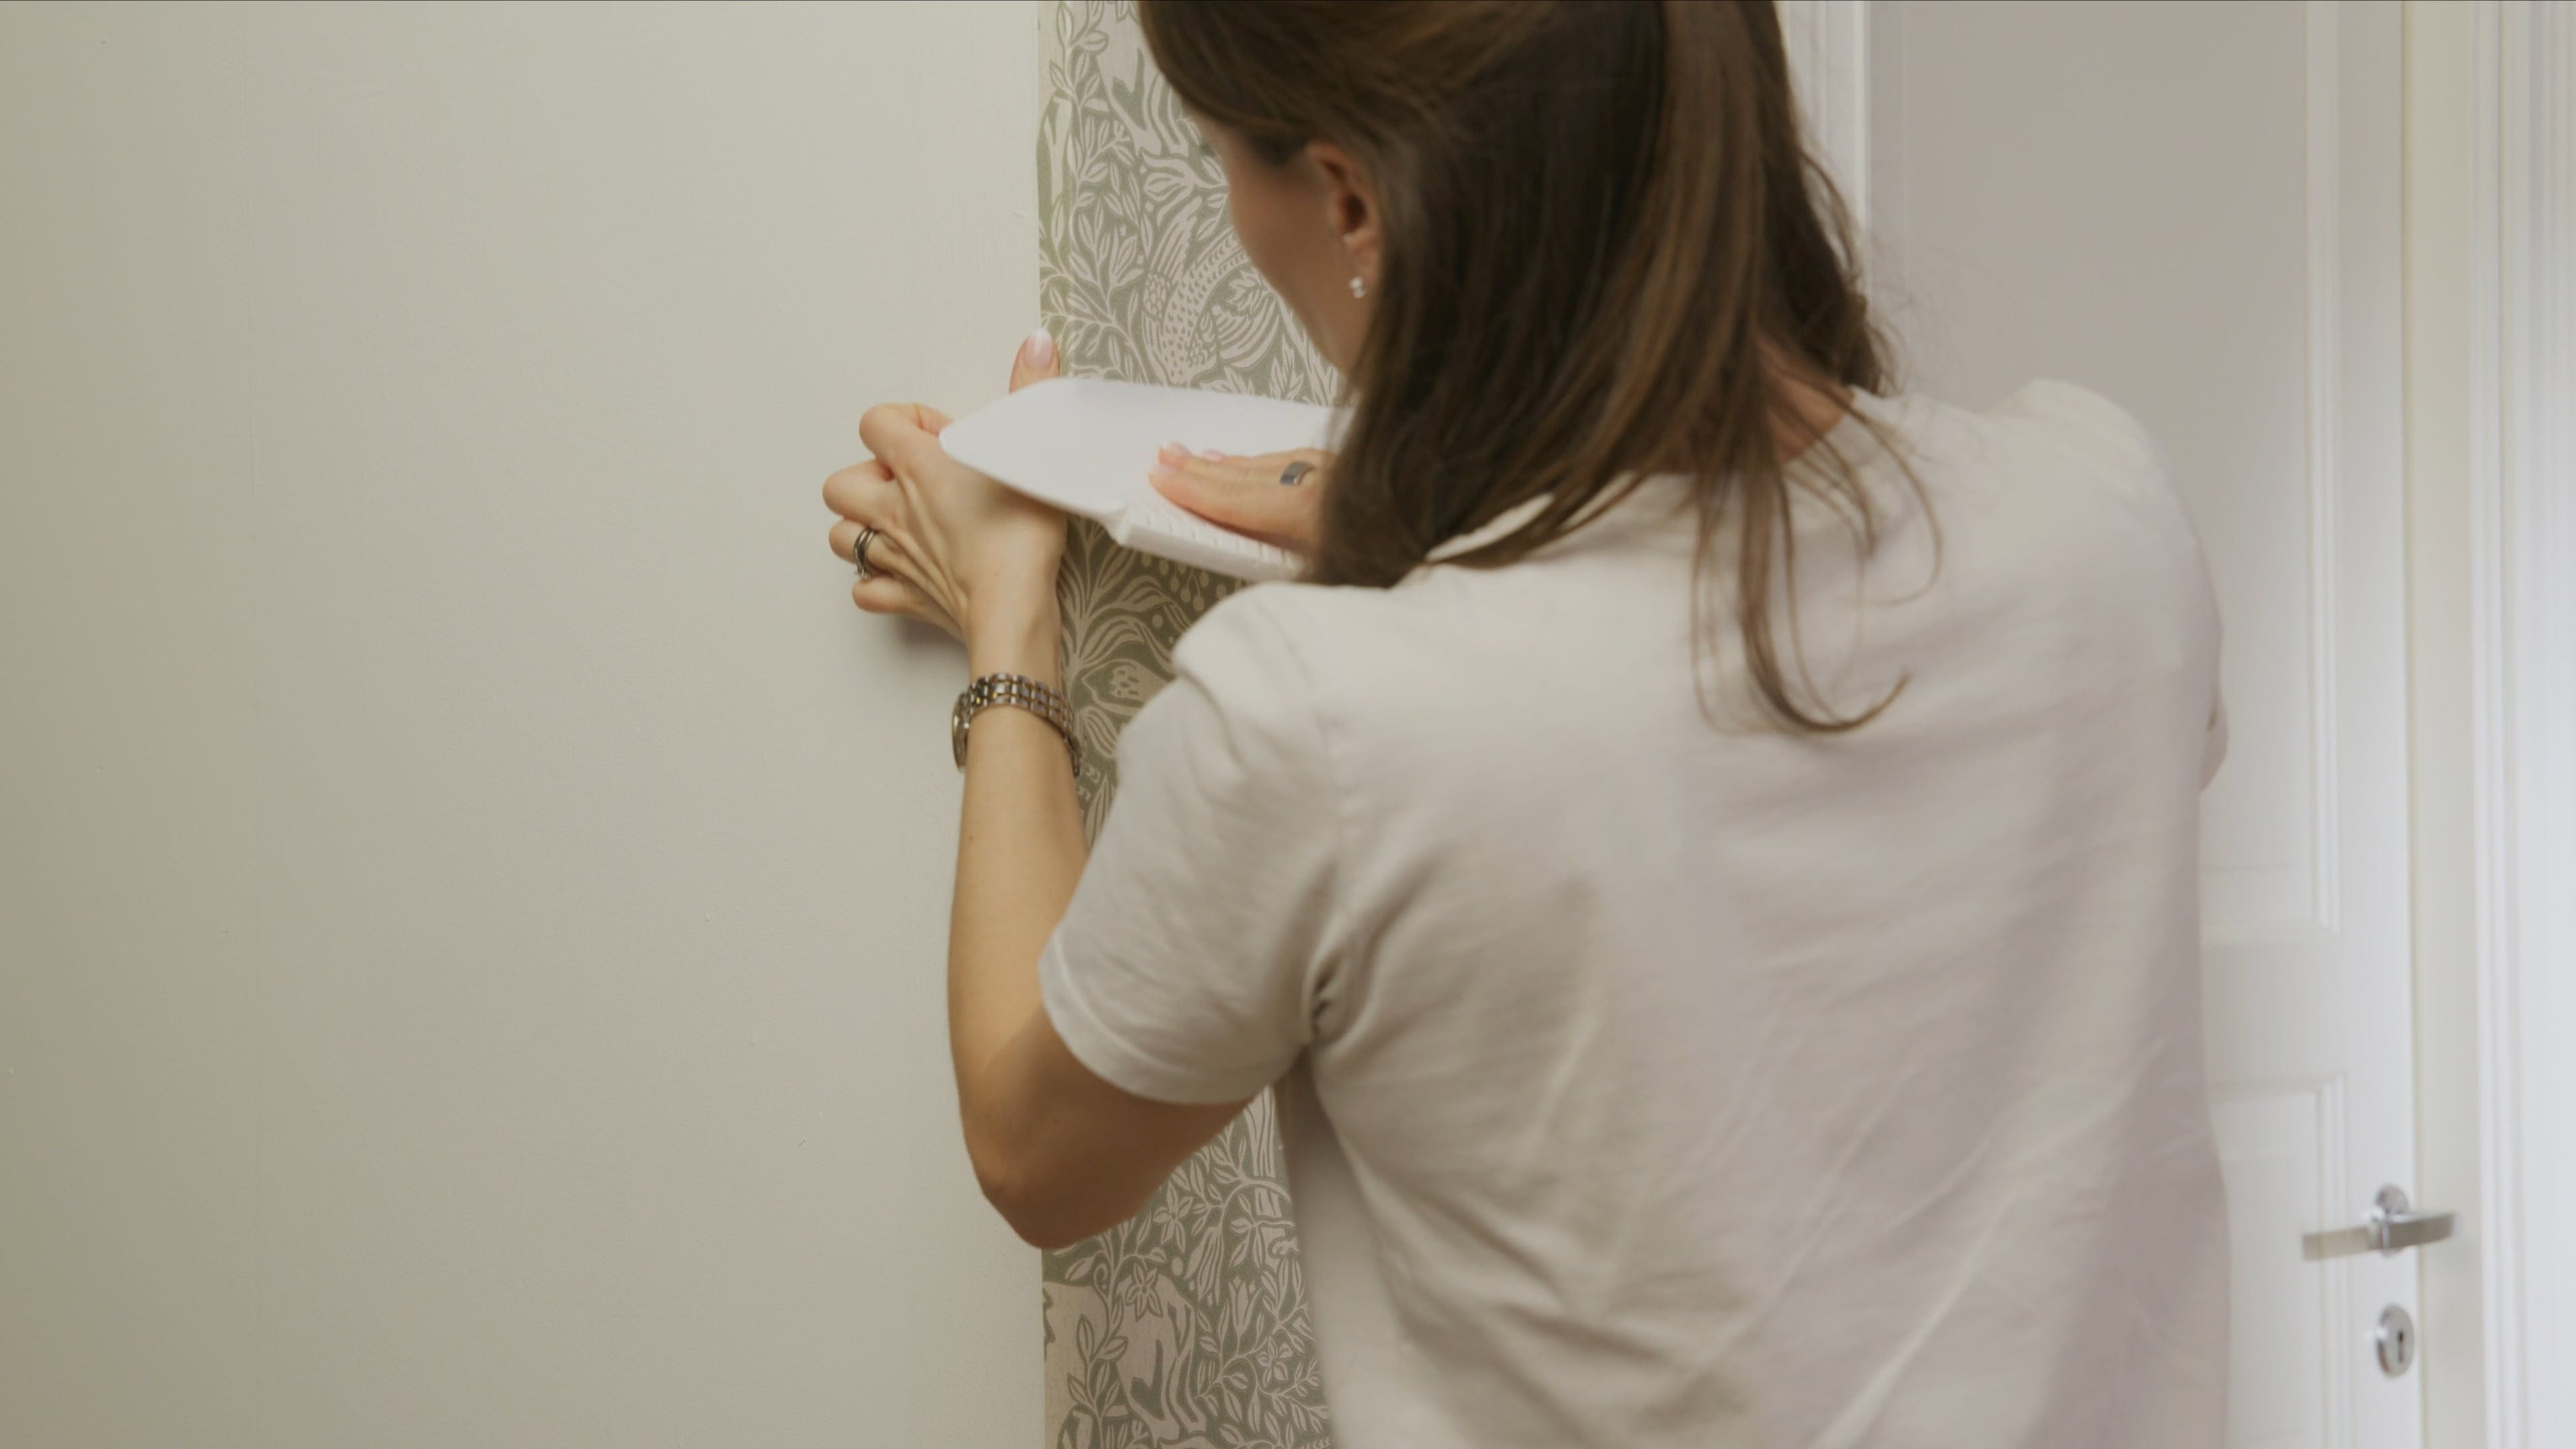
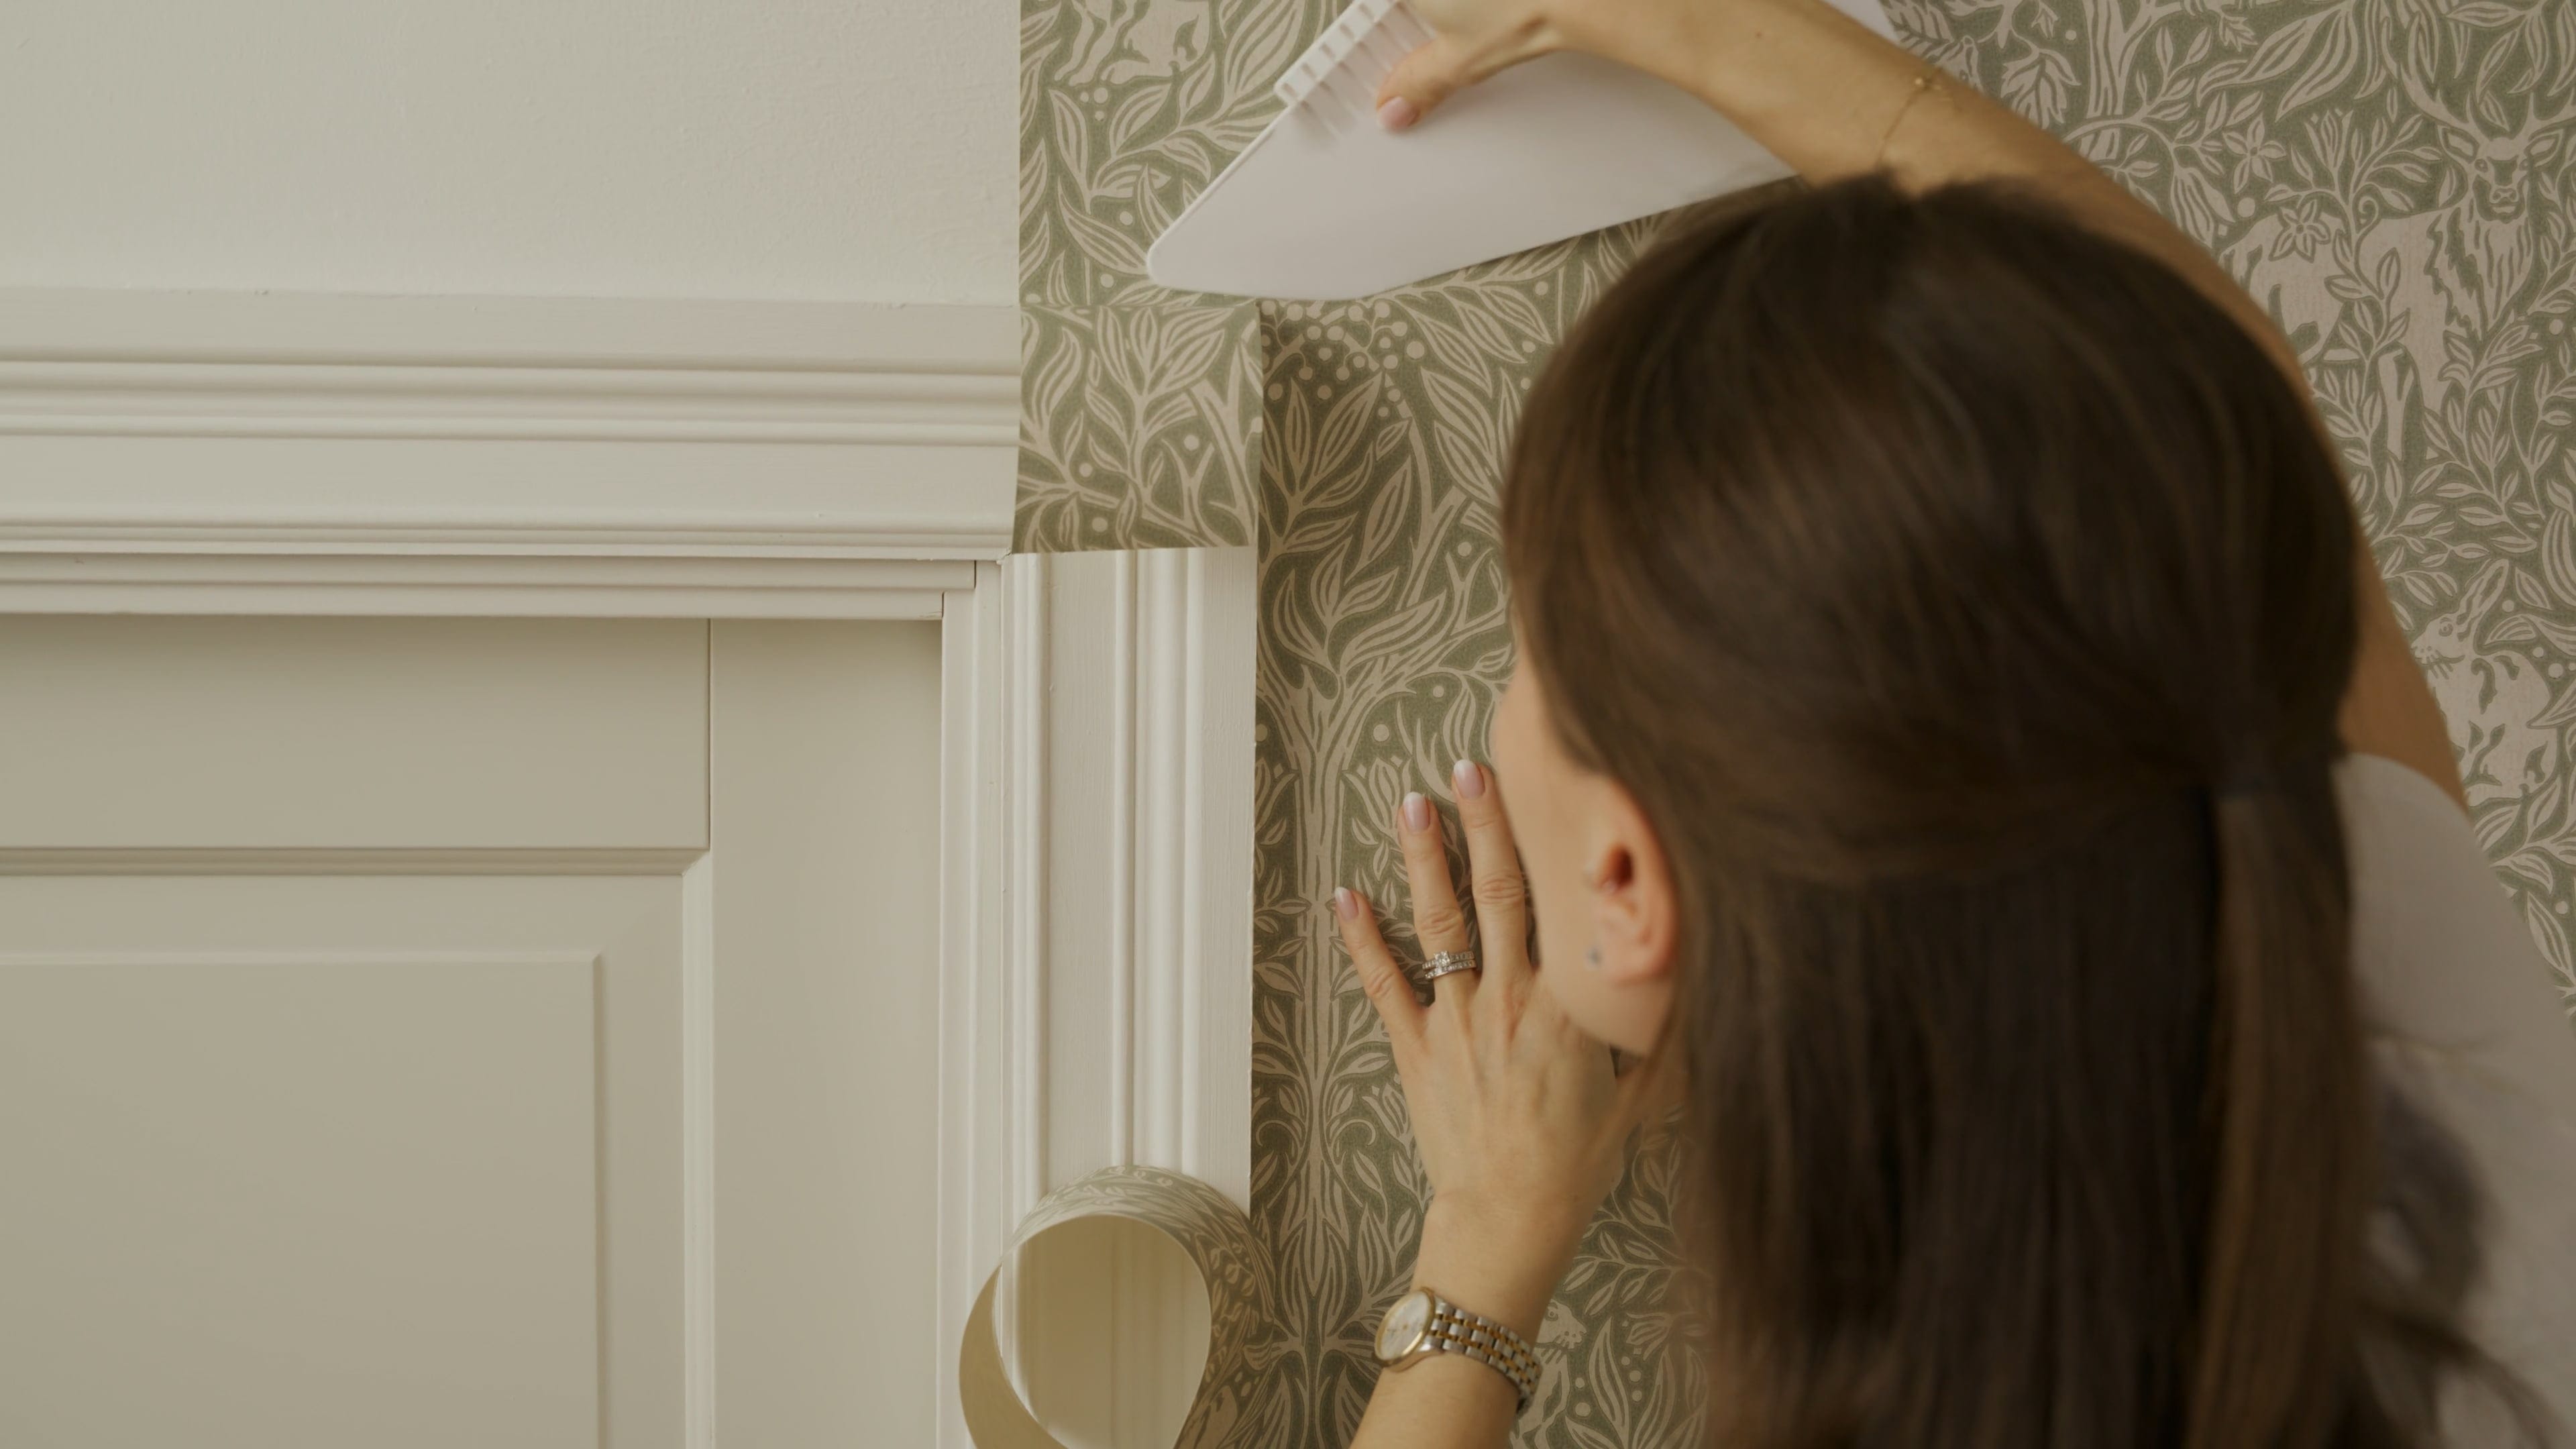
Trim away the excess wallpaper at the ceiling and along the skirting board with a wallpaper knife.

9. Wipe with a damp sponge
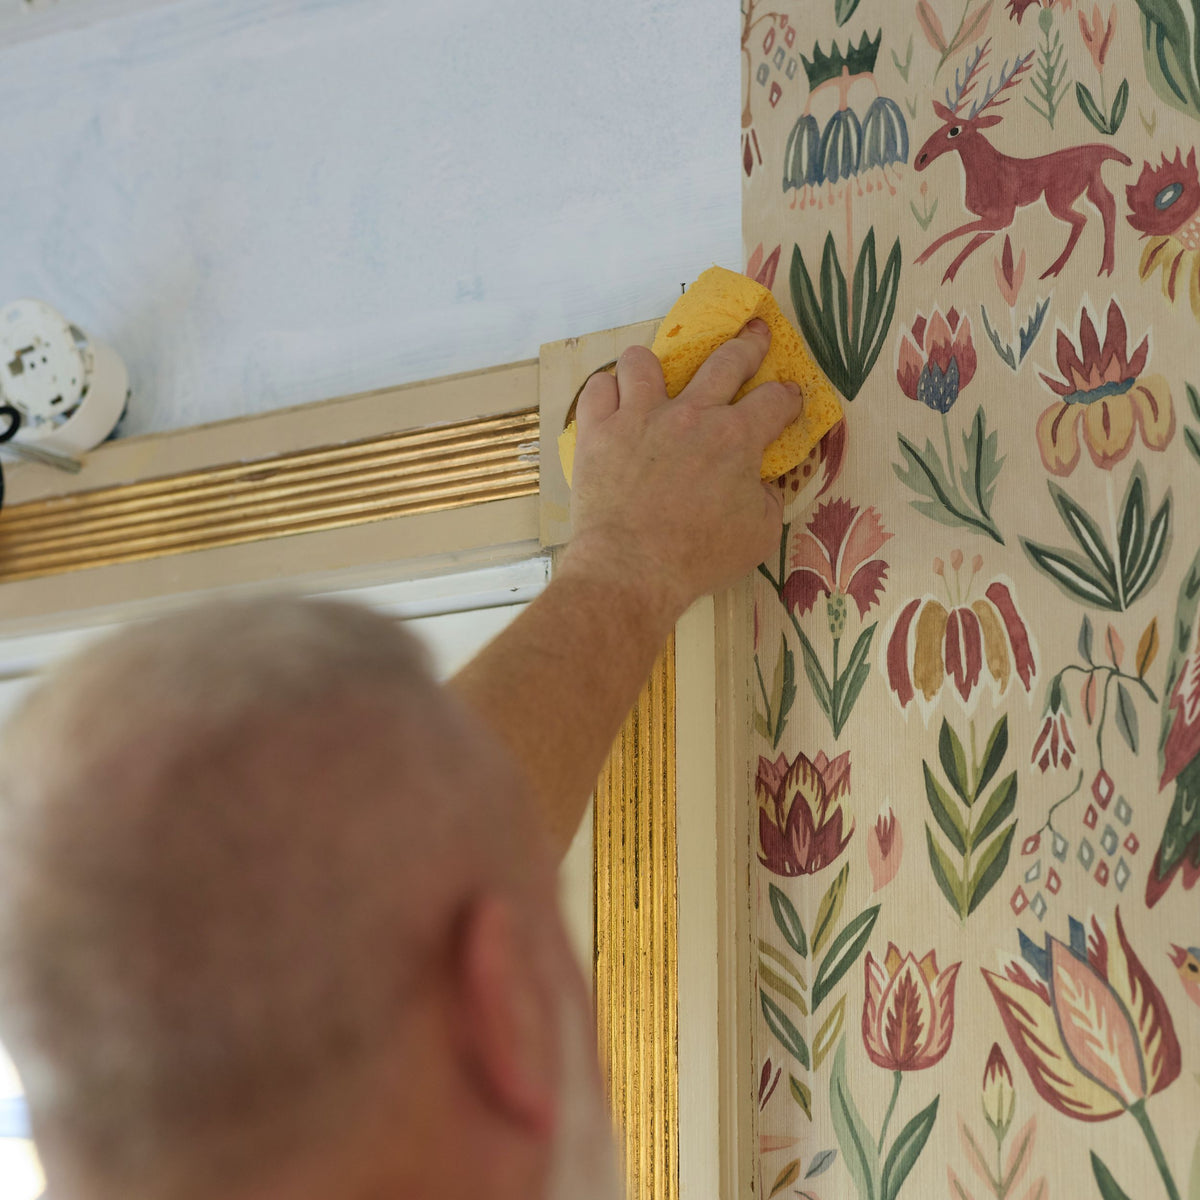
If adhesive gets on the front of the wallpaper, gently wipe it away with a clean, damp sponge. Change the water often so it is always clean.

10. Hang the next length
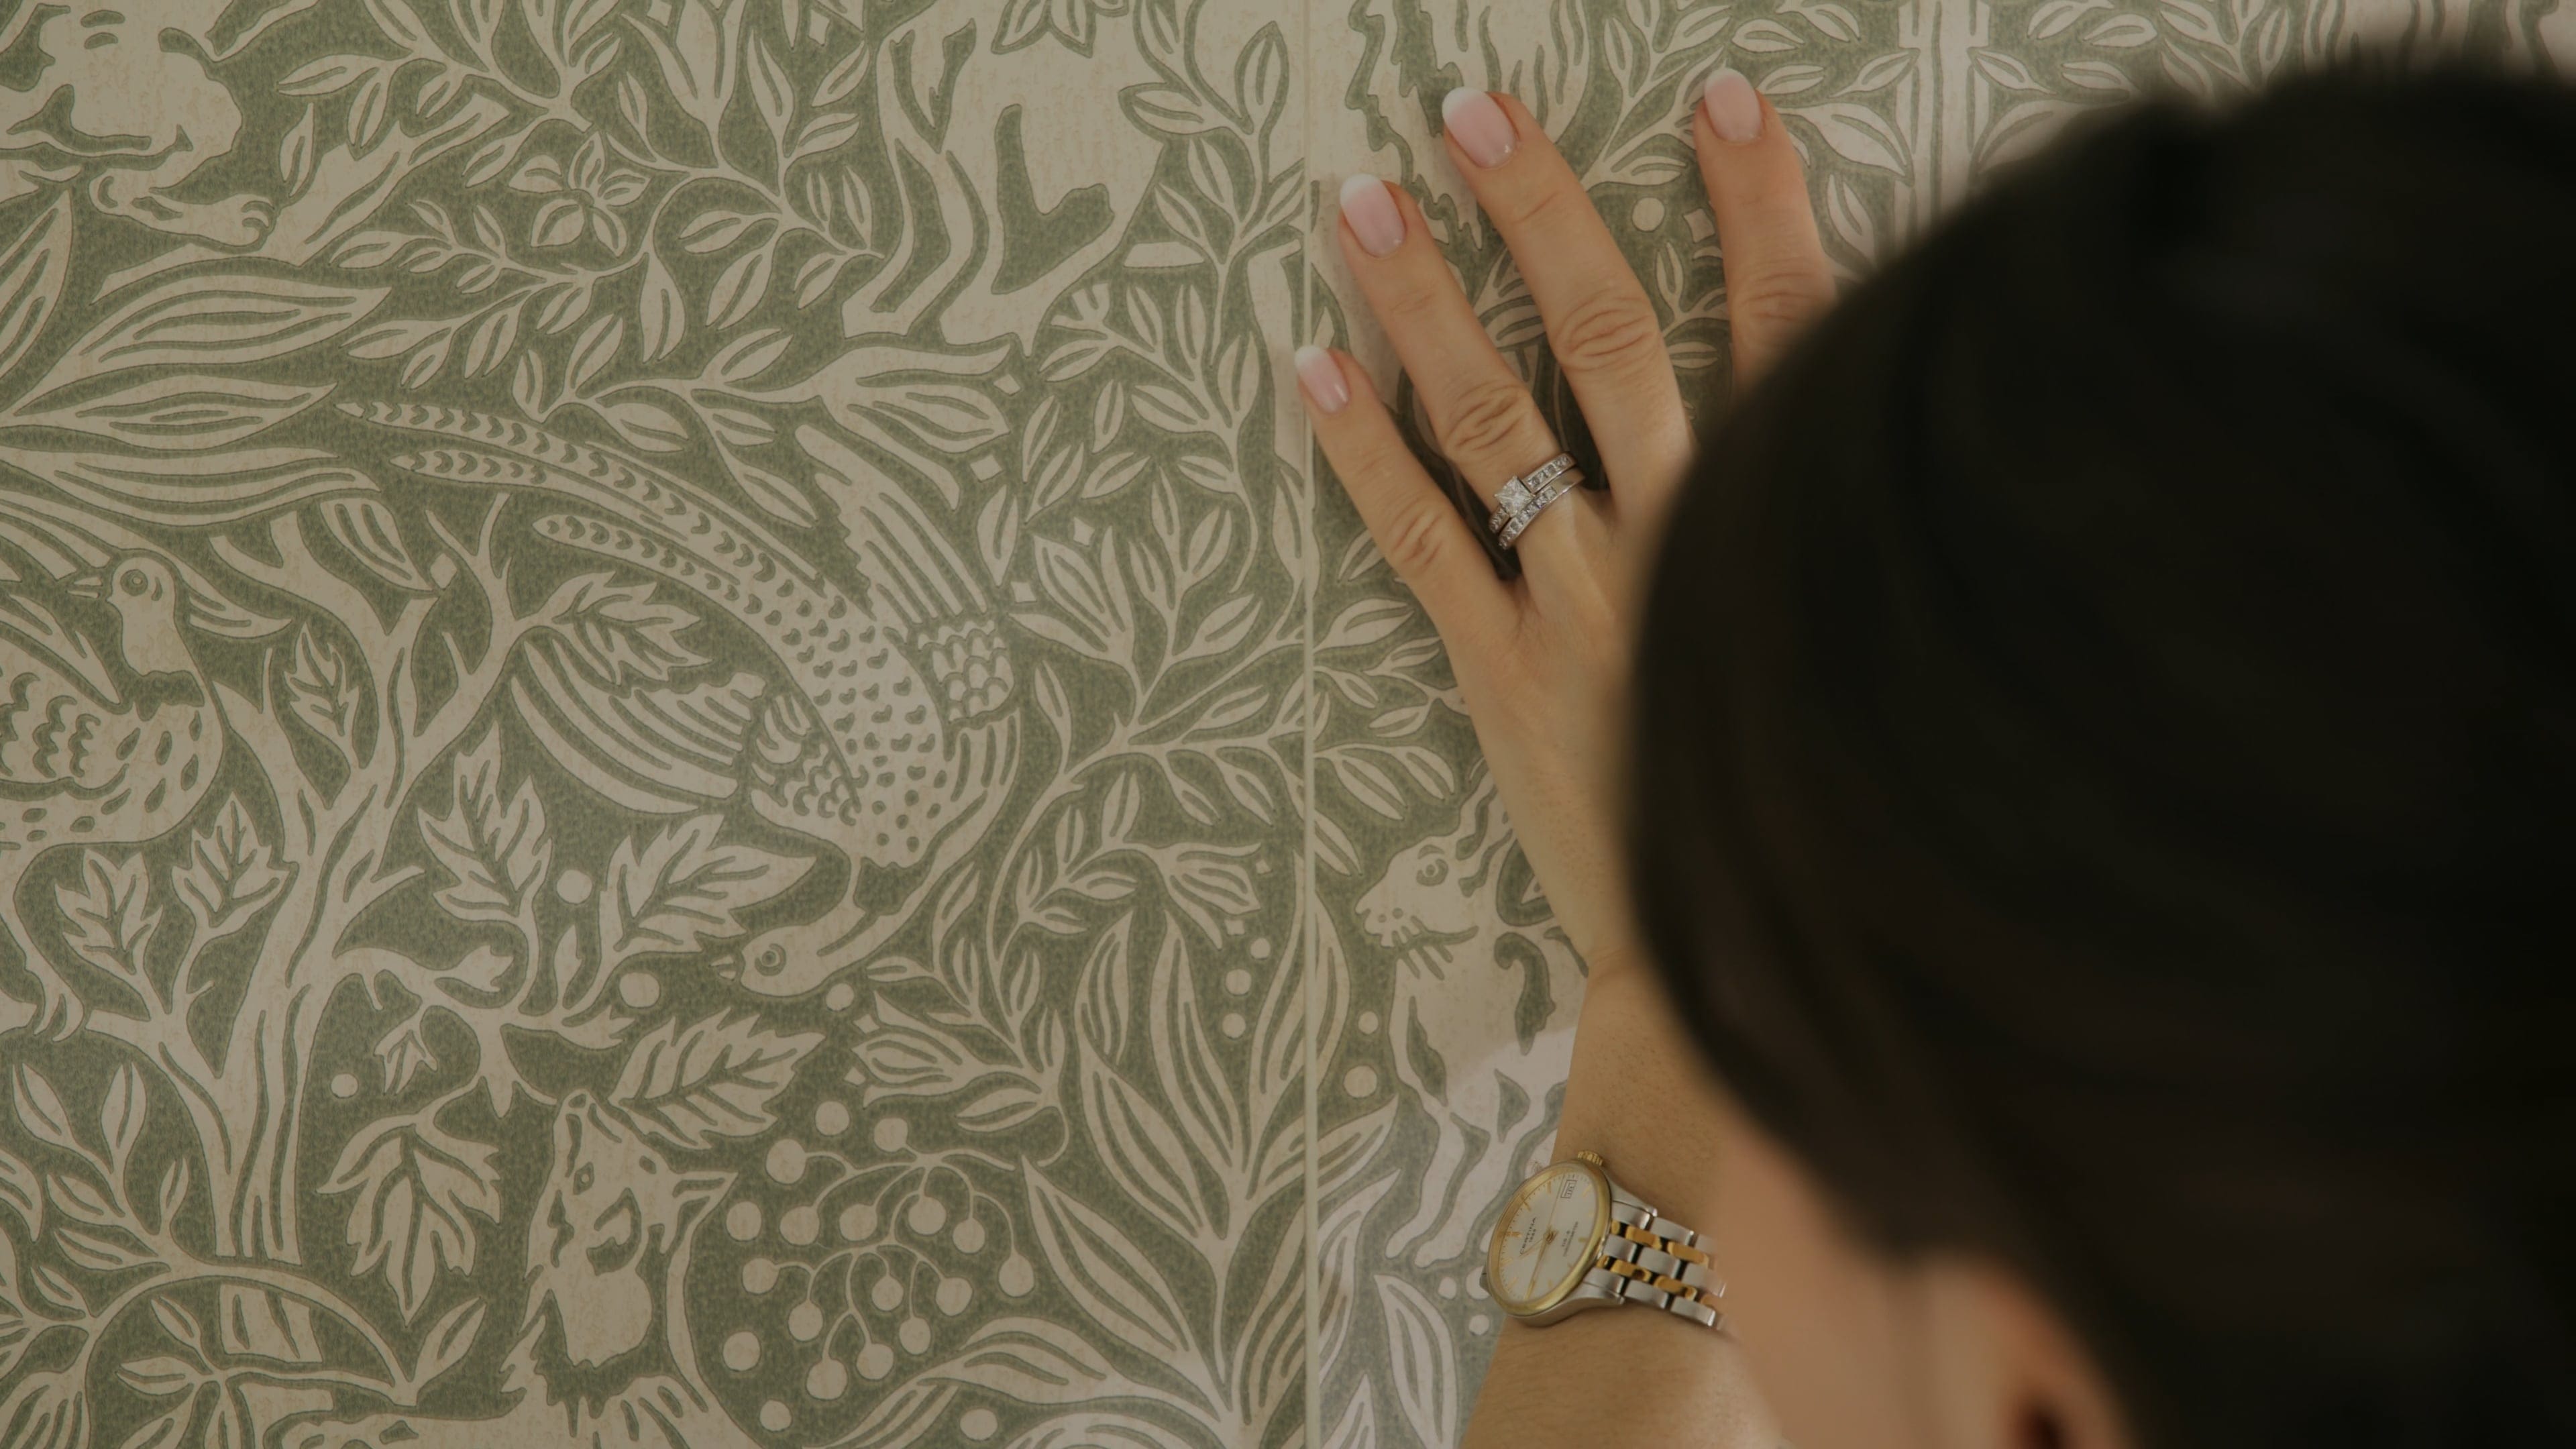
Hang the next length edge to edge with the first one, making sure the pattern matches.

11. Continue with the remaining lengths
Continue hanging the lengths in the same way until the entire room is wallpapered.

12. Change razor blades often
Remember to change the razor blades regularly. A sharp blade gives clean, neat cuts.

Our guides

Tools & preparation

Prepare properly before wallpapering with the right tools and careful prep work. Here, you’ll get the basics for a neat and long-lasting result.

View the guide

How to get started

Get off to the right start and achieve perfectly straight drops from the very beginning. Here, we show you how to start wallpapering step by step.

View the guide

Wallpaper paste

How to use wallpaper paste correctly for the best adhesion and finish. Here we show you how much paste is needed.

View the guide

Pattern matching

Get the pattern to align perfectly between the wallpaper lengths. We guide you to easy and precise pattern matching.

View the guide

Wallpapering inside corners

Wallpaper inside corners without any problems. Achieve a neat finish and straight lines even at tricky angles.

View the guide

Wallpapering outside corners

Learn how to wallpaper outside corners in a simple and durable way. Easy tricks that make a big difference.

View the guide

Windows & Doors

How to wallpaper around windows and doors with precision. Here are the tips for neat finishes.

View the guide

Wall outlets & switches

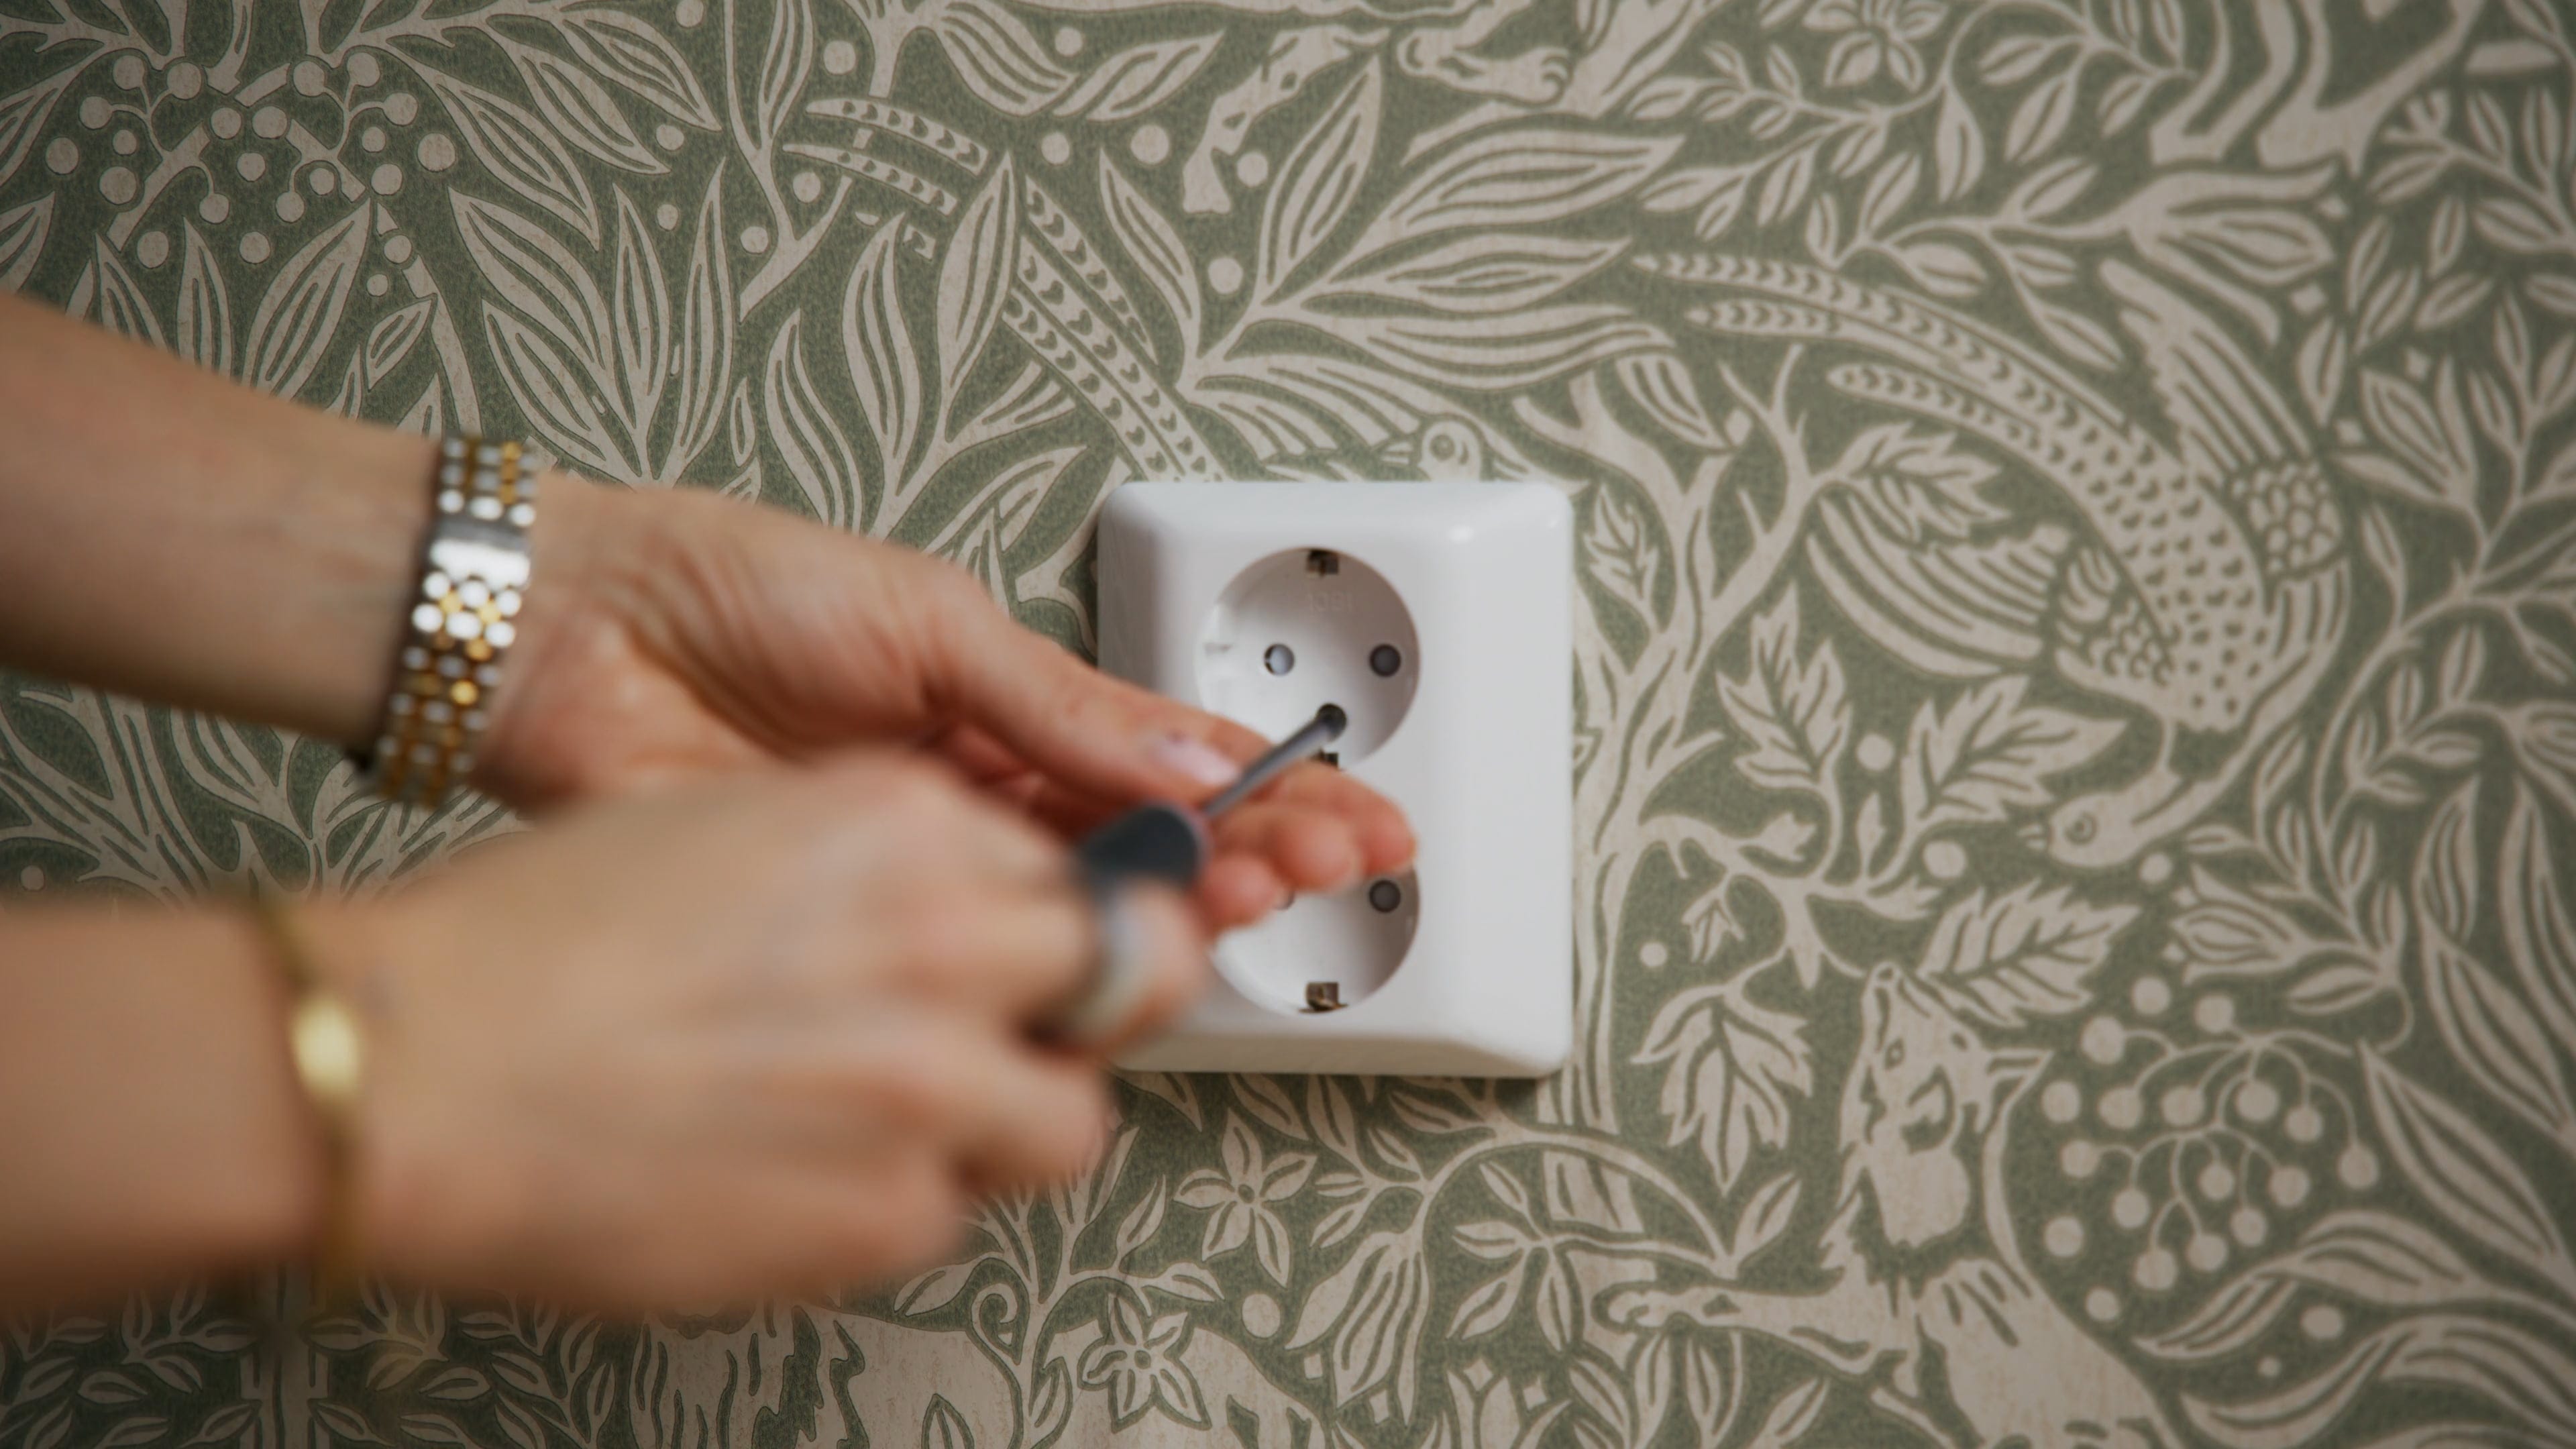
Achieve clean, neat details around wall sockets and light switches. With the right technique, it becomes easier.

View the guide

Wallpapering - step by step

Many people feel unsure about how to hang wallpaper, but in fact it’s both easy and a lot of fun. Here, we show you how to do it, step by step.

View the guide